Hi everyone! I hope you enjoyed the extra long Labor Day weekend, I know we did! Today I have a fun craft to share with you in celebration of Amazon's Season 2 of the Creative Galaxy cartoon! What I love about this cartoon is that each episode highlights a different creative medium, such as painting, music, sculpting, cooking, etc. My daughter and I love to do crafts together and I love that I can plan crafts for us to do that go along with each episode.
A Little More Info About Creative Galaxy
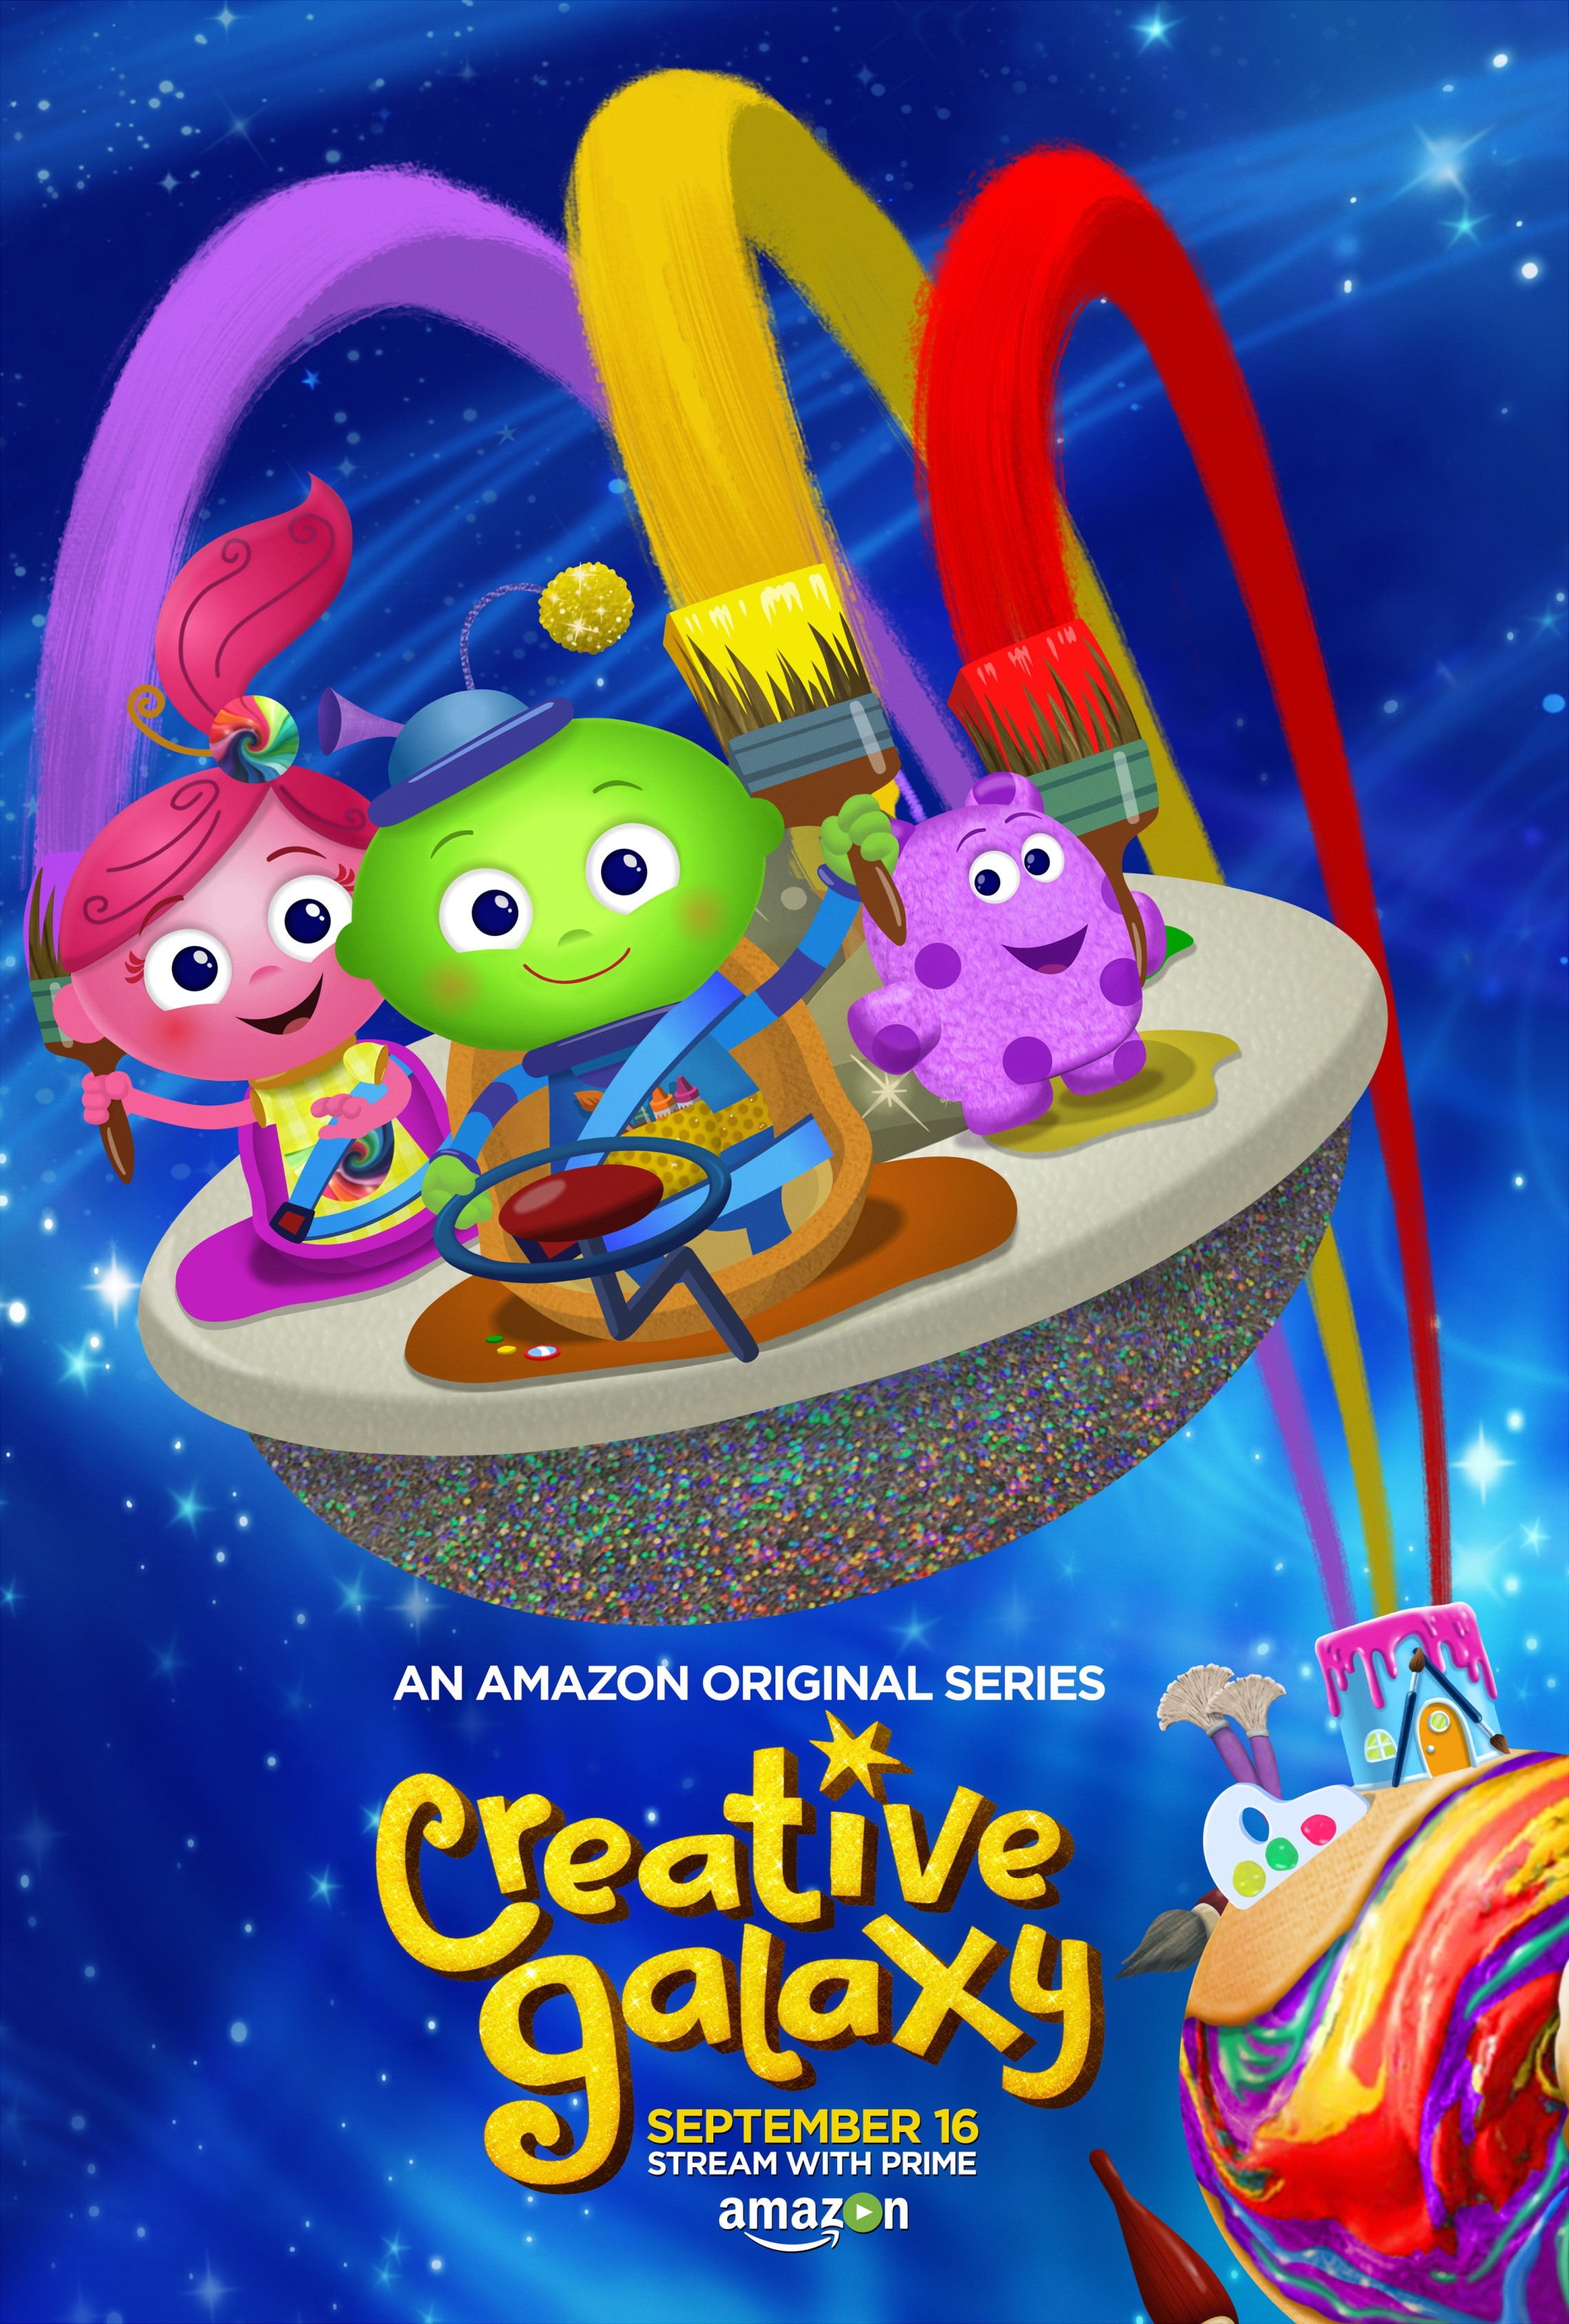
Creative Galaxy, from Out of the Blue Enterprises (Super Why!, Daniel Tiger’s Neighborhood), is a “make-along, create-along” animated art adventure series that celebrates creative thinking through crafts, story, music, and dance.
The series follows the adventures of Arty and his silly side-kick Epiphany, as they travel around the galaxy to solve problems using many different forms of art. Each episode highlights a unique creative medium (painting, music, sculpting, cooking, etc.) to reinforce to kids that art is all around us in many different forms. The interactive stories and live action segments encourage young viewers at home to get excited about their own creative ideas and the process of using creative arts to solve problems!
And the second season is kicking off with twice the fun. Season 2 features 11 brand-new, two-part episodes with 24 live action craft segments – and many famous friends! Brooke Shields, Jason Priestly, Samantha Bee, Lisa Loeb, Donovan Patton and Cloris Leachman are just some of celebrities who lend their voices to characters who appear throughout the show.
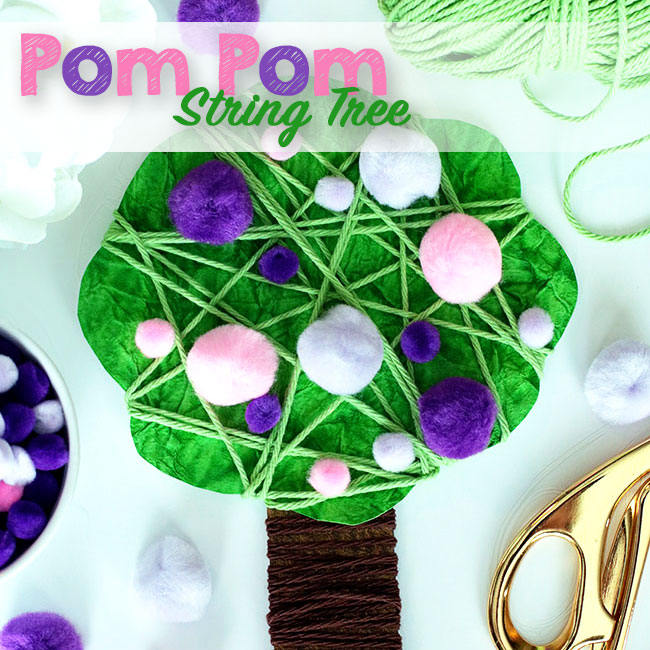
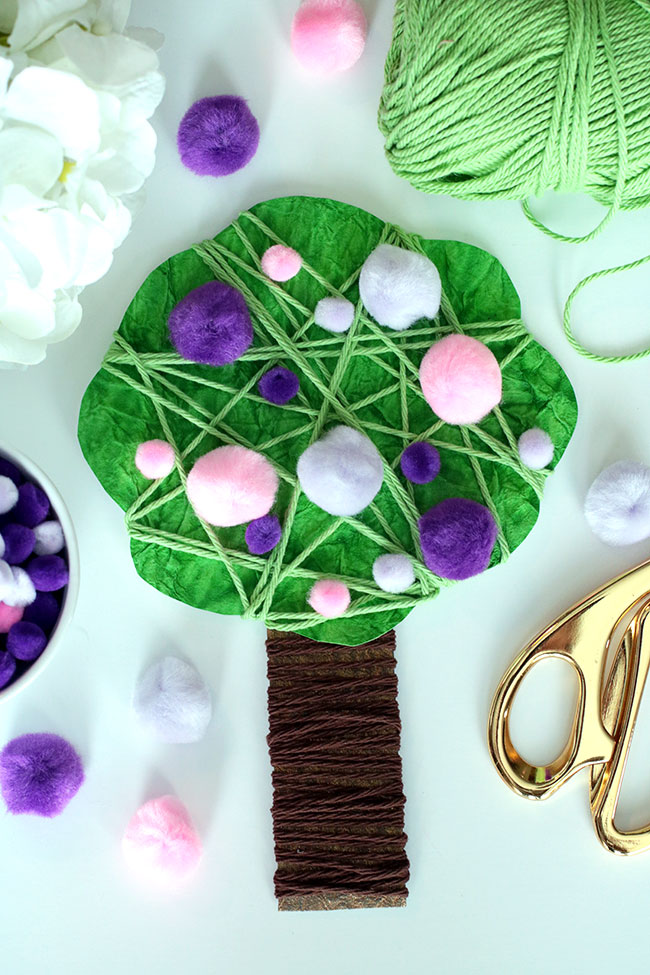
Now, I'd love to share with you how to create a Pom Pom String Tree! I was inspired to create this craft after watching the trailer for the cartoon.
How to Create a Pom Pom String Tree
You probably won't need to run out to the store to buy items for this craft, most of these you should have around the house.
I know it is the fall right now, but I was going for a colorful 'blooming' tree. If you want to make this more of a fall craft, you could buy some orange paper for the top of the tree and then buy some pom poms in fall colors. It really is all up to your own imagination! :)
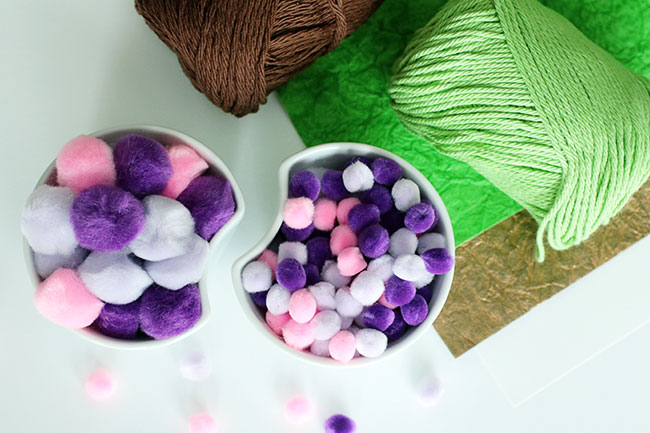
Here is what you'll need:
Pom Poms in 2 Different Sizes
Brown and Green String
Craft Paper in Brown and Green
Poster Board
Glue
Scissors
Tape
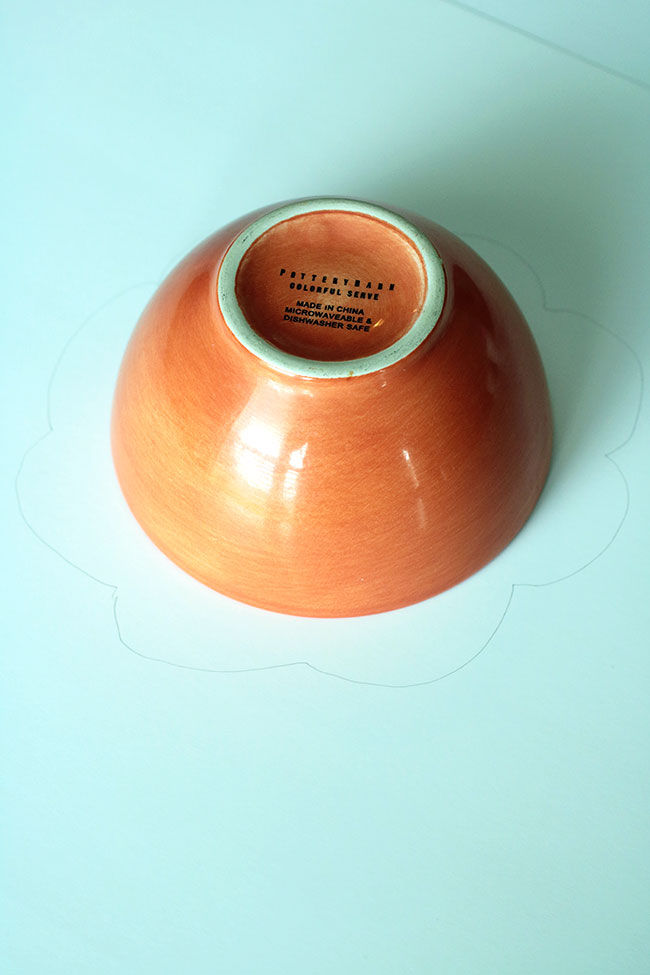
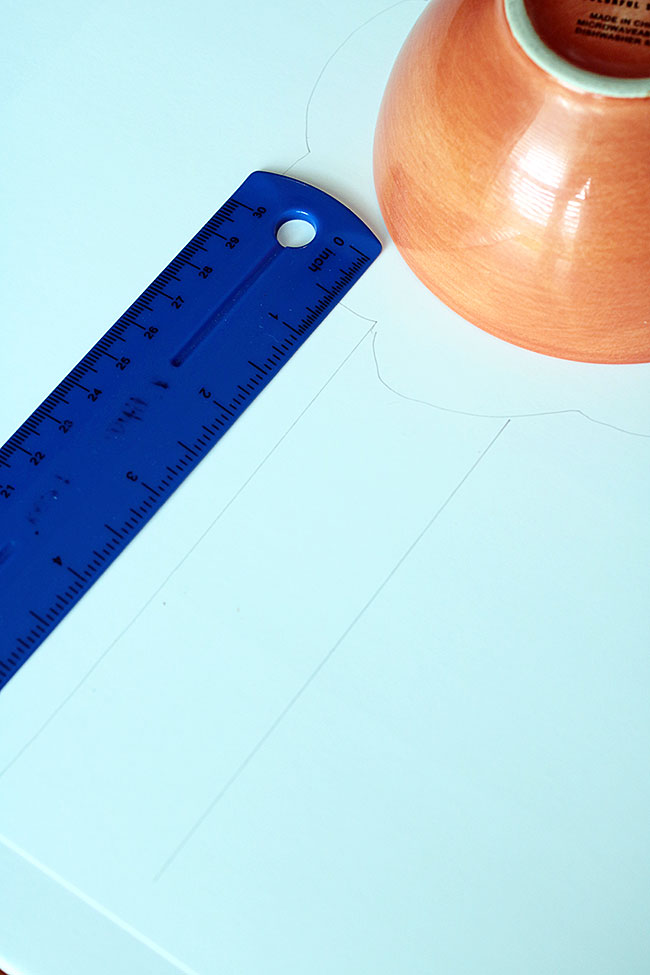
Find a round object in your house, such as a small bowl. Trace around the bowl on your poster board to draw the 'top' part of the tree. To draw the trunk of the tree, I traced around a ruler.
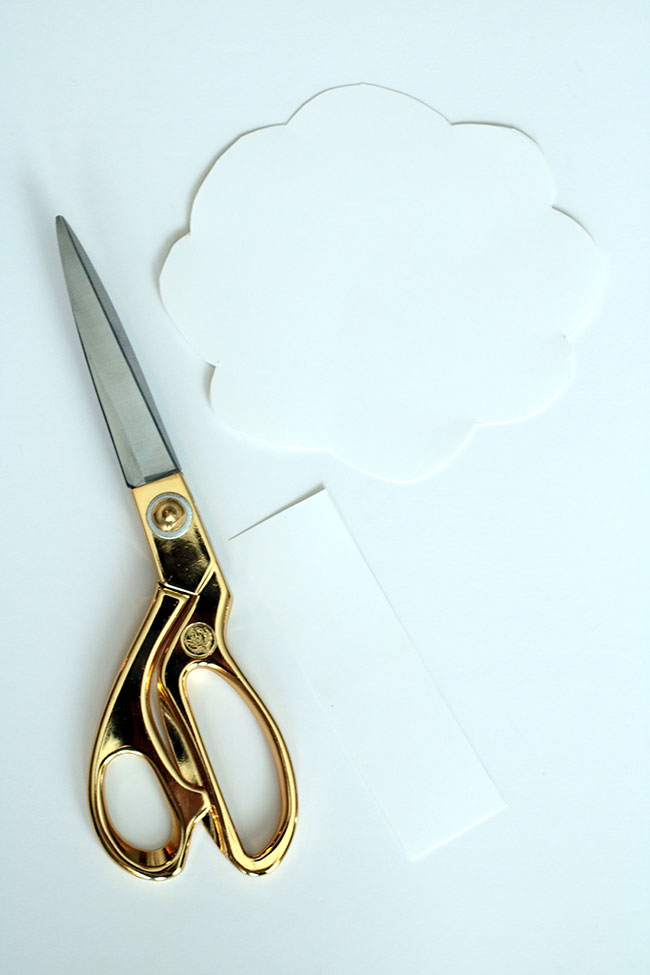
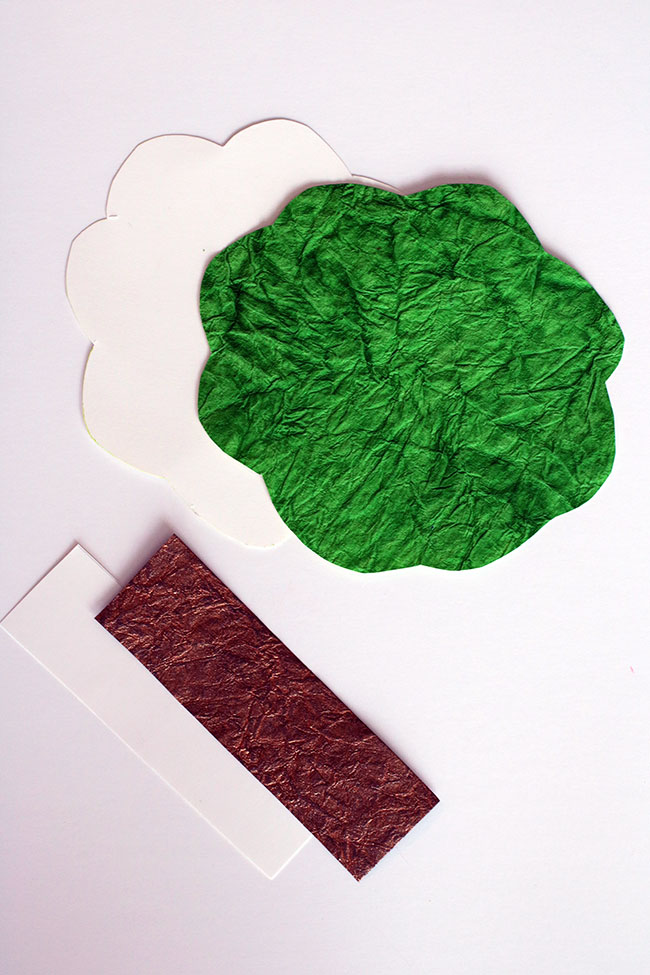
Cut the top and bottom parts of the tree out with scissors. Then, trace around these pieces on your craft paper and cut those pieces out.
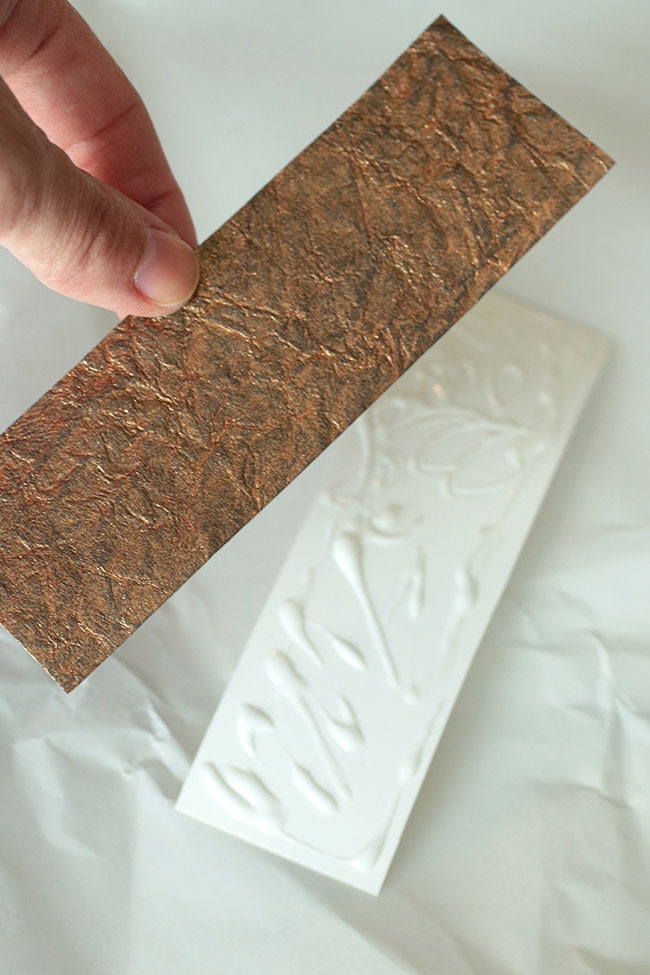
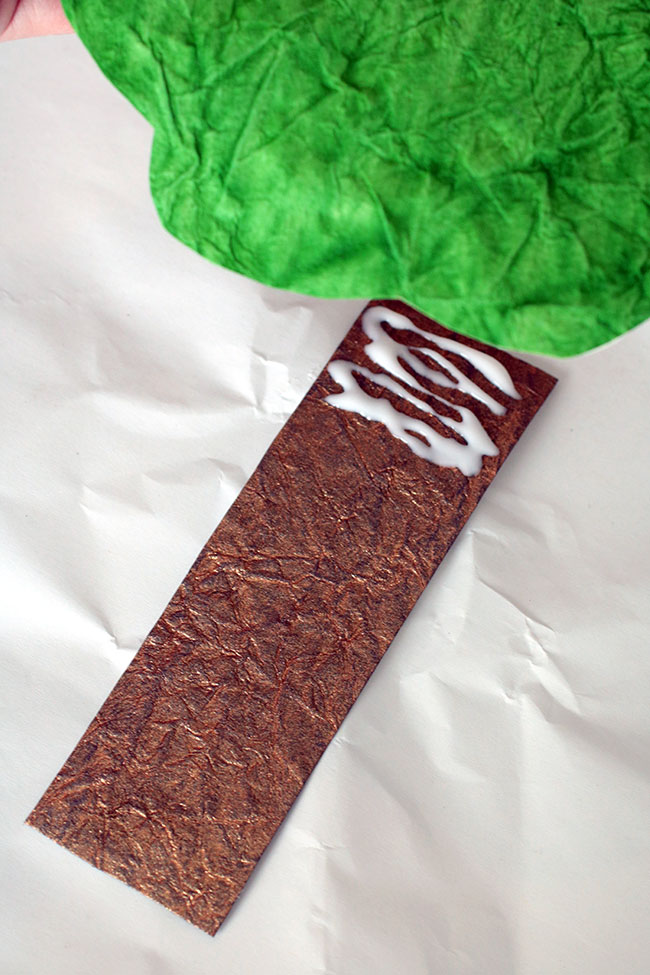
Now you'll want to glue the pieces together and also glue the trunk to the top of the tree.
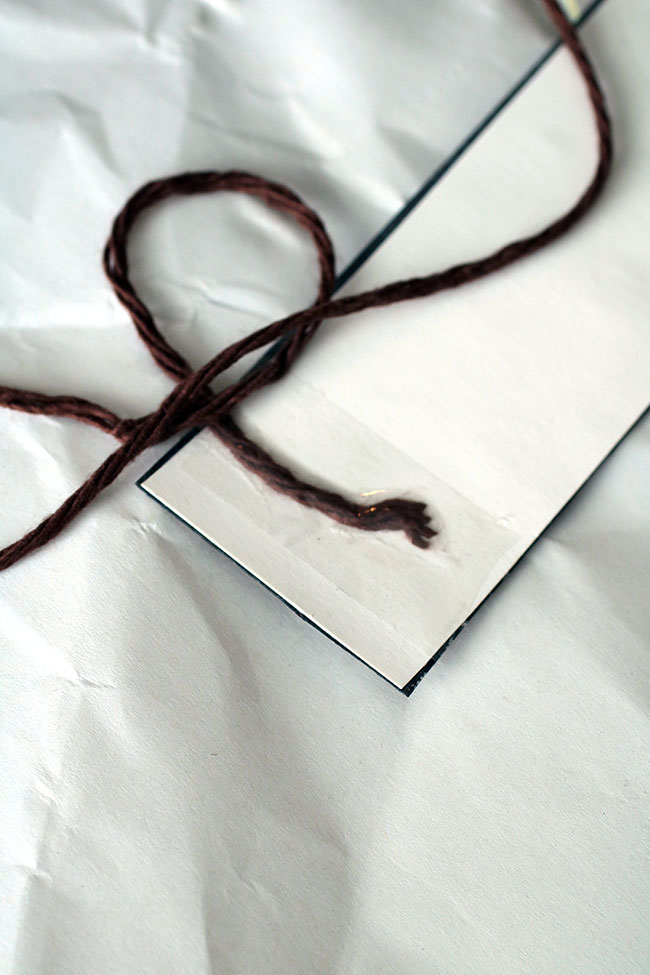
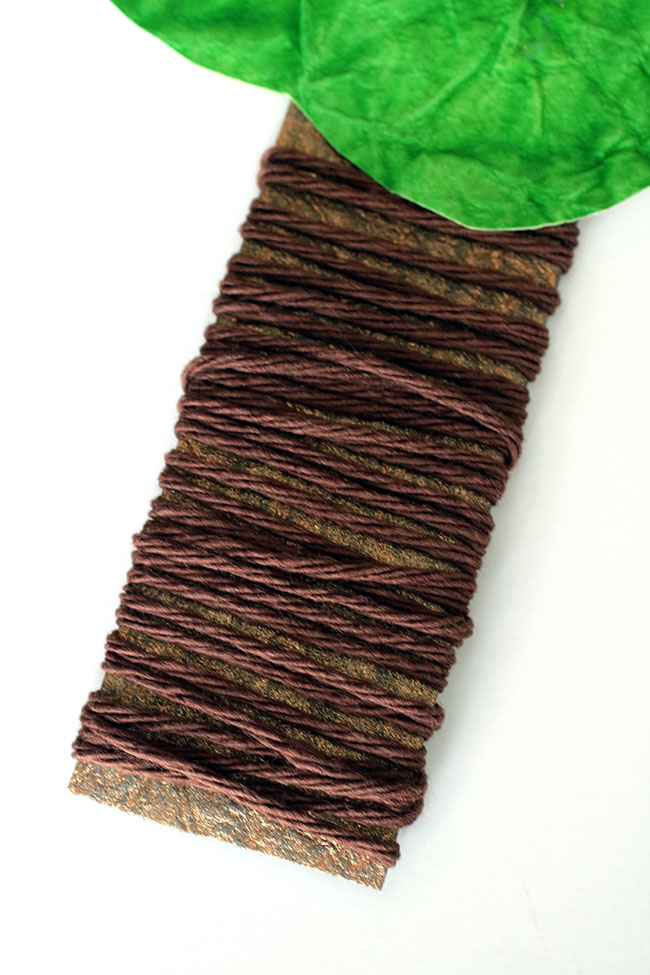
Now, we'll wrap the trunk with brown string! Tape one end of the string to the back of the trunk and wrap the string around the trunk until it is completely covered. Cut the string and tape it to the back side.

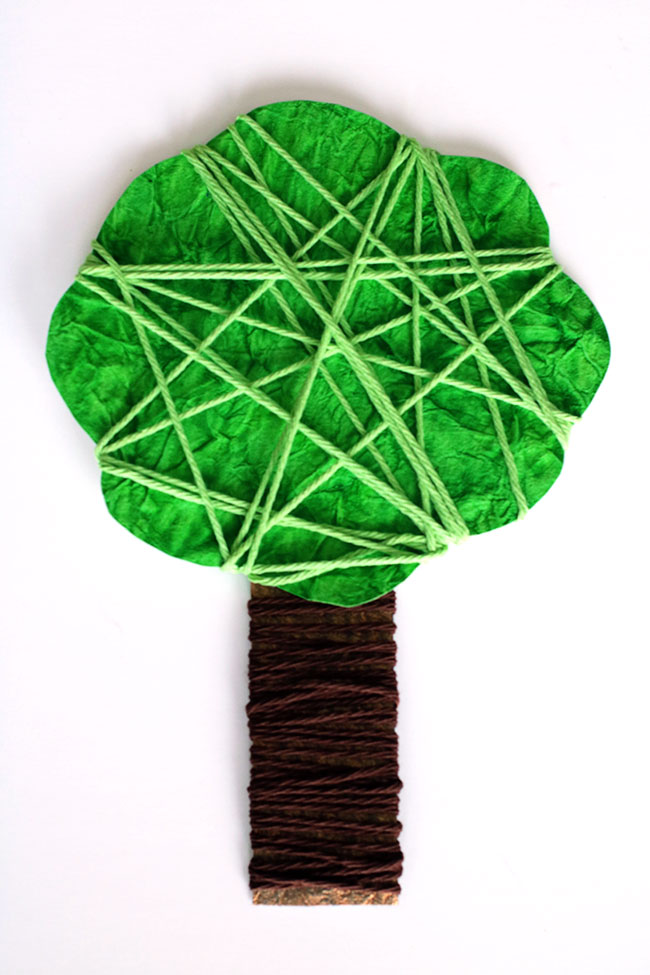
Repeat this process with the green string for the top of the tree.
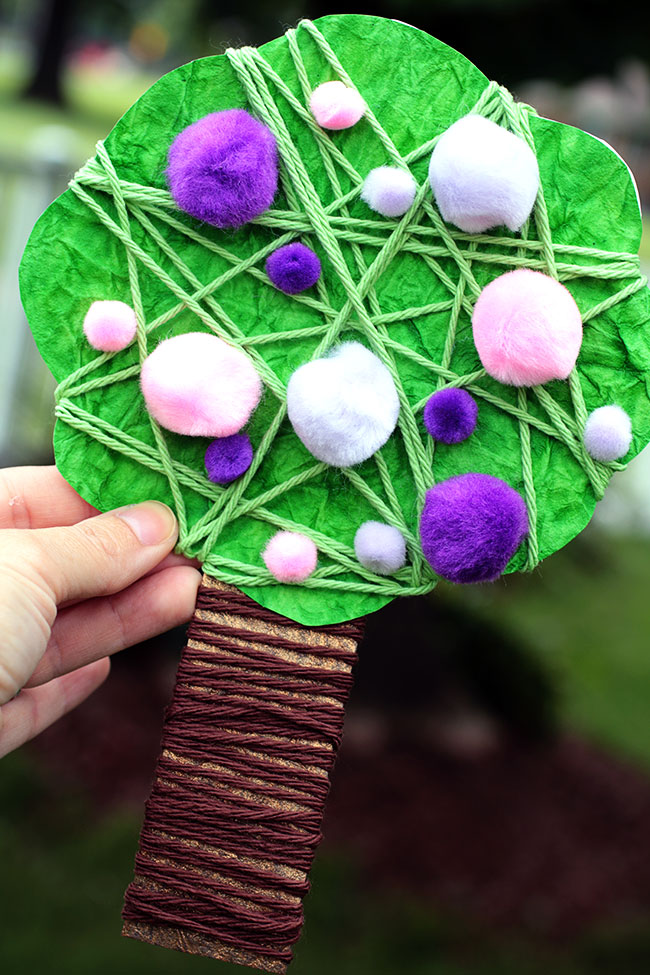
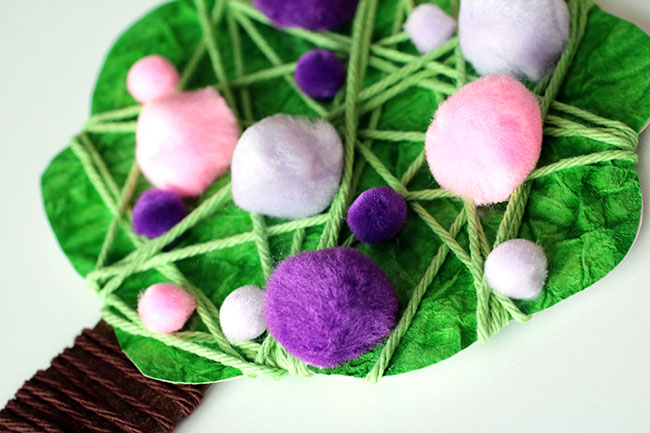
The last part is where you will glue the pom poms all over the top of the tree to represent blooms! This part is a lot of fun!
I hope you enjoyed this craft! Be sure to check out the trailer for Creative Galaxy by clicking HERE.
Thank you Amazon Originals Kids Programming for sponsoring this post. All opinions are 100% mine. Find inspiration for new art projects and fun by checking out the new episodes of Creative Galaxy on Amazon Prime!
Comments
Post a Comment