
Today I am going to share a little more about My Invisalign Journey with you. Back in May, I shared my first Invisalign post HERE and talked about my first 8 trays with Invisalign. Today I am going to share some information and progression photos for Trays 9-15. And, no, I am not done with Invisalign yet. After your first round of trays (I had 15 trays), they start revision trays. Unfortunately, I found out I have 18 revision trays... I am currently on tray 3 of those. I will continue to share updates as my progress continues.
I talk about why I went with Invisalign and what the entire process was like in my first post (see link below). I am not going to repeat it all in this post, but I will share my progression photos with you. If you have any questions, be sure to let me know in the comments.
Past Invisalign Posts:My Invisalign Journey (Trays 1-8) and Progression Photos
Progress Photos
These are pictures of my teeth and some are close ups... so, just a little warning. :) Probably not the most flattering photos, but I want to share how they changed from tray to tray and you can't do that unless you show some close ups.
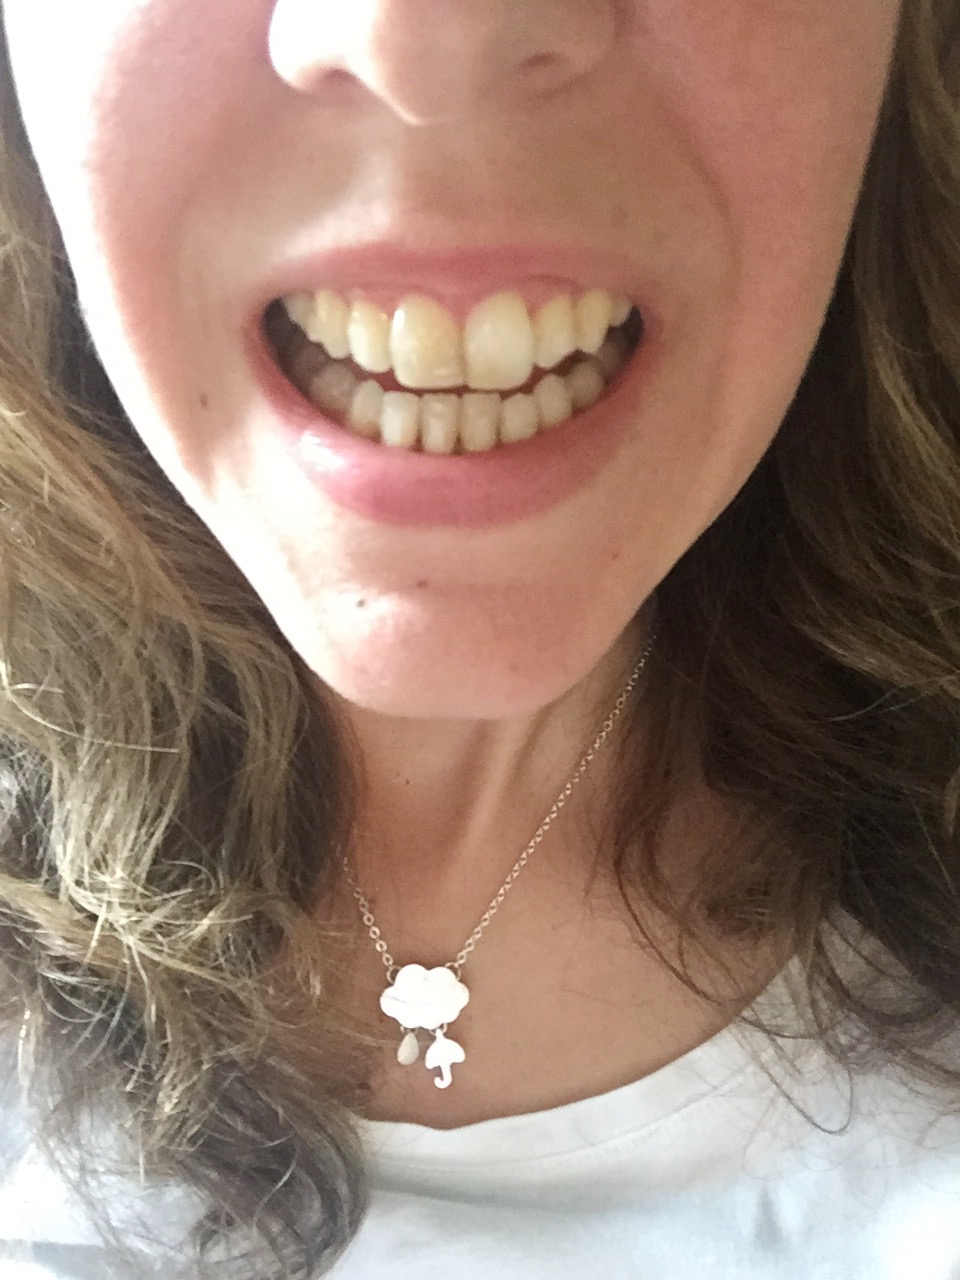
Before Invisalign


When I look back at these photos... I just can't imagine how bad my teeth looked. Yikes. I had braces in 5th grade and my teeth looked ok until my thirties. That is when they really started to shift. I will DEFINITELY be wearing my retainer after going through braces and Invisalign! I also can't wait to have some whitening action done!
Tray Nine, Day One (to see Trays 1-8, click HERE)

Tray Ten, Day One

Tray Eleven, Day One

Tray Twelve, Day One

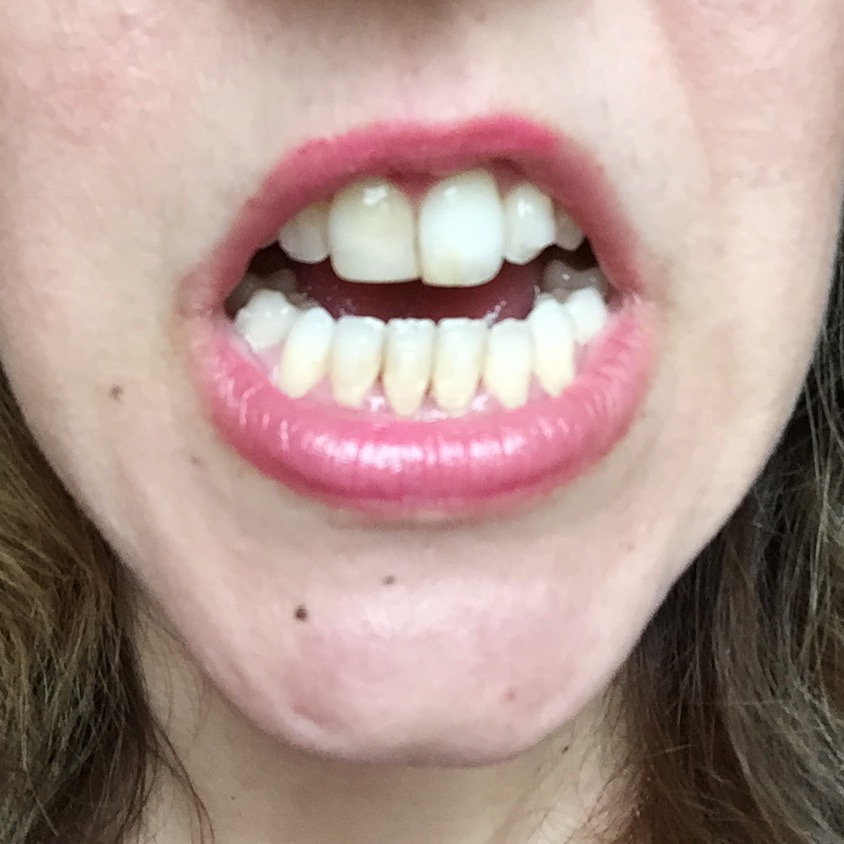
You'll see that my bottom teeth aren't perfectly straight up and down. This is something that won't be corrected until the revision trays, which start after Tray 15.
Tray Thirteen, Day One

I was in Italy when I took this photo. Being in Italy and wearing Invisalign was... difficult. There is so much food to be had and it was hard to keep my trays in for most of the day.
Tray Fourteen, Day One

I forgot to take specific progress photos for Tray Fourteen (oops!). But, I do have this photo from a sunset dinner at the winery with my tray out.
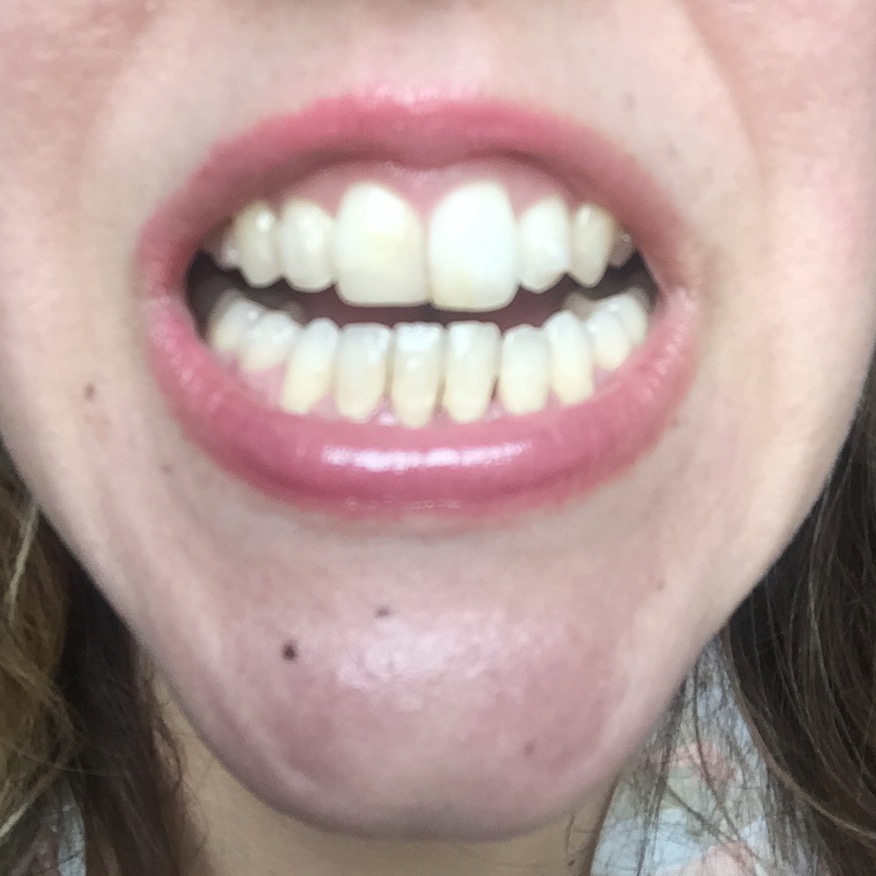
Tray Fifteen, Day One


Before Invisalign
Invisalign Tray 15
I am beyond pleased with the results so far. Invisalign has made my teeth look normal again and I didn't have to look like a teenager and wear the metal braces again. Most people do not even notice I have Invisalign on unless they come right up next to me to talk to me. I mention to some people I have Invisalign on and they tell me they didn't even notice it! It seems kids (especially Nathan and Autumn's classmates) notice my Invisalign the most.
The worst part to me now is taking the Invisalign in and out when I have to go out to eat. If I am with friends, I will go to the bathroom to take them out, but if I'm just with my family I'll take them out at the table and I am sure I embarrass them. LOL. Putting them back in is not as bad and I usually do that always at the table. :)
What's Next?
After Tray 15, I went to the orthodontist and had new impressions made on my teeth. They then sent them to Invisalign and they made revision trays for me. I wore Tray 15 for about 5 weeks until my revision trays came in. I found out that I have EIGHTEEN revision trays. Whew! I am on Tray 3 of them right now and will do another post once I hit Tray 9 to share some more progress photos.
Whitening
Whitening
I want to whiten my teeth and it is suggested to put the whitening solution in the last 3-4 days of each tray. The whitening solution will 'stain' the trays a little, so it's recommended to use it the last few days of each tray. The other option is using the whitening solution for the last 4 weeks (last 2 trays, since I wear each tray 2 weeks), but they would be stained the entire time. I haven't started the whitening process yet.
Veneers
Veneers
After I finish Tray 18, I will have Veneers put on my front 4 teeth in place of the bonding. This will give me a better smile since the bonding tends to stain after time. Only my 2 front teeth are chipped, but it is recommended to put the veneers on all 4 front teeth to give a more even smile.
That is all I have for today, I hope to get another progression post out after I finish Tray 9! Let me know if you have any questions in the comments!
That is all I have for today, I hope to get another progression post out after I finish Tray 9! Let me know if you have any questions in the comments!
Comments
Post a Comment