
Mason Jar Christmas Tree Ornaments + 2 Giveaways! {Silhouette December Challenge}

LetItSnow_650
Hey everyone! Last week I shared my heat transfer vinyl Deer Ornaments and this week... I have another vinyl ornament craft to share with you- Mason Jar Christmas Tree Ornaments! My Silhouette Challenge buddies and I are all sharing projects related to this theme of Holiday on our blogs today, so peruse the projects below for a wealth of inspiration!


decembergraphic2015650size
We are also doing TWO GIVEAWAYS (so keep on reading!)! Yay! 


Marble1
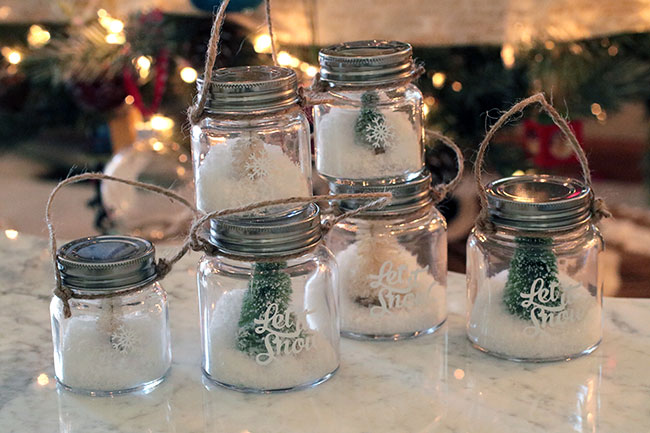
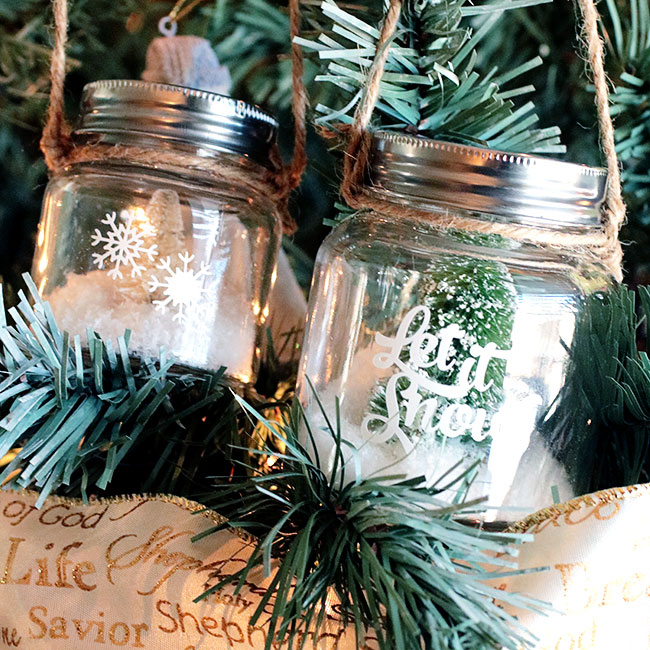
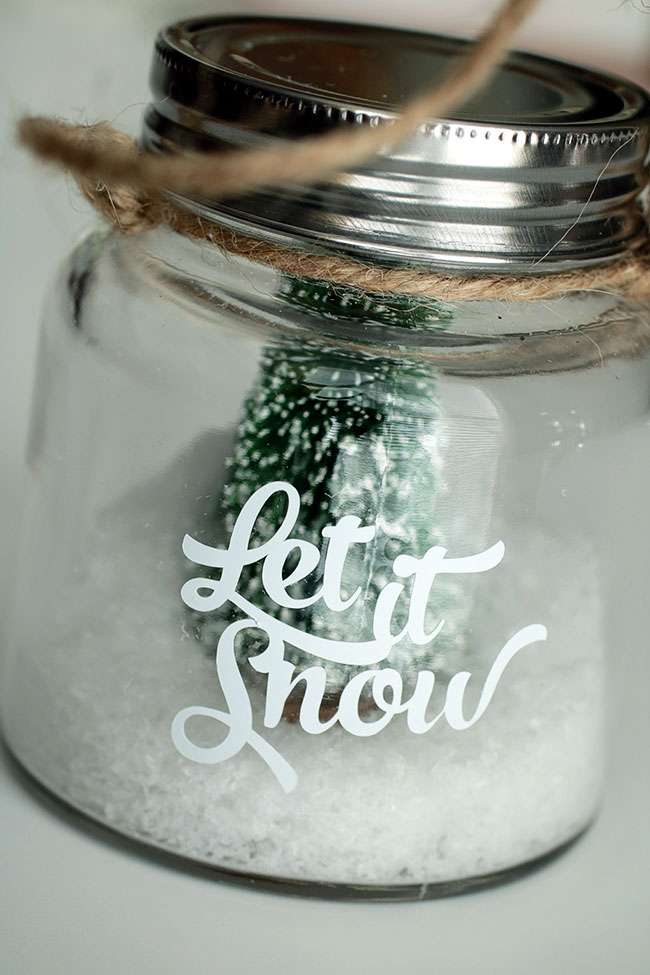
Every quarter I have been participating in the Silhouette Challenge and this month the theme is holiday. I have been in LOVE with bottle brush trees this season and I thought it'd be fun to make an ornament craft with them. I have seen them in little jars and I thought it'd be fun to do a couple of different sizes AND to add some vinyl to the front of the jar to change it up a bit from the norm! I just LOOOOOVE how these jars turned out!


OnTree1
Now I'm going to share with you how I created these adorable little jars. And, don't worry... if you don't have a Silhouette, you can always make these ornaments without the vinyl on the front and I PROMISE you that they'll still be adorable!


How to Make a Mason Jar Christmas Tree Ornament
OrnaMake1
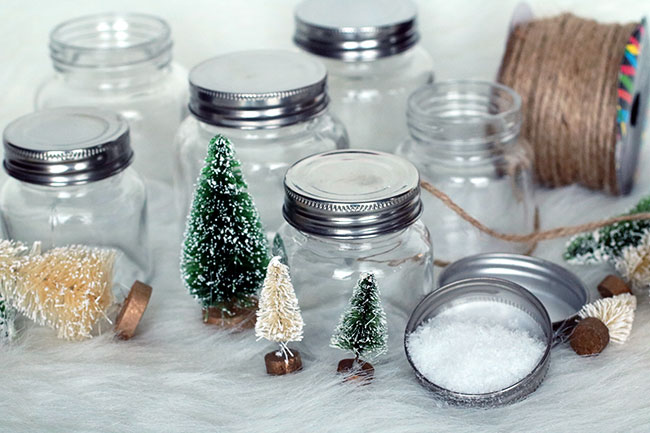
If you're planning to add vinyl to your jars, you'll want mason jars that don't have any raised words/design on them. I picked up two sizes of jars at Hobby Lobby. You'll also want some bottle brush trees (mine are from Oriental Trading), craft snow, twine and vinyl.


OrnaMake2
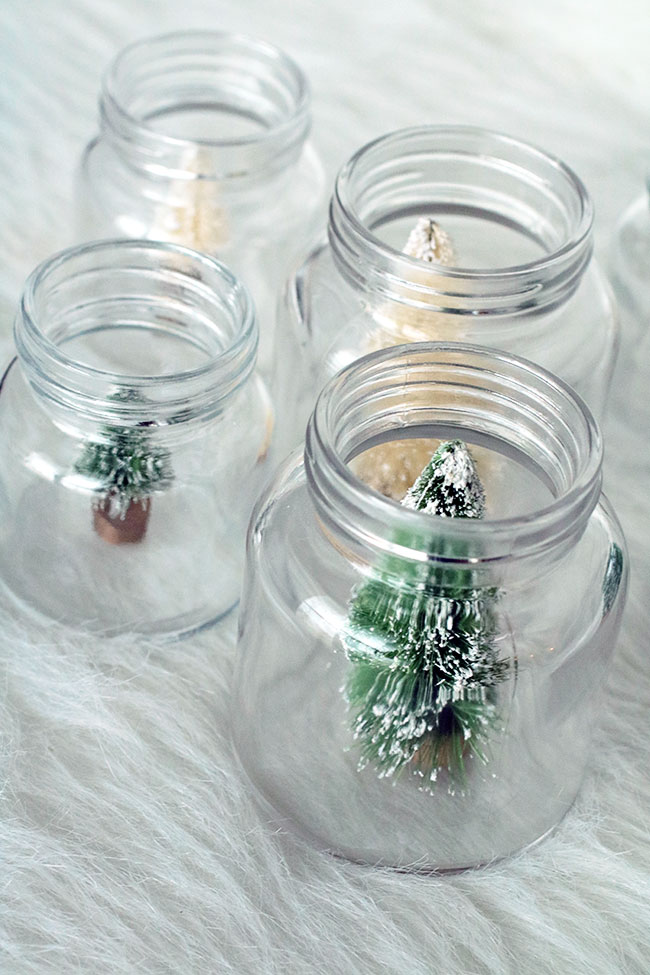
Glue your tree to the bottom of the jar with some hot glue.


OrnaMake3 OrnaMake4
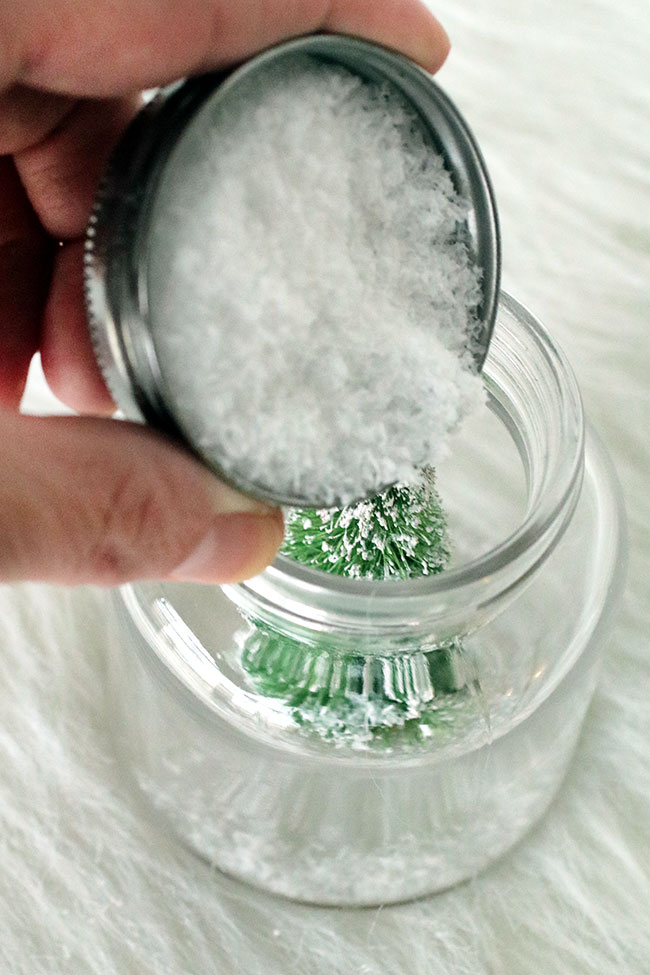
Add a capful or two of the craft snow.


OrnaMake5
Then add some twine around the base and another piece to connect from top to bottom to make a hanger.


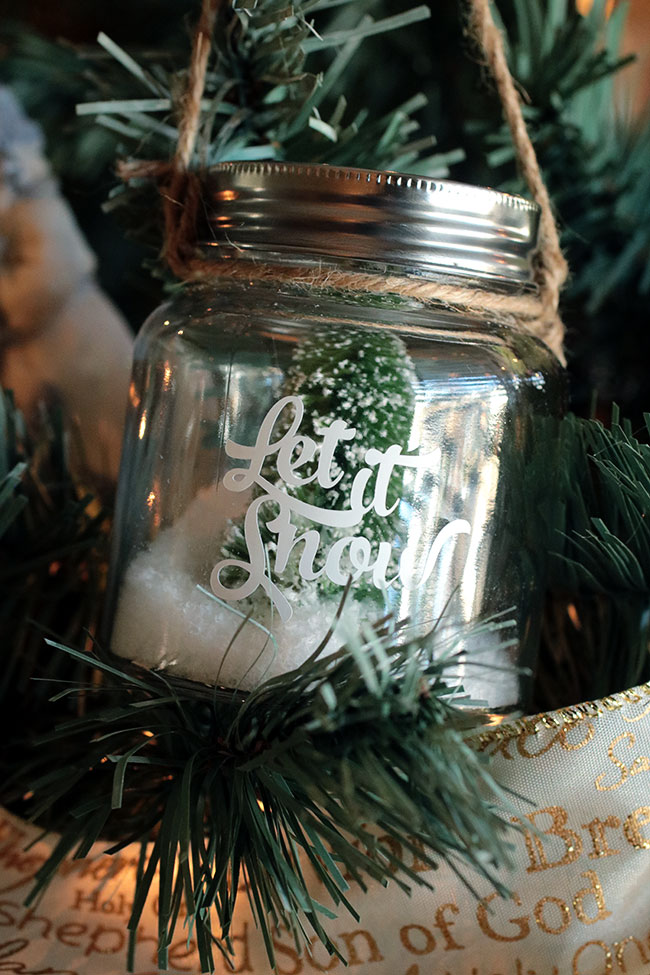
Making Vinyl Art for the Ornament

Untitled Untitled
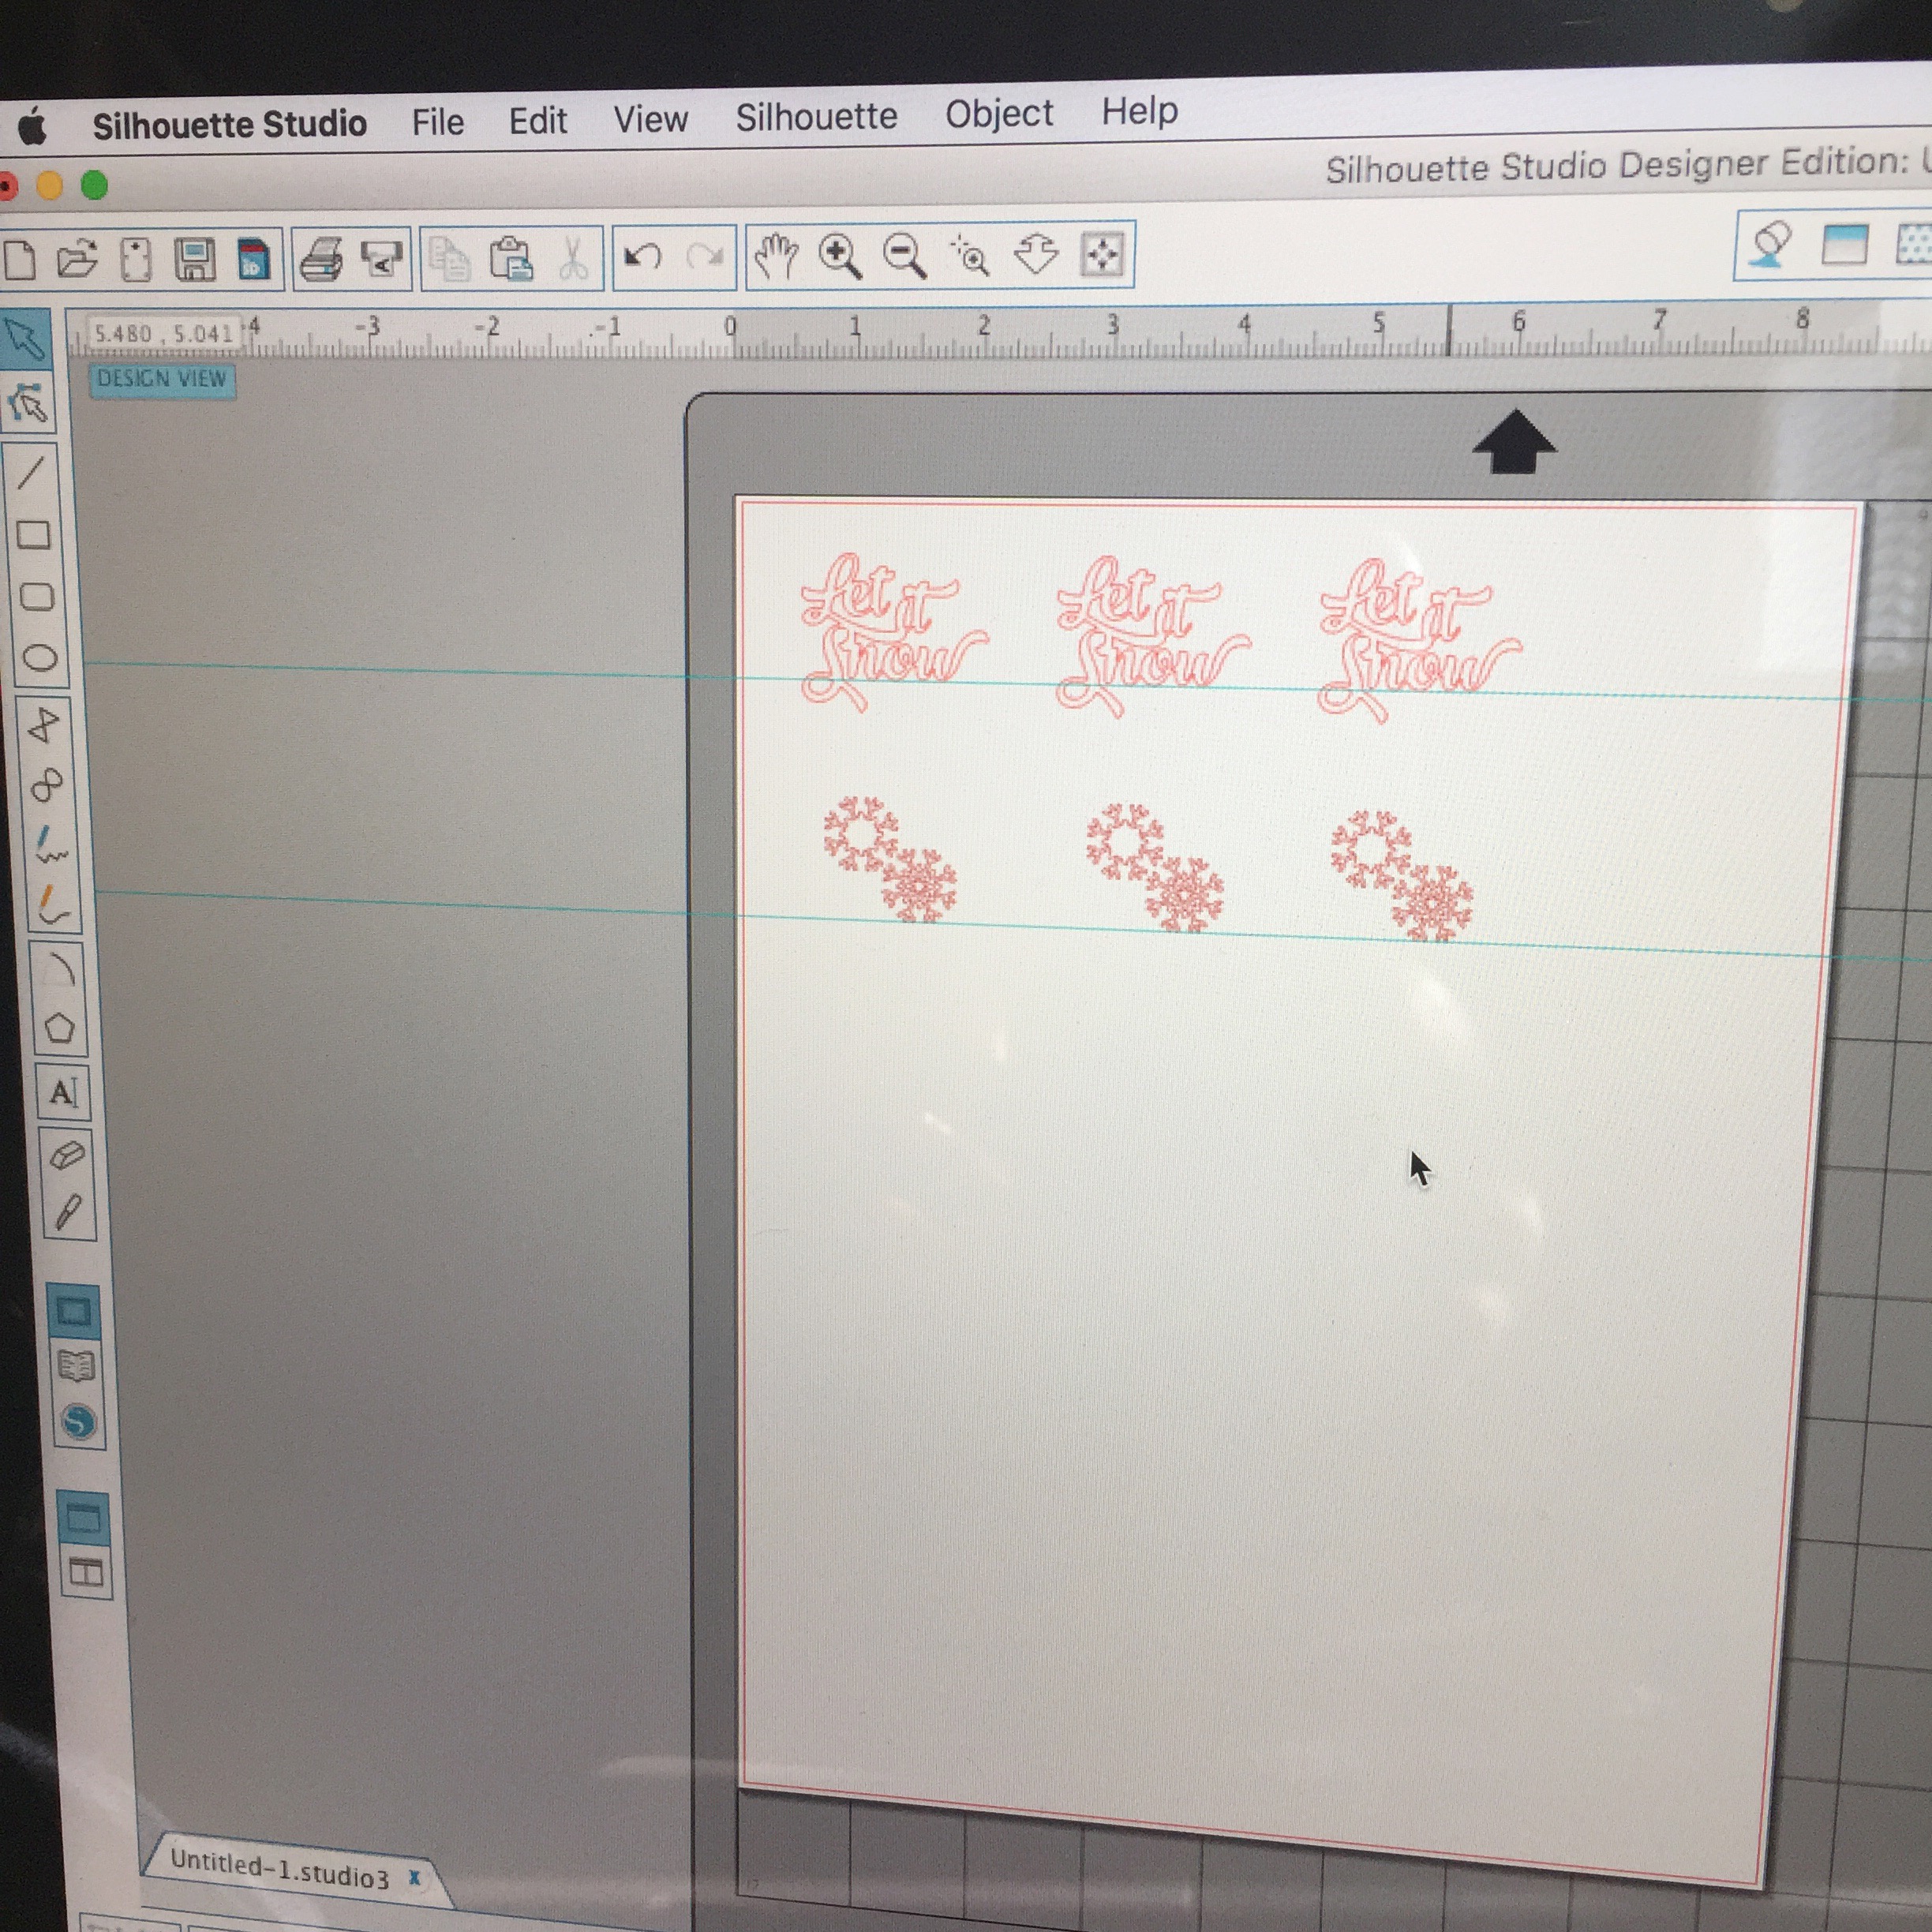
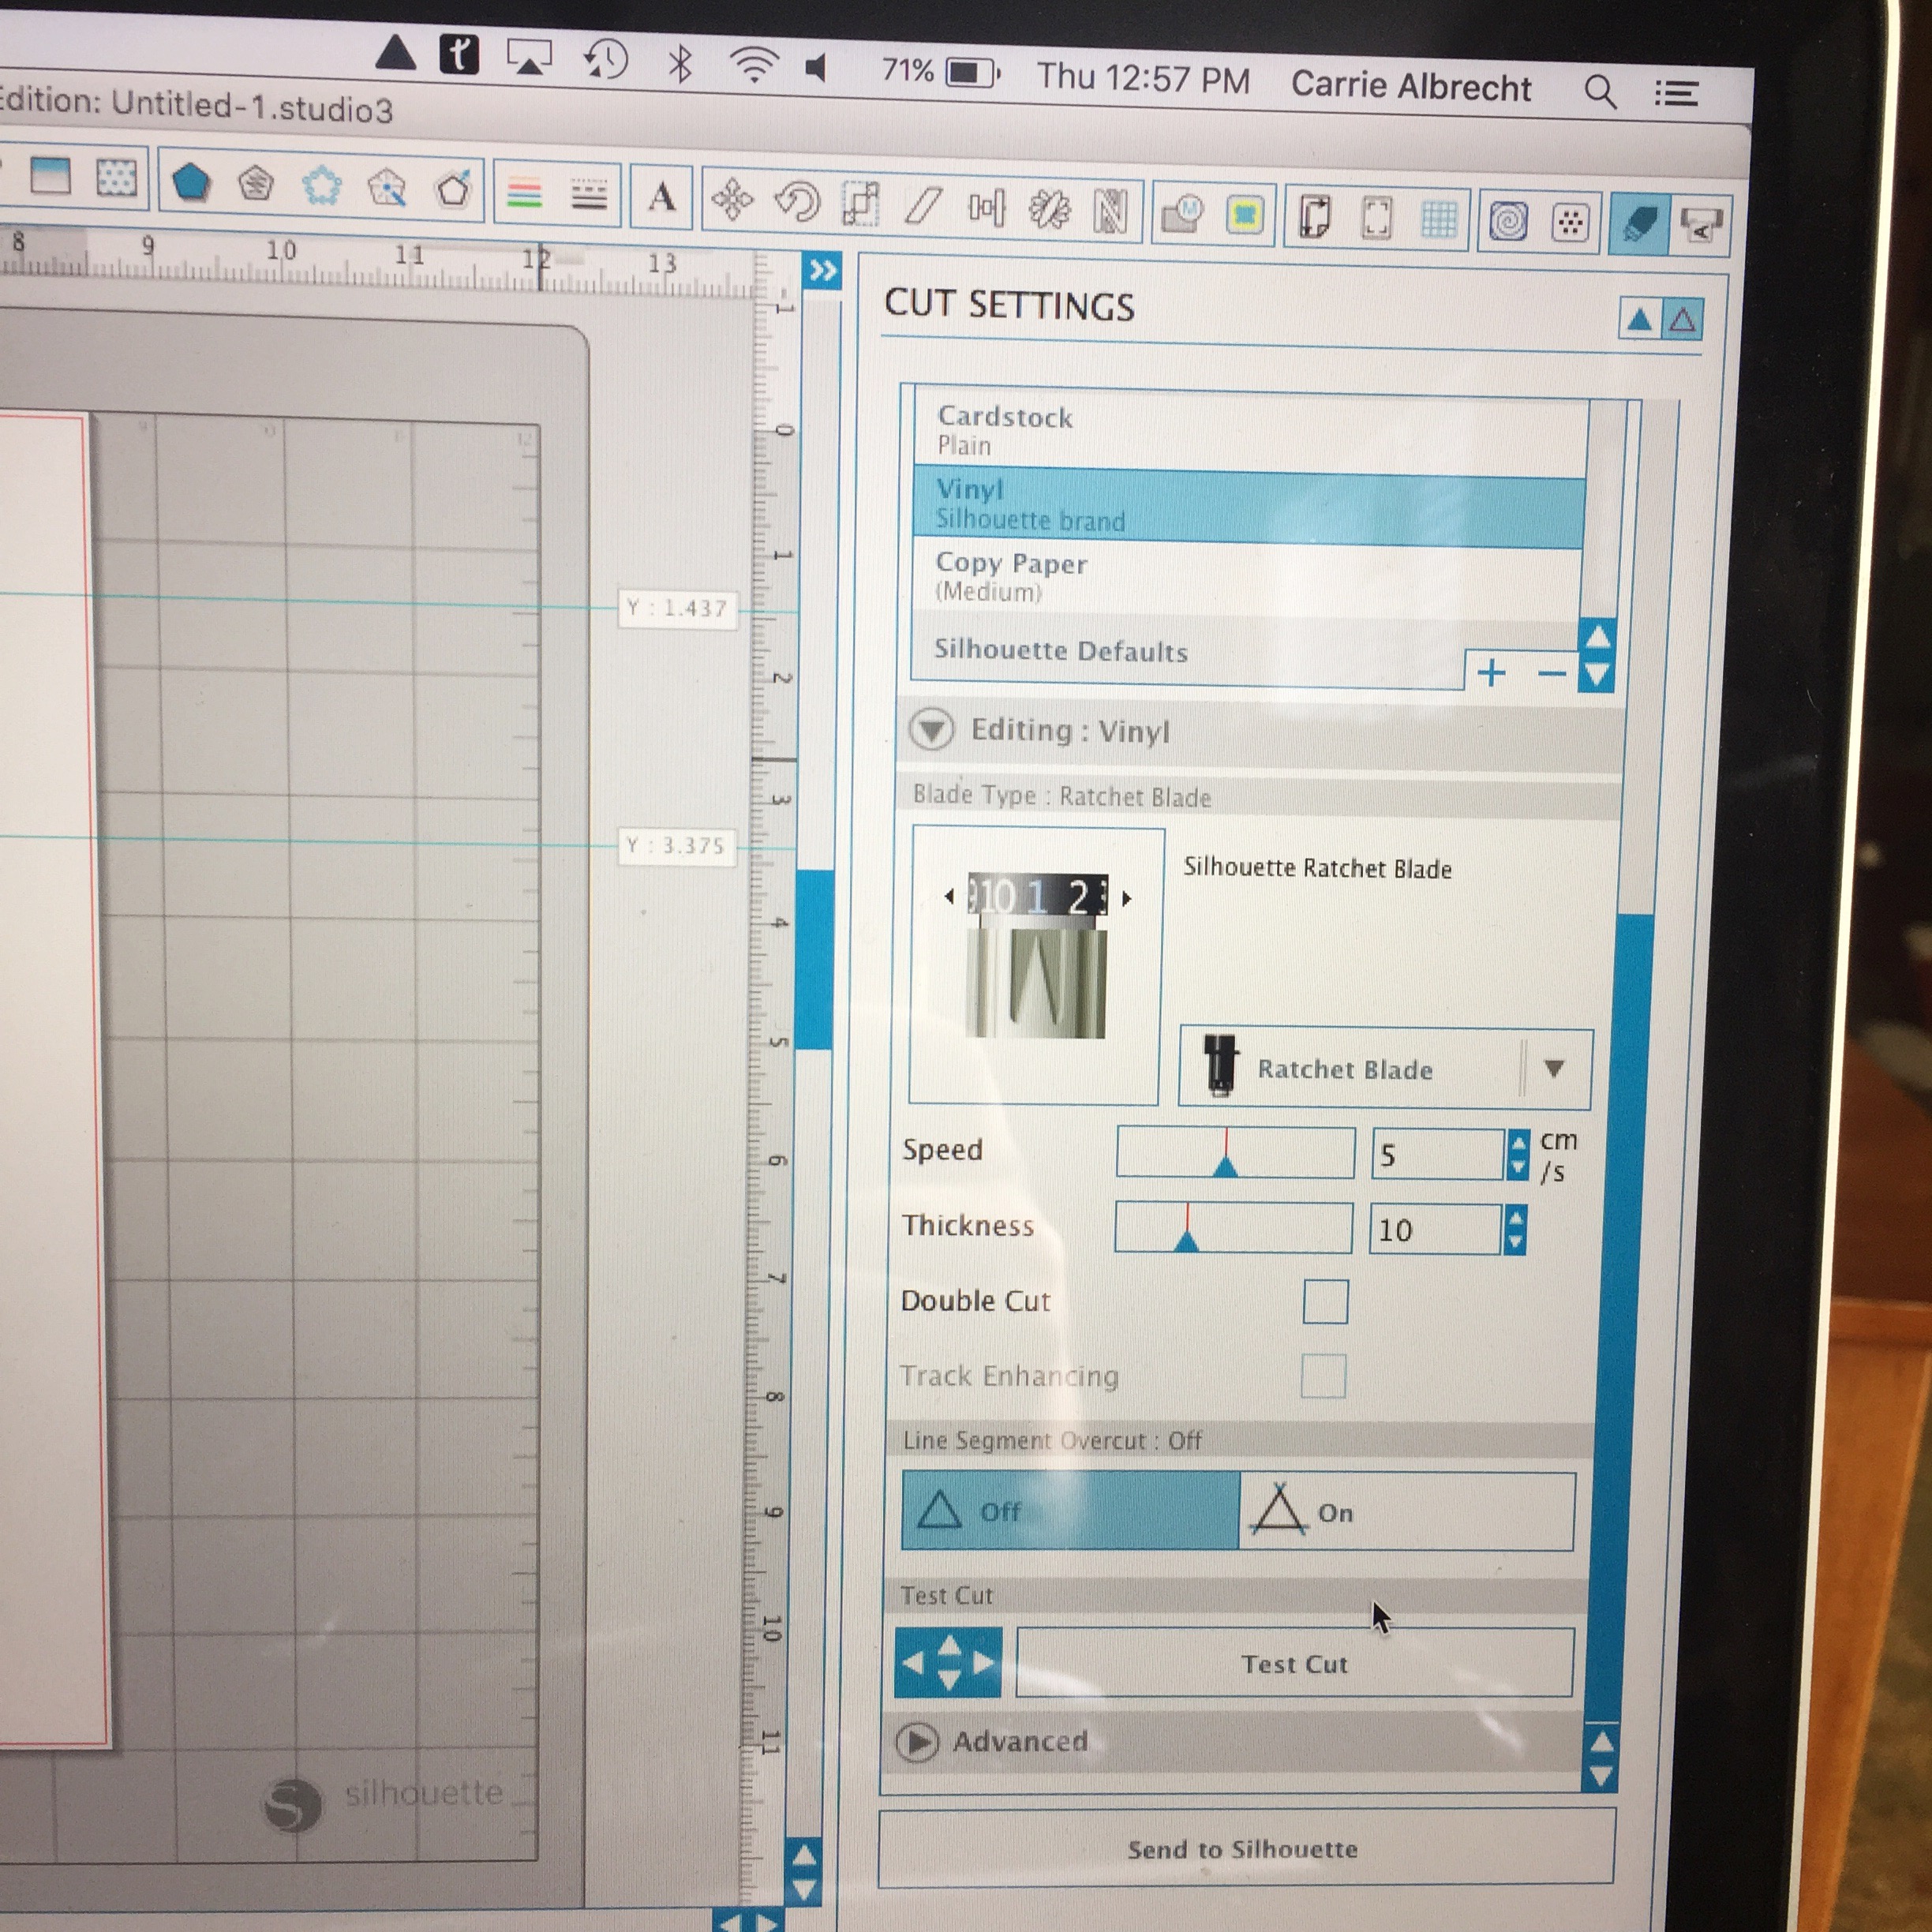
First, you'll need to find some artwork in your library (or purchase new) and size it to the correct dimensions. Then, go into Cut Settings and select Vinyl, set your blade to the correct number and select Cut Around Edge.


OrnaMakeS1 OrnaMakeS2
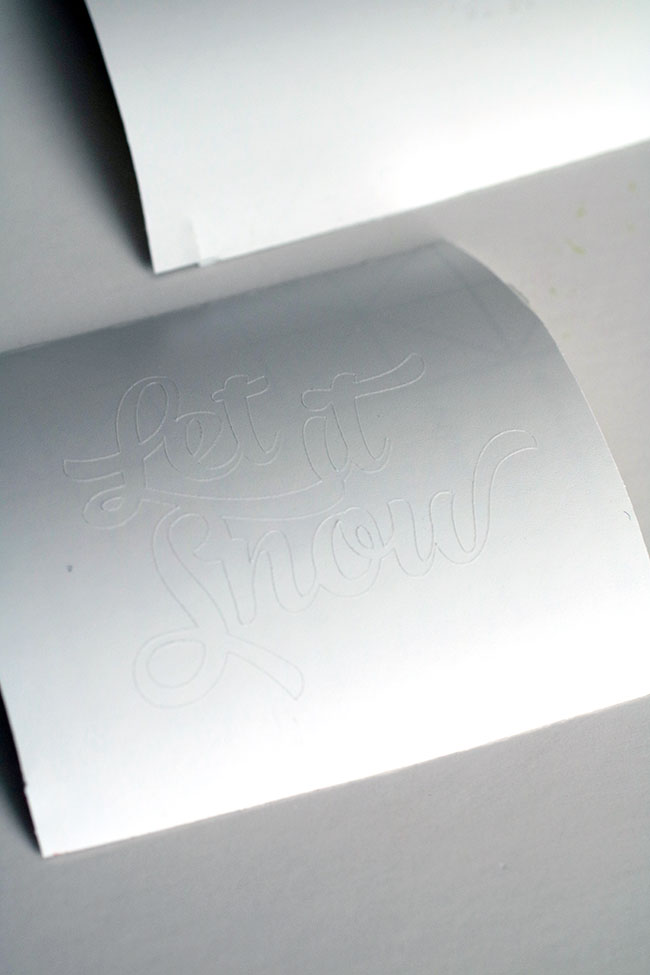
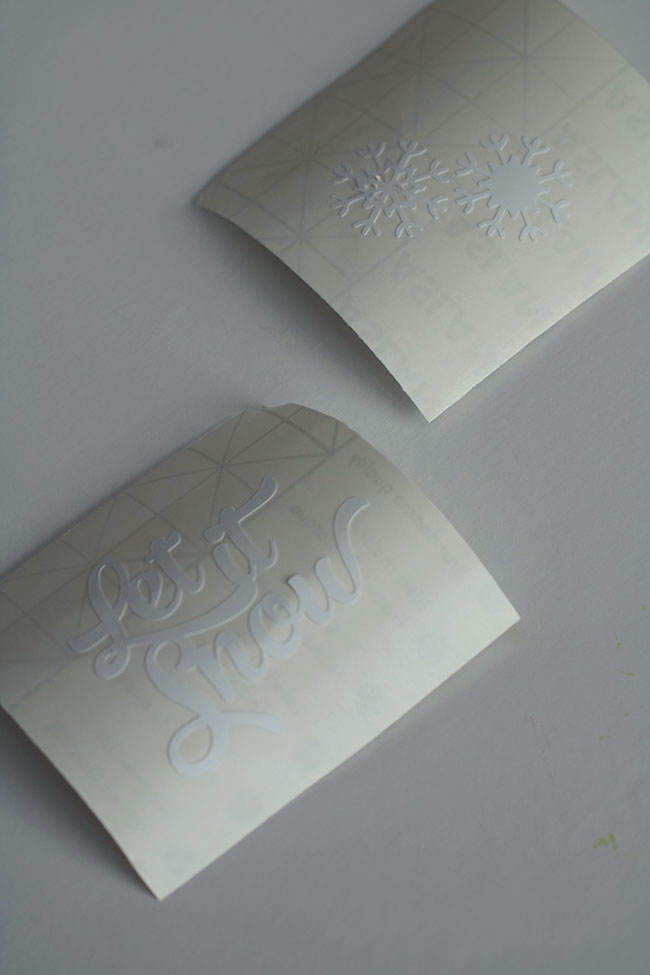
After your design is cut with the Silhouette, pull away the excess vinyl.


OrnaMakeS3 OrnaMakeS4
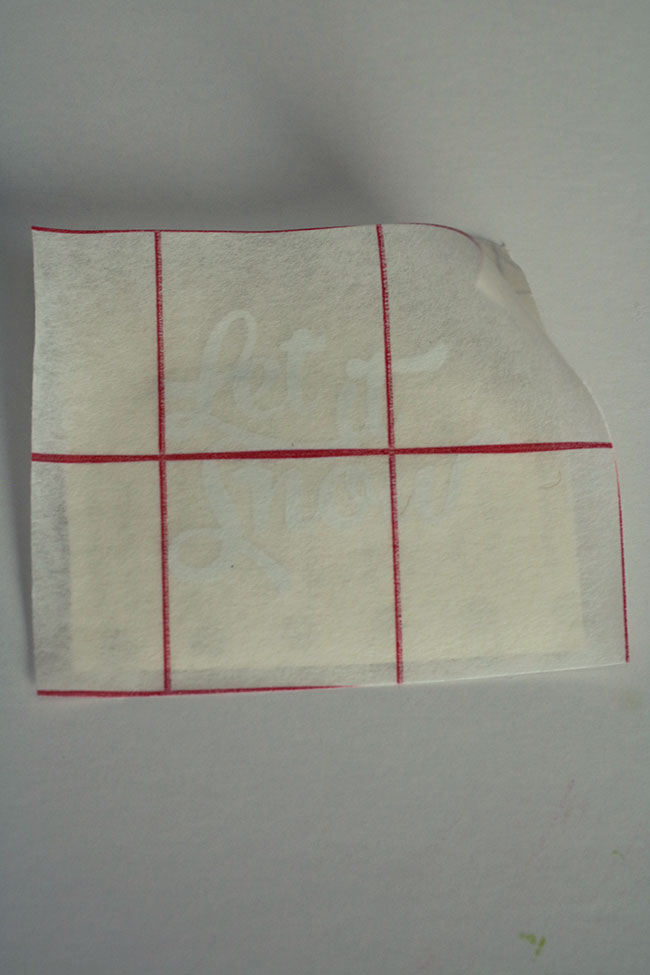
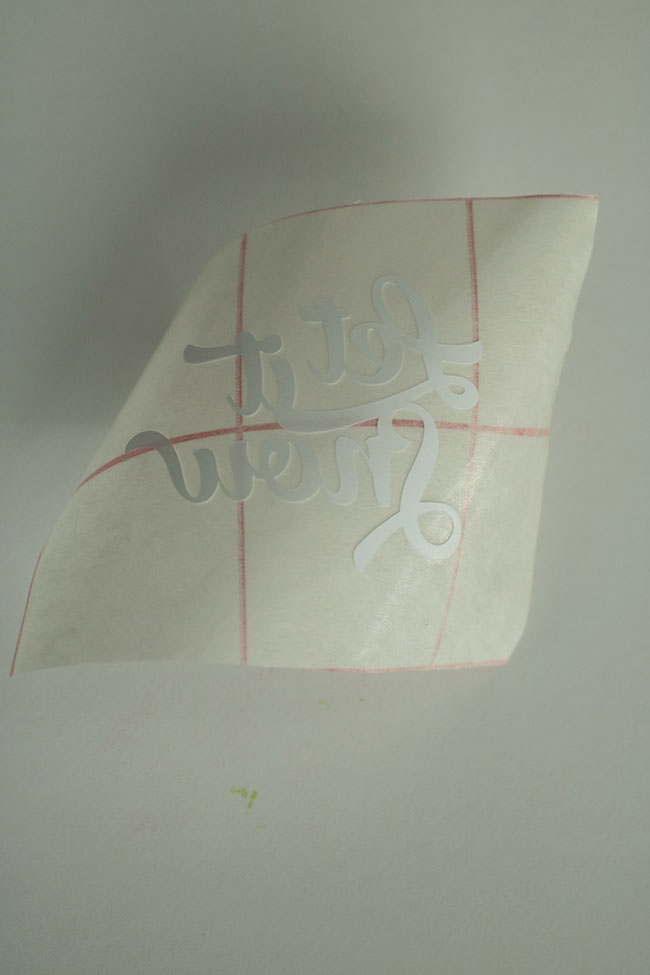
Take your backing paper and apply the sticky side down on top of your design. Peel it away so that the design is now on the sticky backing paper.


OrnaMakeS5 OrnaMakeS6
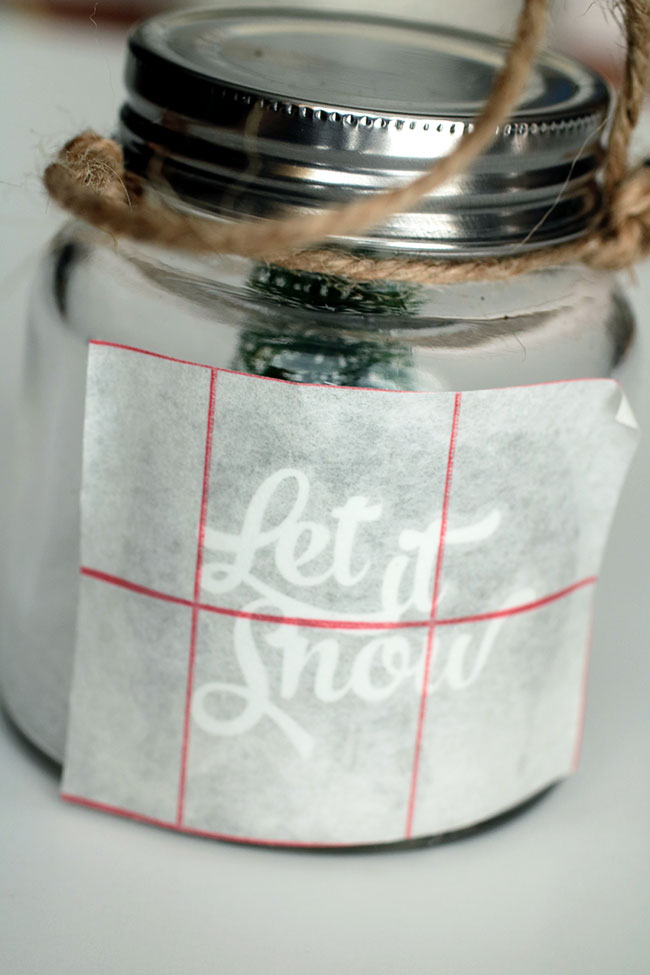
Apply it to your jar and peel away. You now have the design on your jar!


OnTree3
I hope you enjoyed this ornament craft! Don't forget to enter the giveaway below!


Want to Check Out More Silhouette Projects?
My Silhouette Challenge buddies and I would love for you to stop by to check out all of our holiday projects today.

DIY Monogram PillowsVintage Christmas Tree Truck CutoutMake A Sparkly Holiday ClutchHandmade Christmas CardsWood Christmas TreeChristmas Tree Farm SignMetallic Vinyl FunNutcracker Sweets Faux Enamel SignDIY Glittered Merry Christmas BannerChristmas Noel BannerPersonalized Glitter Hair Stylist OrnamentMason Jar Christmas Tree OrnamentsDIY Flannel Foot WarmerScrap Block Christmas TreeHandmade Christmas Gift TagsJoy to the World Print and CutPapa Bear, Mama Bear, Baby Bear T-Shirt Trio GiftHug in a Mug
1. Small Stuff Counts // 2. My Paper Craze // 3. HaberdasheryFun // 4. Create & Babble // 5. Creative Ramblings // 6. Cutesy Crafts // 7. GiveMeAPaintbrush // 8. Architecture of a Mom // 9. The Crafting Nook // 10. Get Silvered // 11. Where The Smiles Have Been // 12. Curly Crafty Mom // 13. unOriginal Mom // 14. Ginger Snap Crafts // 15. Practically Functional // 16. Sisters, What! // 17. The Thinking Closet // 18. Dream a Little Bigger 
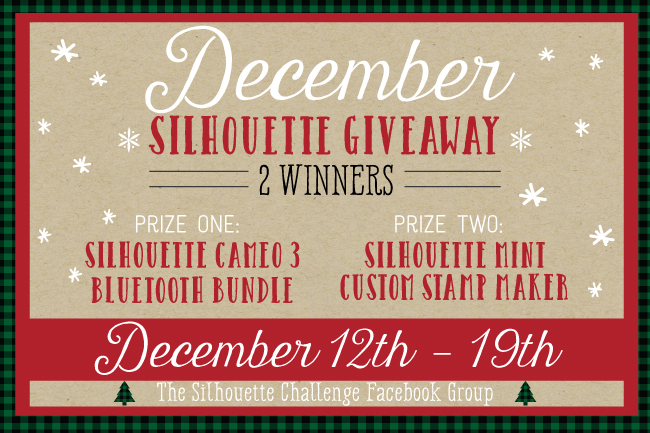
Silhouette Giveaway
My Silhouette Challenge buddies and I in partnership with Silhouette America are hosting a mega-huge giveaway for TWO lucky winners! The prizes up for grabs?
Sweet, huh? To enter: just complete the entries in the Rafflecopter widget below. Because of my many blog friends who helped make this giveaway possible, you have 33 potential entries, which means a lot of winning power. So, hurry up and enter! {This giveaway runs from today through Monday, December 19th at 11:59 p.m. eastern and is open to anyone 18 years of age or older with a U.S. or Canada mailing address. You can read the rest of the terms and conditions in the widget below.} 

a Rafflecopter giveaway

Comments

Popular posts from this blog

Thursday Fashion Files Link Up #80 - Fall Colors with RoseGal!

Welcome to Thursday Fashion Files! Welcome to Thursday Fashion Files with Jill at  Doused in Pink  and Carrie at  Curly Crafty Mom ! We are excited to have you here and would love to have you link up one of your latest outfits with us. We are always looking for Co-Hosts for Thursday Fashion Files. If you haven't signed up to Co-Host, but are interested, sign up by clicking  HERE . Visit our  Thursday Fashion Files Pinterest board ! We will be pinning our top two picks along with our own outfits for that week. Be sure to click  HERE  to join our Pinterest board! It is still pretty hot here and I'm trying to get in the fall mood... so, I'm sharing some 'light' fall outfits today c/o RoseGal that you won't sweat too much in while the temps are still in the mid to upper 80's! In the first outfit I'm wearing a beautiful cold shouldered olive tunic with leggings and booties. I am so happy to get my leggings out again! Then, in the second outfit I'm wearin...

5 Ways to Bring Spring Into Your Home

The weather here in St. Louis has gone from 70 degrees to tornado watches/warnings and now to possible snow/ice this weekend. Whew! I am SO ready for Spring and for Daylight Saving Time. Today I'm sharing with you how to bring Spring to your home sooner with 5 Ways To Bring Spring Into Your Home . Bringing a little Spring into your home is rather easy. You don't need to change up your entire decor, at least not yet... What I try to do is add little touches here and there. 1. Spring Wreaths One way that I bring Spring into my home is by placing a Spring wreath on my front door or on some of the interior doors in the home. My absolute favorite Spring wreath that I've done is my Split Pea Wreath below, but I'm currently working on a Tulip wreath which I'll be sharing in a couple of weeks! I'm also sharing a couple of other Spring wreaths that I've made below: Split Pea Wreath with Burlap Bow Some other Spring wreaths I've designed:   Simple Spring Hoop Wrea...

Thankful Tree #PAWsomeGifts #ClausAndPaws

This shop has been compensated by Collective Bias, Inc. and its advertiser, MARS Incorporated. All opinions are mine alone. #PAWsomeGifts #ClausAndPaws #CollectiveBias This Thanksgiving, I wanted to do something special for our cat, Rose. I have a Thanksgiving light up tree that I put up every year, but I wanted to turn it into a 'thankful tree' to appreciate our cat. I created some leaves for the tree that we could hang up on it every time Rose did something good. If Rose earned 5 leaves on the tree, we would fill her  Temptations® Snacky Mouse  with her favorite treats from MARS Pet at Walmart . If she was bad, we would take a leaf away... Rose tends to 'sneak' into our garage at times when I'm loading it up with the kids backpacks in the morning or unloading groceries. So, the thankful tree is to encourage good behavior and to show her that we appreciate her and are thankful for her good behavior! Shop for Rewards for your Cat   I visited my local Walmart store...