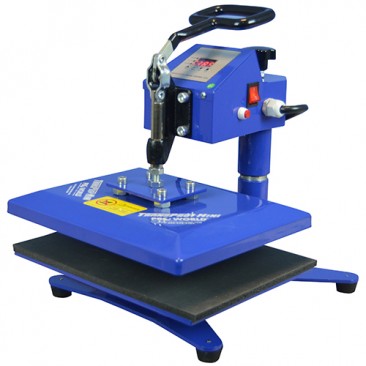
Happy Sunday everyone! I don't normally post on Sunday, except for my Creative Corner linky party on Sunday night... HOWEVER, as the title says... OH deer, it's almost Christmas! So, if you're like me and you enjoy making some homemade ornaments, you'll love this easy as pie Deer Ornament Tutorial! PLUS, as a HUGE bonus... you have a chance to win a Trans Pro Mini Heat Press ($199 Value!).
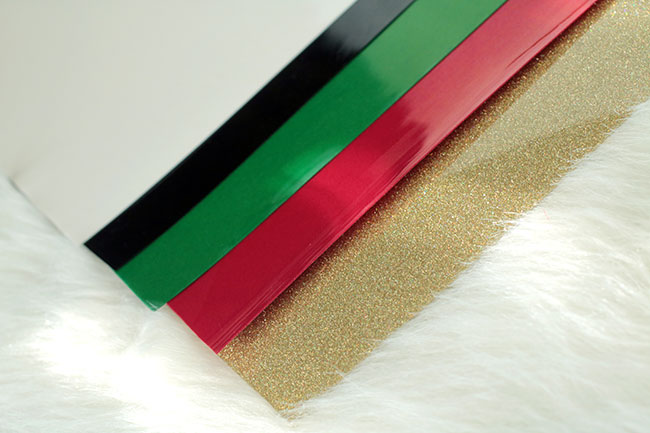
A huge thanks to Pro World for suppling me with a holiday package of Siser Strip Flocked Heat Transfer Vinyl and regular Siser EasyWeed in Black to come up with a holiday craft. They are also sponsoring the Heat Transfer Giveaway. I have been using Pro World for all of my vinyl needs for my Silhouette machine and I was thoroughly impressed by the flocked heat transfer vinyl that they sent me to try out!
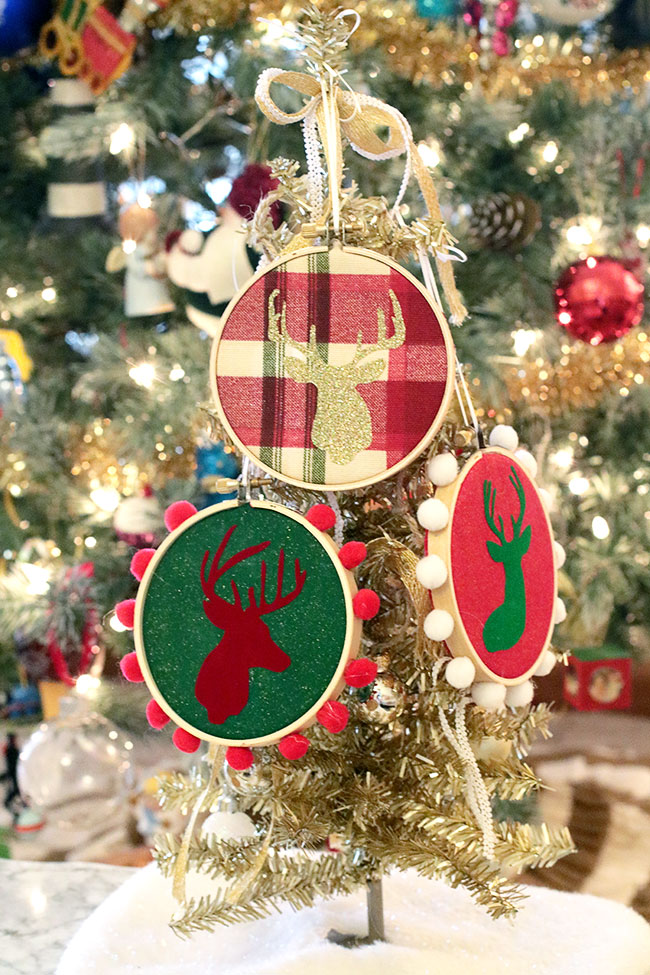
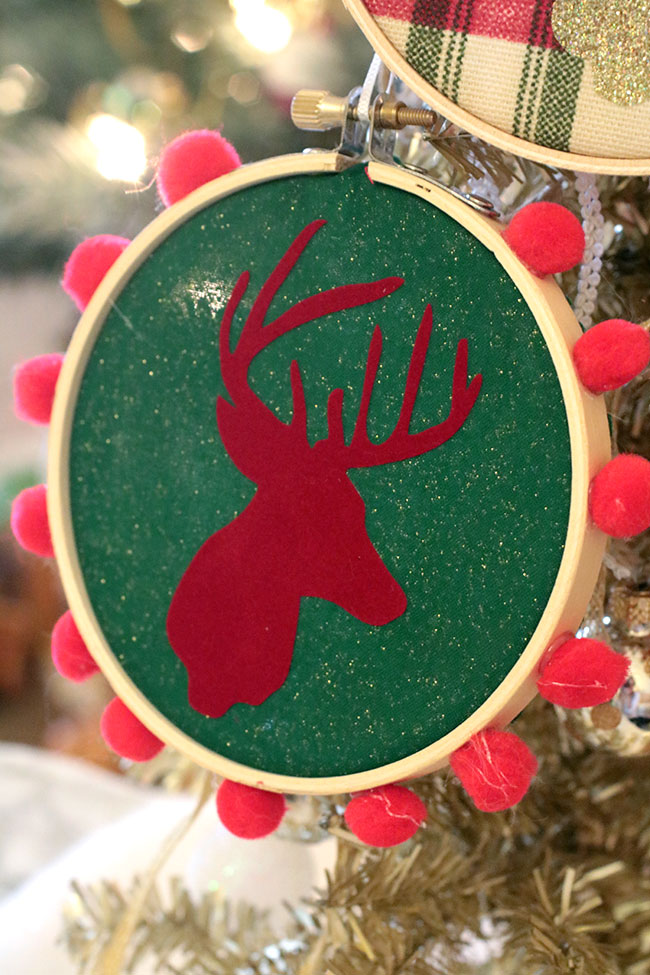
Deer Ornament Tutorial
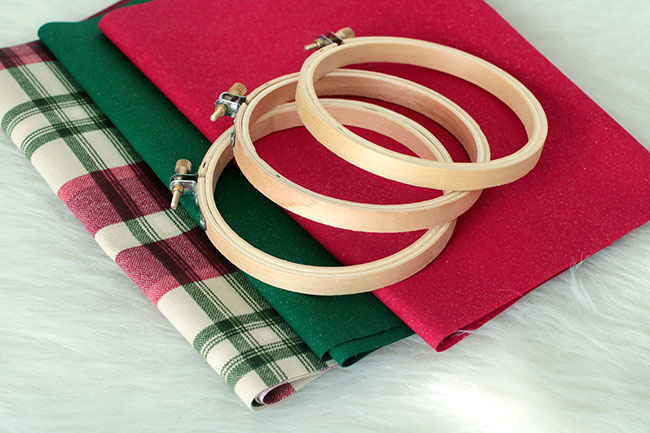
You'll need vinyl, fabric and small embroidery hoops. You could also use mason jar lids instead of embroidery hoops. (Not pictured: you may want some thin ribbon to hang the ornament with and pom poms to decorate the outside of the embroidery hoop.)
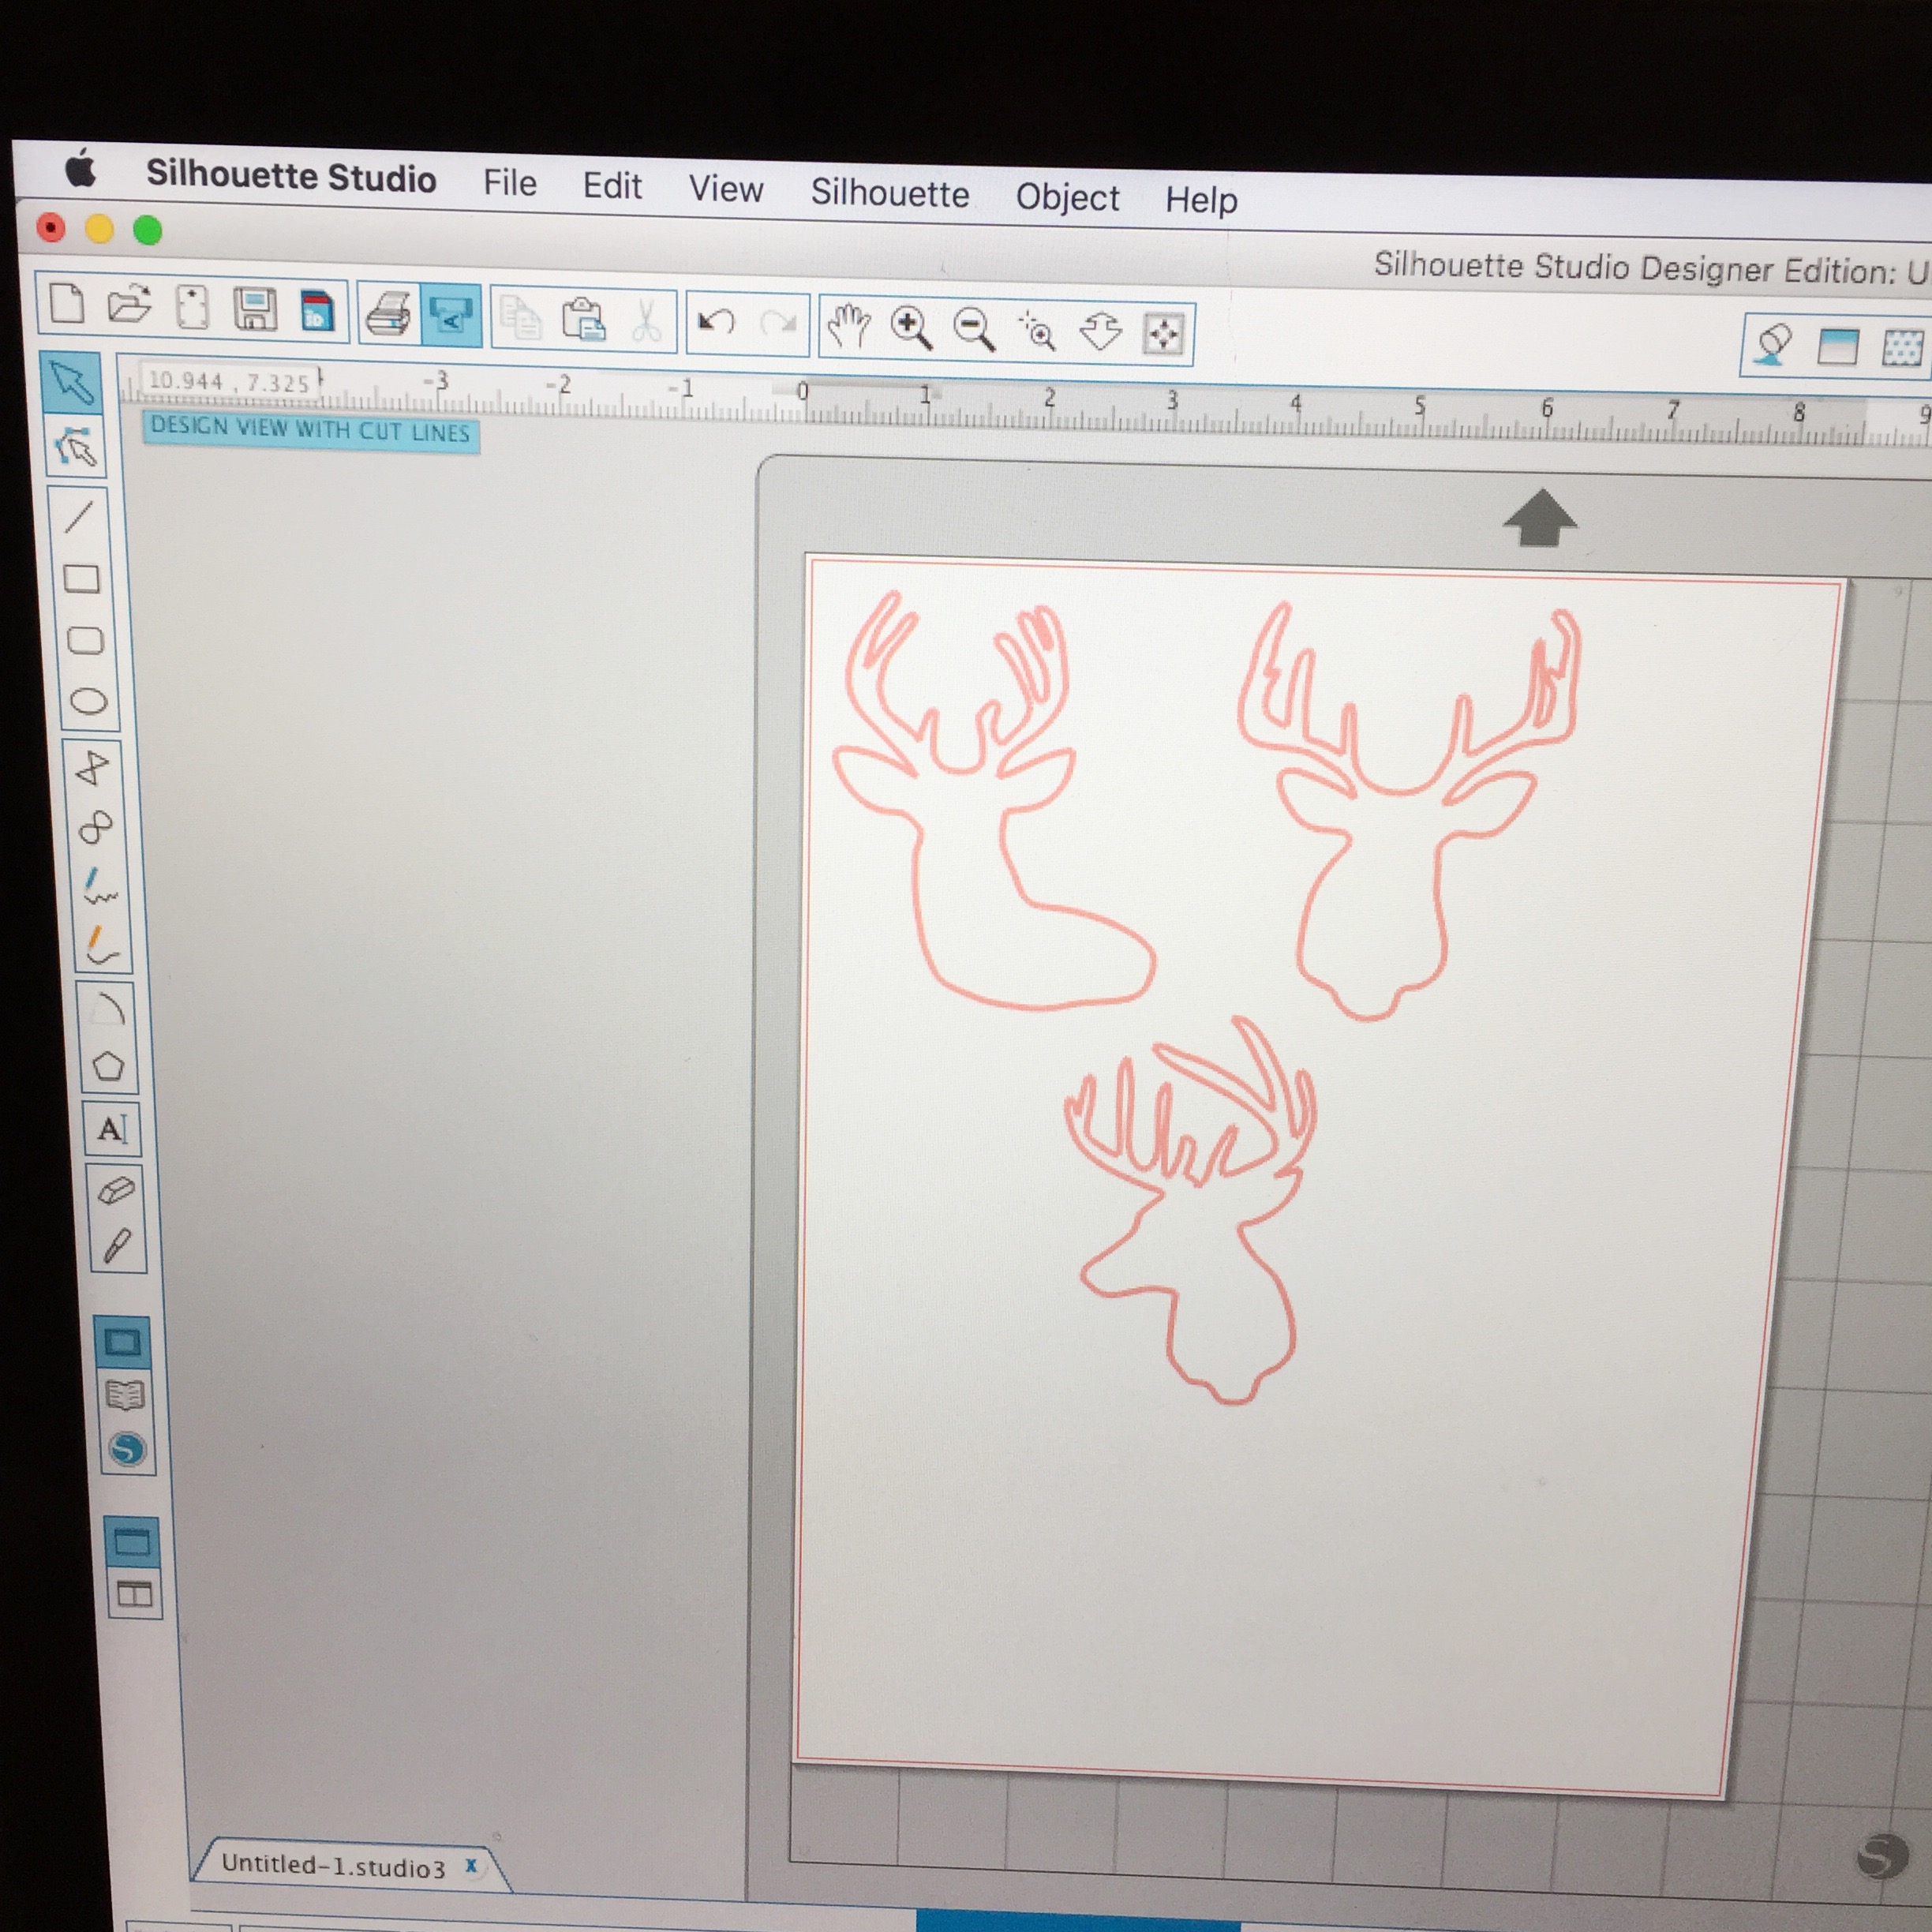
I went into the Silhouette store and found a design with 3 different deer.

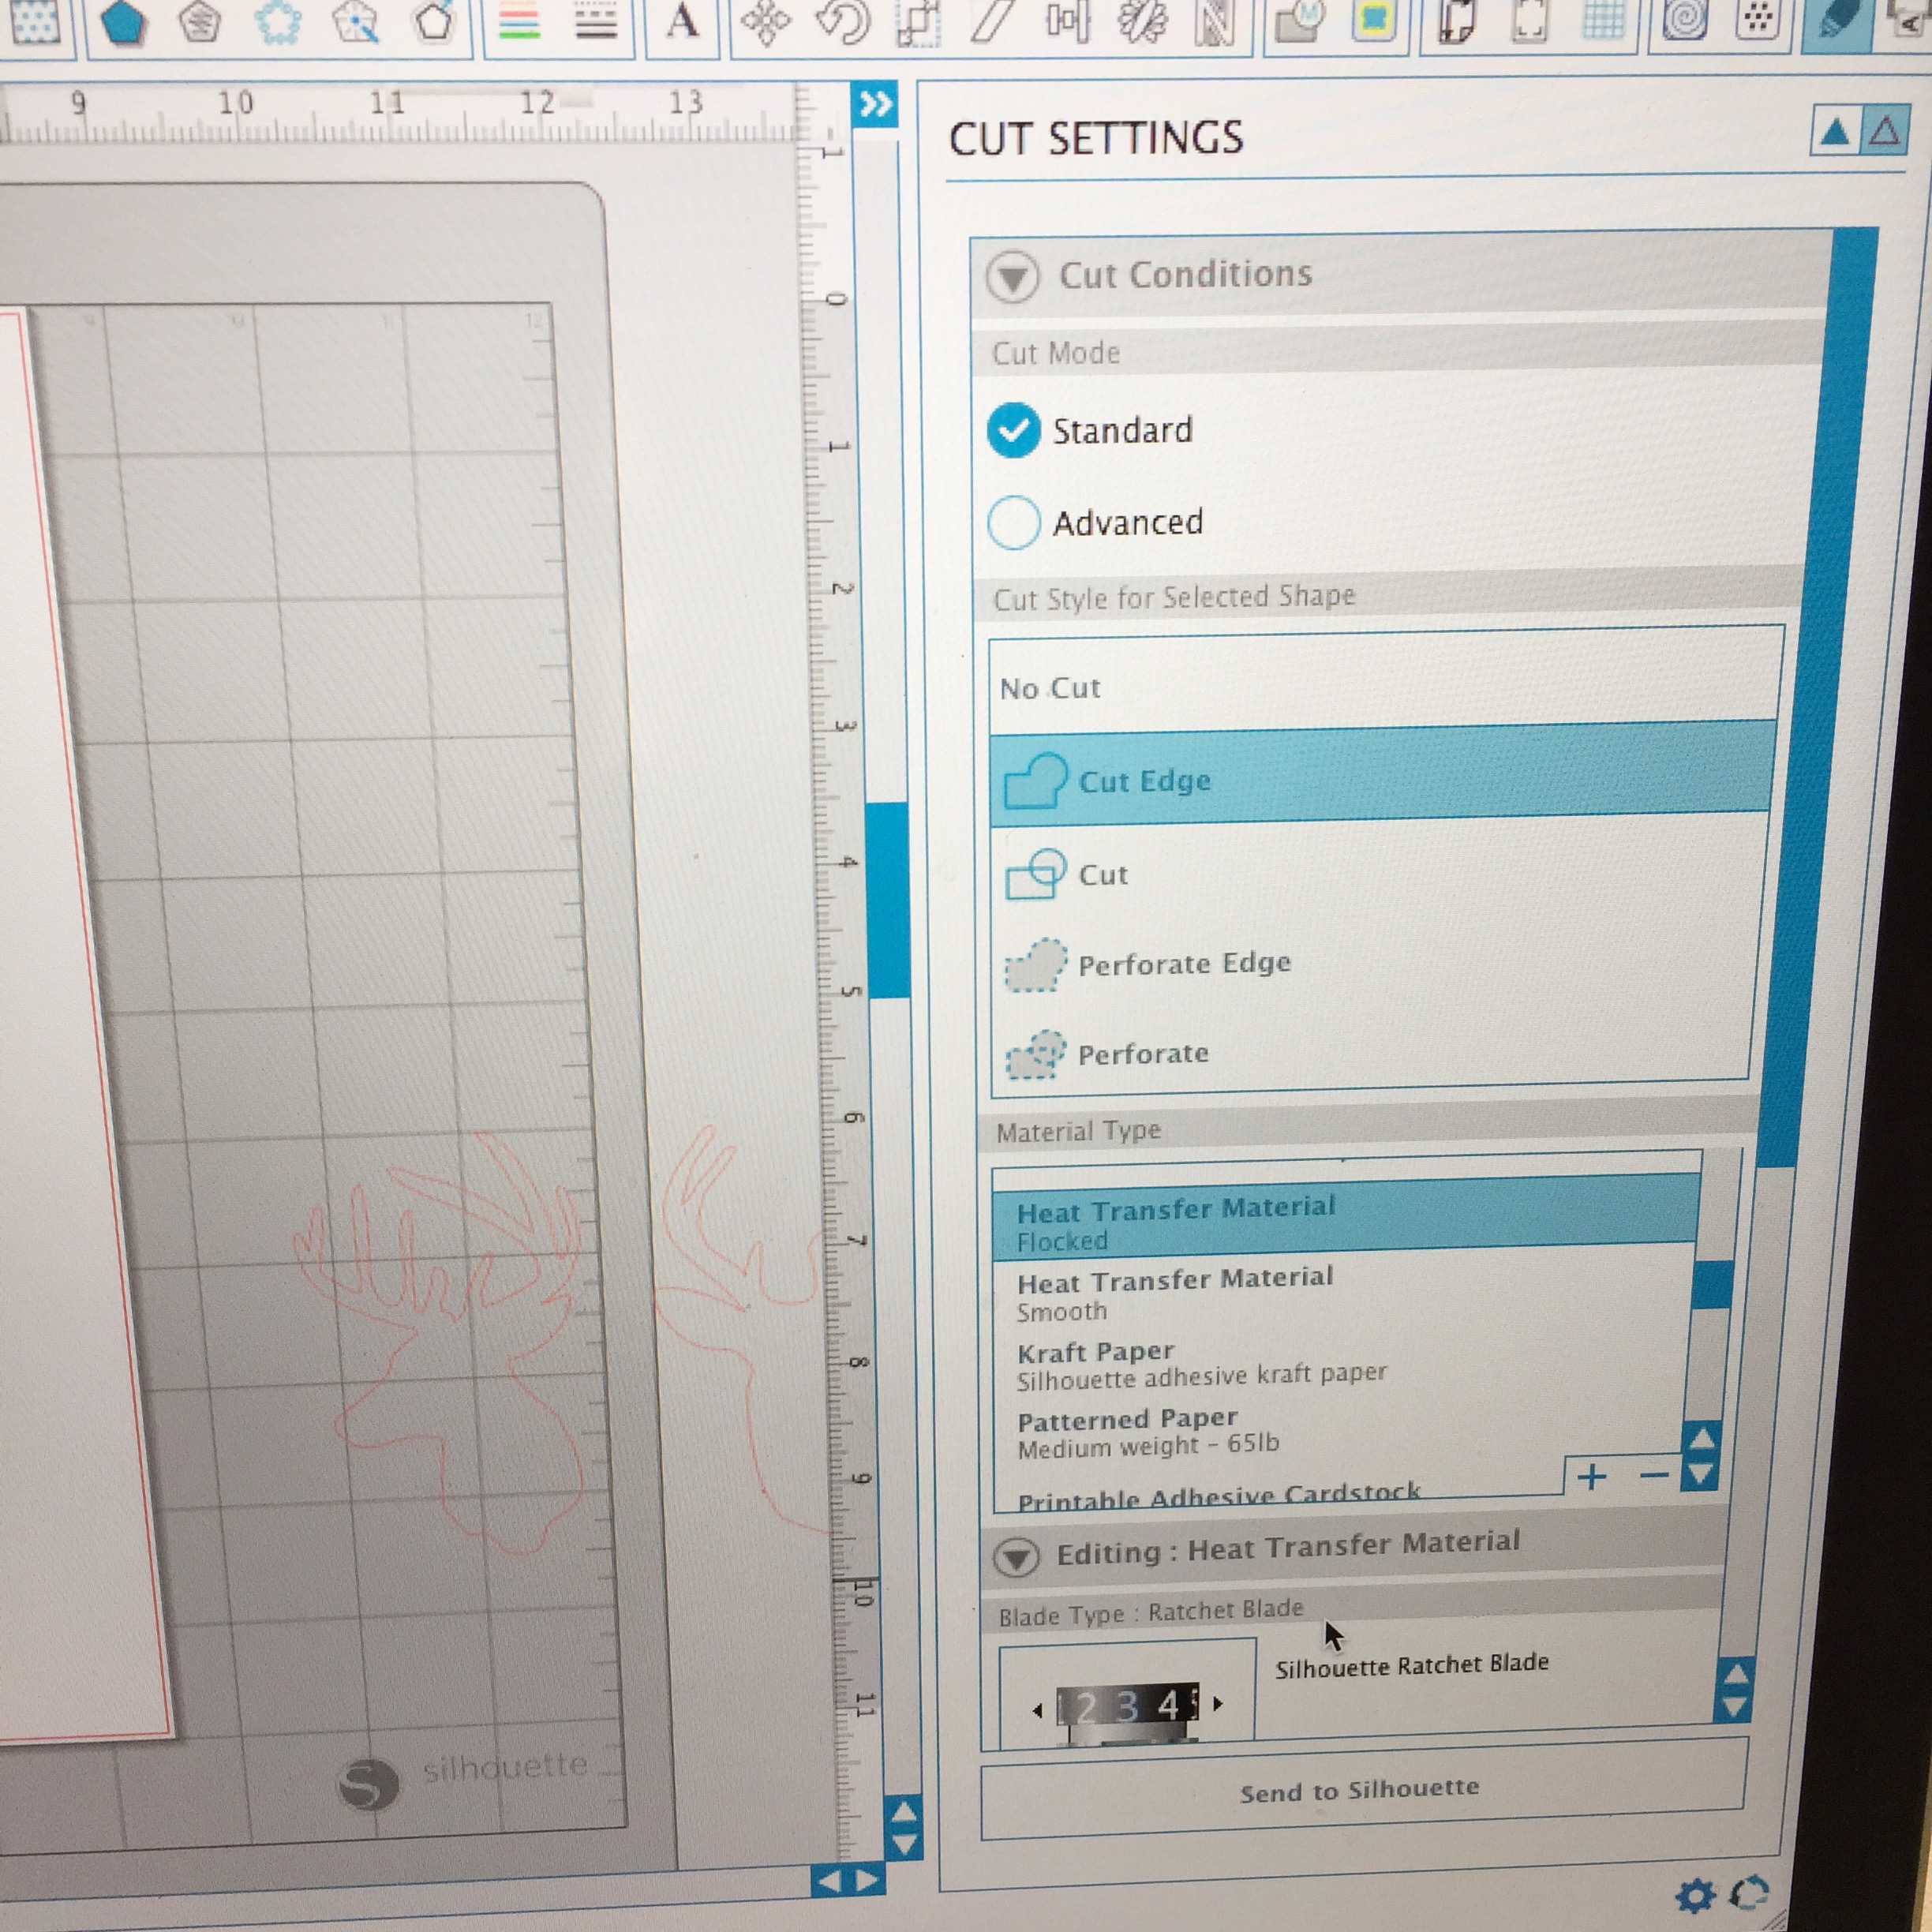
You will want to go to Object>Mirror>Flip Horizontally since you are ironing these onto fabric. In my Cut Settings, I had Cut Edge and Heat Transfer Material Flocked selected. I had to increase my blade to a 6 (it says to do 4) and then I was set to cut my designs! When loading your vinyl into your machine, make sure that the dull side is face up.
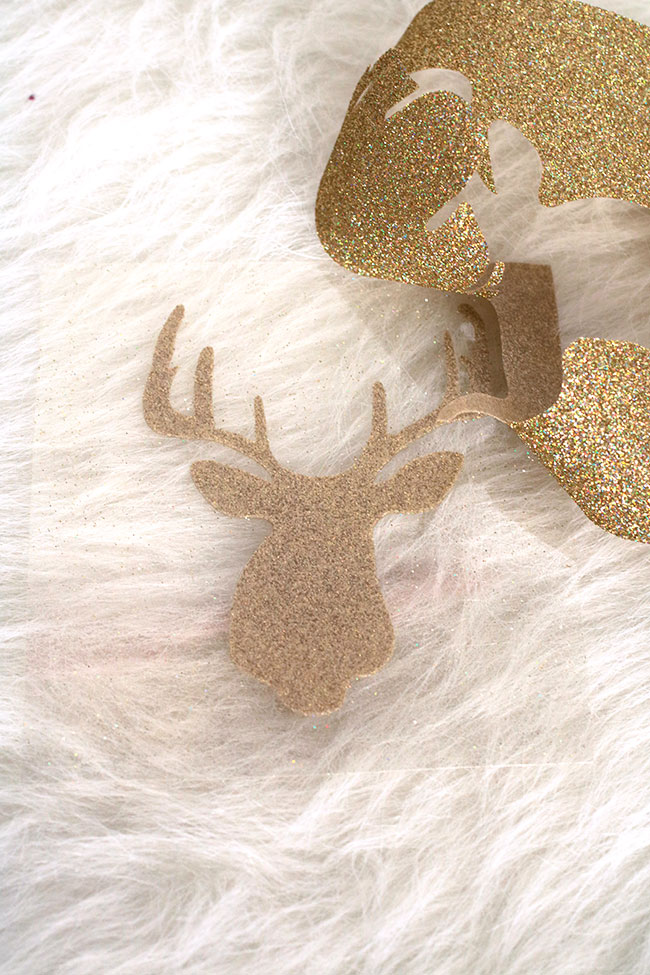
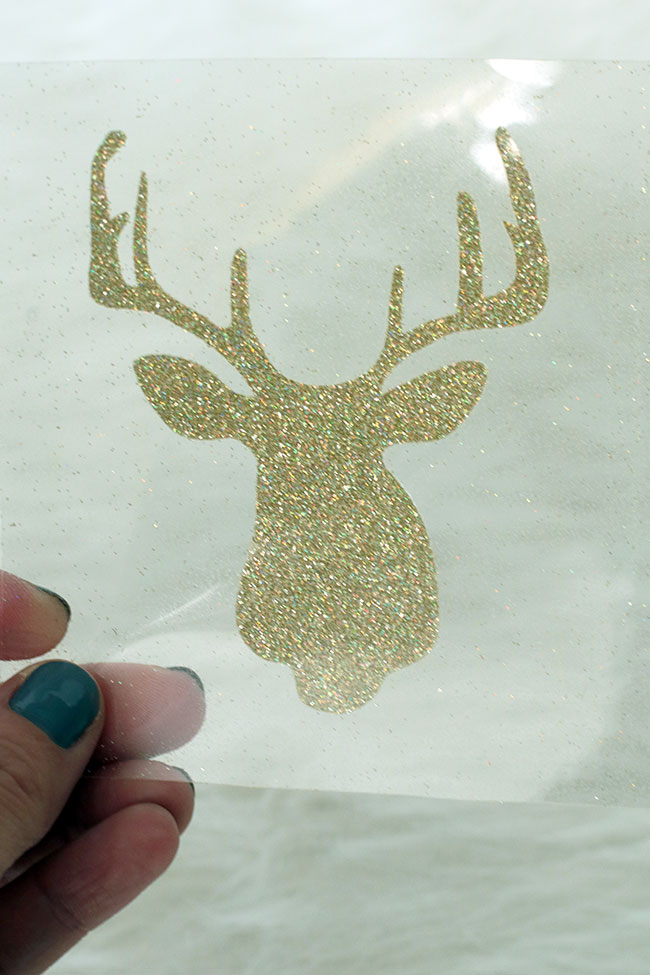
After my Silhouette machine cut out the design, I peeled away the vinyl around it.
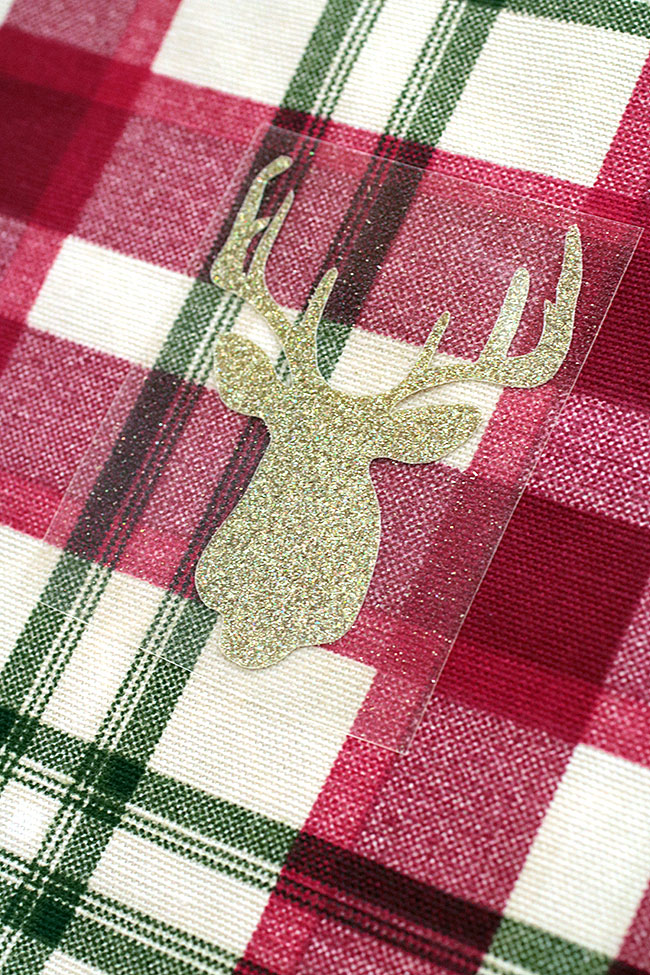
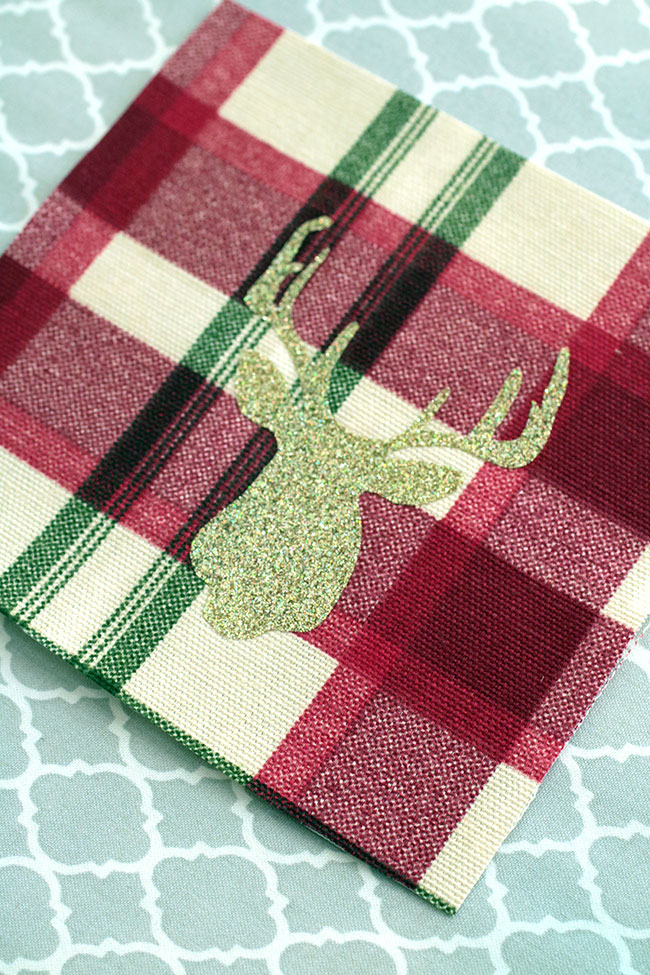
Place your vinyl on top of your fabric and cover it with a thin piece of fabric. Press your iron down on top. Once it has adhered to the fabric, pull the clear backing sheet off and you'll have your design on your fabric!
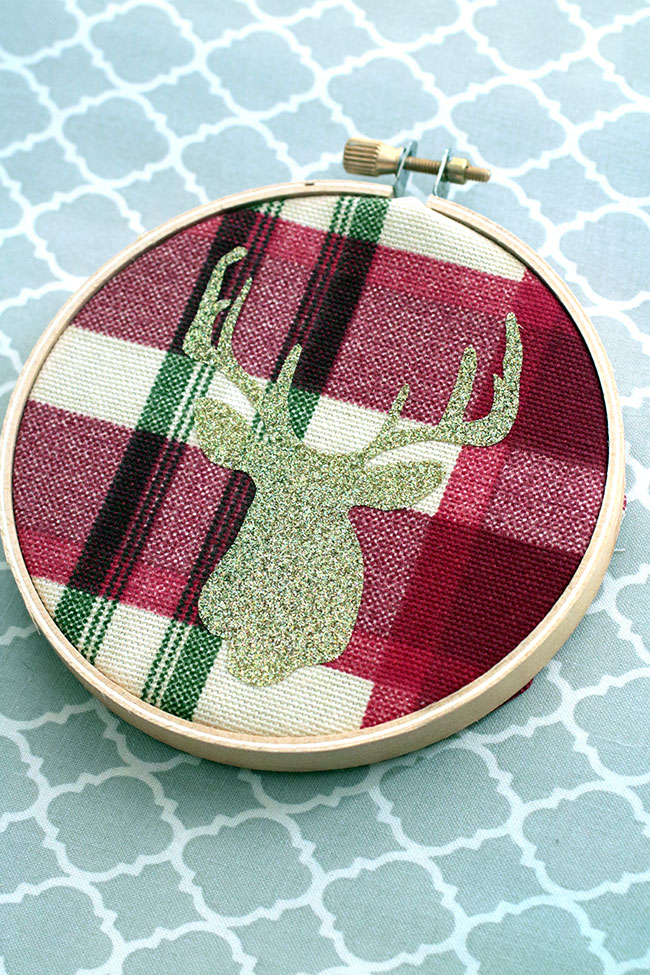
Place fabric inside your embroidery hoop and trim the edges.
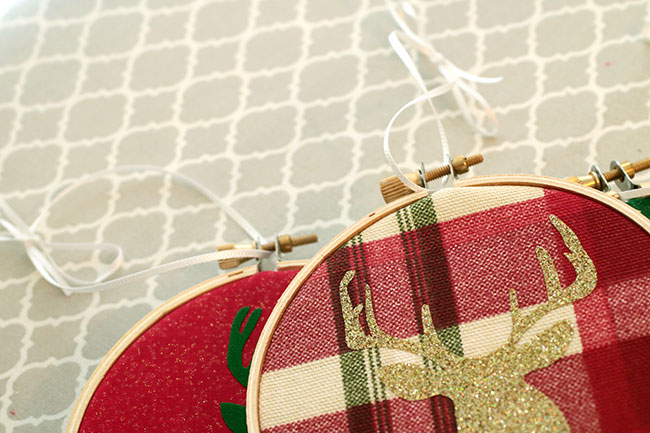
I used some thin ribbon to make a hanger for each of the ornaments.
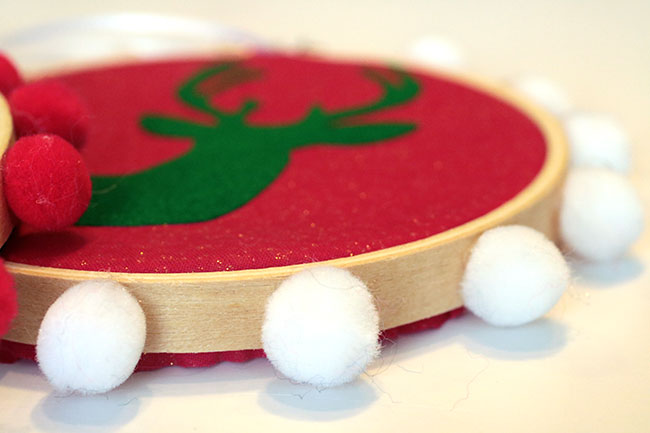
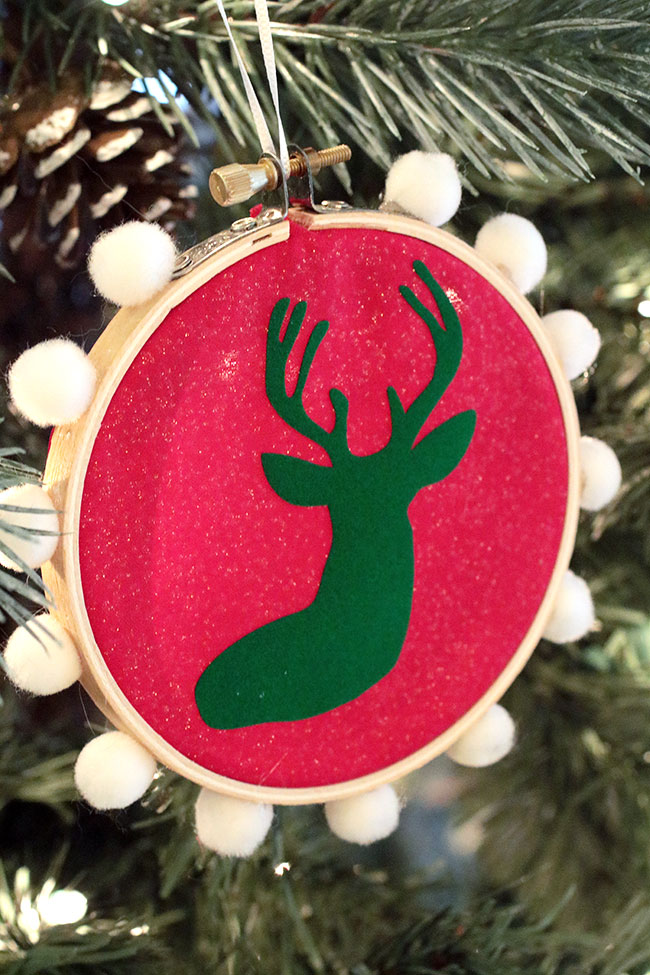
You can also hot glue pom poms around the outside of the embroidery hoop.
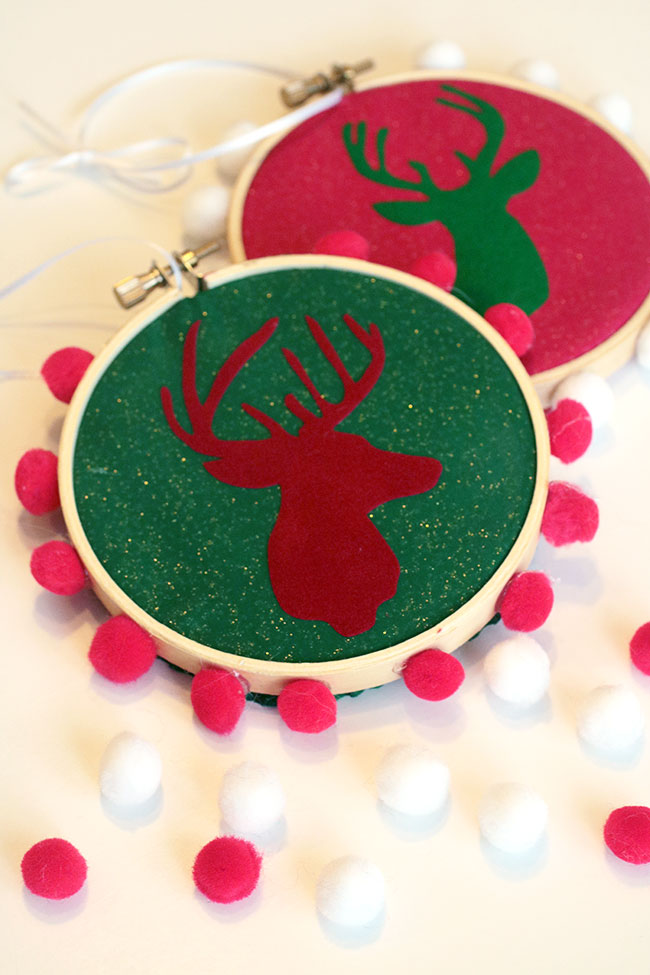
These pom poms really worked great on the fabrics that were solid with gold flecks.
And, that's it! I had so much fun making these and I had a lot of the supplies already at home.
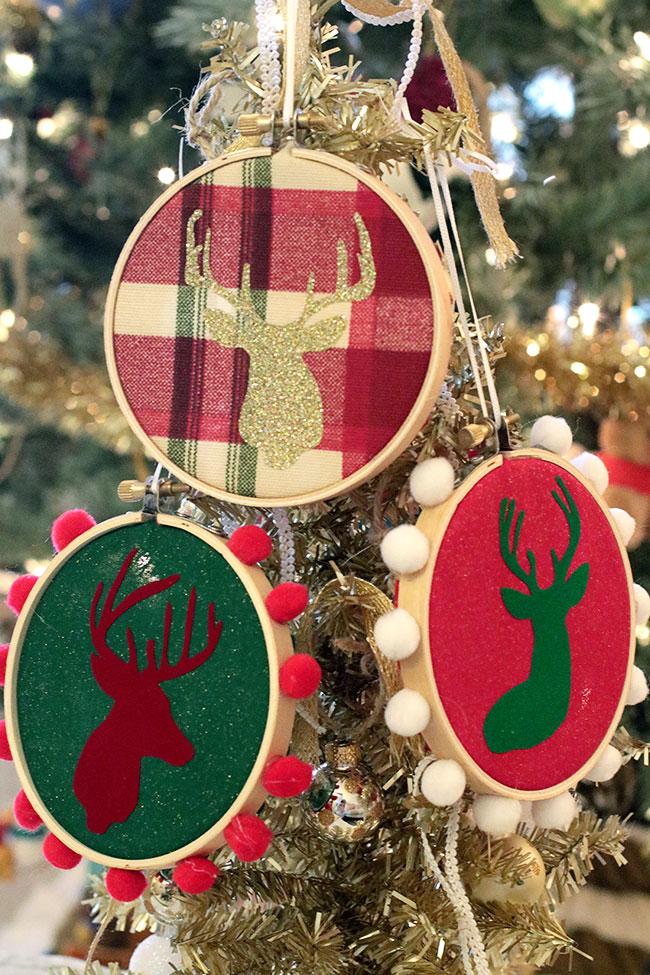
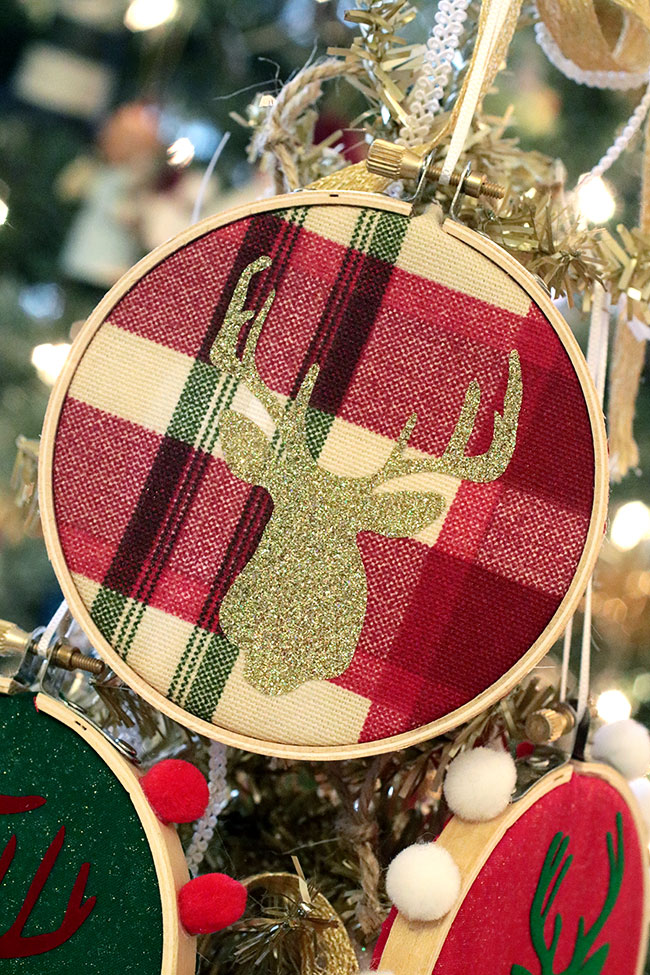
Round Up of the Ornaments
Don't forget to enter the giveaway for a Trans Pro Mini Heat Press ($199 Value!):
a Rafflecopter giveaway
Contest Terms and Conditions: A winner will be randomly selected and contacted on 12/12 via the social channel that they won from. The winner will have 24 hours to claim their prize. At that time Pro World will mail the heat press to the winner so that they can start crafting! In order to win the heat press you must be 18 years or older and live within the United States. This giveaway is in no way sponsored by facebook, instagram or twitter.
Comments
Post a Comment