
I'm back today to share another Invisalign update. The next time I update y'all it will be the LAST update (unless there are any surprises!). I can't believe how fast this entire process went.
Today I am going to share the progress and photos of REVISION trays 1-12. There are 18 trays total and then I am DONE (unless I or my orthodontist sees anything that needs to be corrected still). I had 15 trays before these revision trays and I've linked the posts below if you want to start at the beginning of my journey.
Past Invisalign Posts:
My Invisalign Journey (Trays 1-8) and Progression Photos
My Invisalign Journey (Trays 9-15) and Progression Photos
Progress Photos
These are pictures of my teeth and some are close ups... so, just a little warning. :) Probably not the most flattering photos, but I want to share how they changed from tray to tray and you can't do that unless you show some close ups.
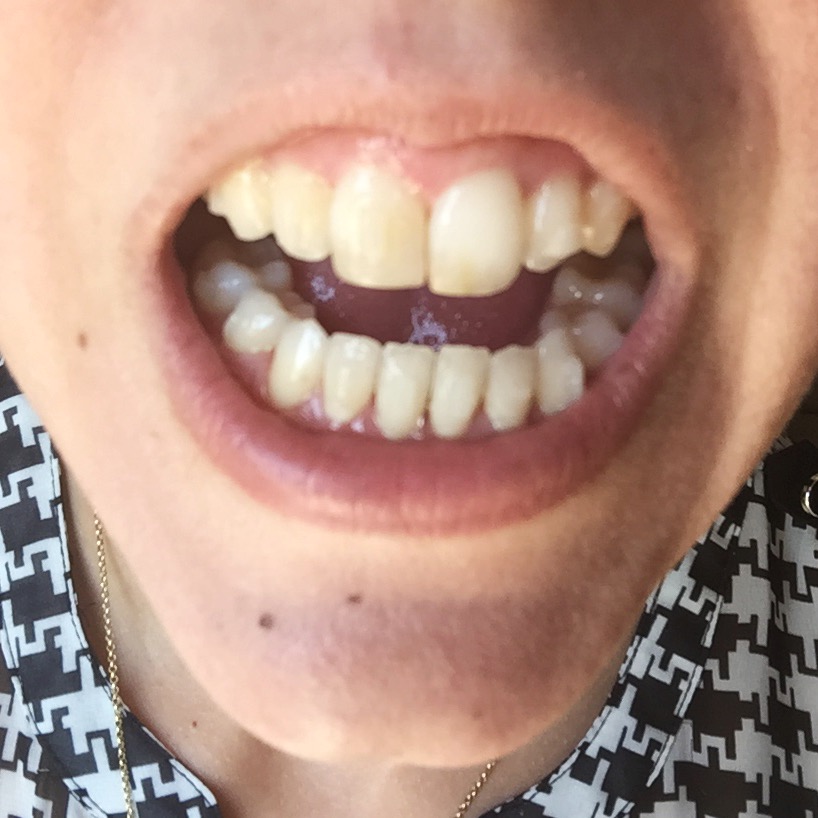
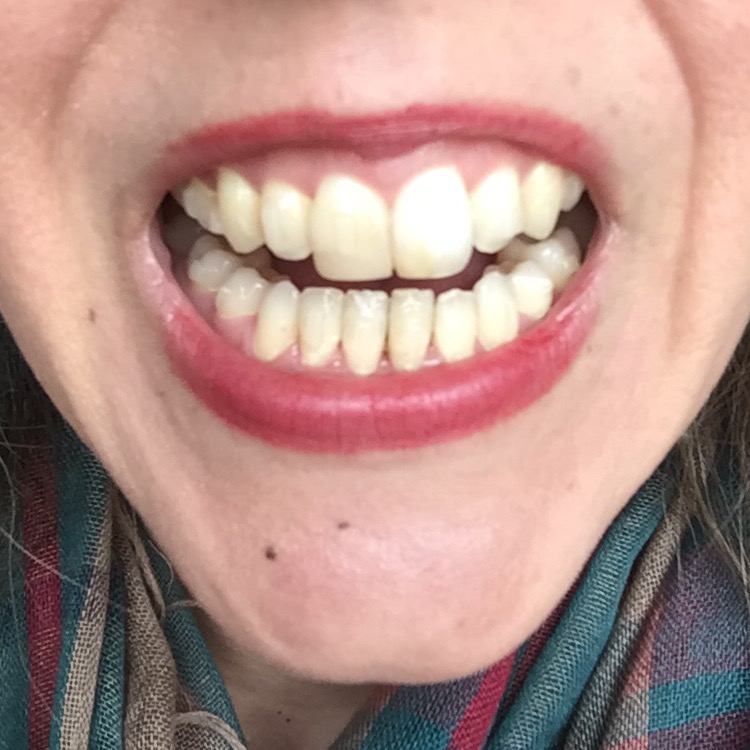
Before Invisalign


Just as a reminder.... this is what my teeth looked like before Invisalign. I'm also having a bad hair day here, if I remember correctly it was cold and rainy.
Whitening & What Happens After Last Revision Tray
I'll start whitening soon, I need to talk to my orthodontist about when would be the best time to start. I think I want to start once I finish my last revision tray and they remove all of the 'buttons' that are on my teeth. I have to wear a tray for 6 months (22 hours a day, same as the other trays) after I finish Invisalign, because your teeth will try to move back. After that I will get a lifetime night retainer to wear. Whitening only takes 2 weeks and I'll add a little bleach inside my retainers for it. I'm going to buy a tube of whitening for $40. They want me to brush with Sensodyne (it makes your teeth less sensitive) for a week before I start the bleach.
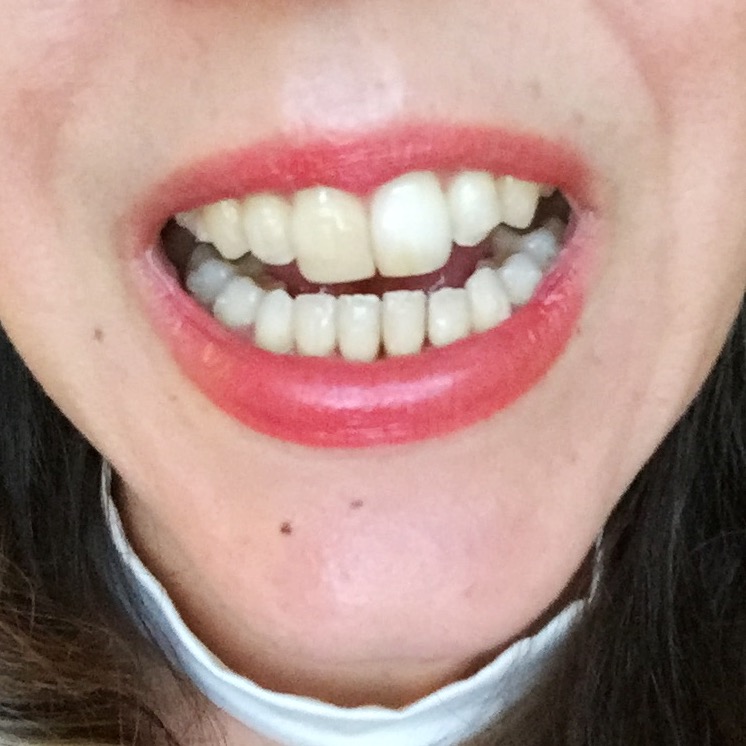
Veneers
Veneers
After I finish Tray 18, I will have Veneers put on my 4 front teeth in place of the bonding. This will give me a better smile since the bonding tends to stain after time. Only my 2 front teeth are chipped, but it is recommended to put the veneers on all 4 front teeth to give a more even smile. Now that this part is getting closer, I am getting a little nervous about it!
Now, let's do the Progression Photos!
Before Invisalign
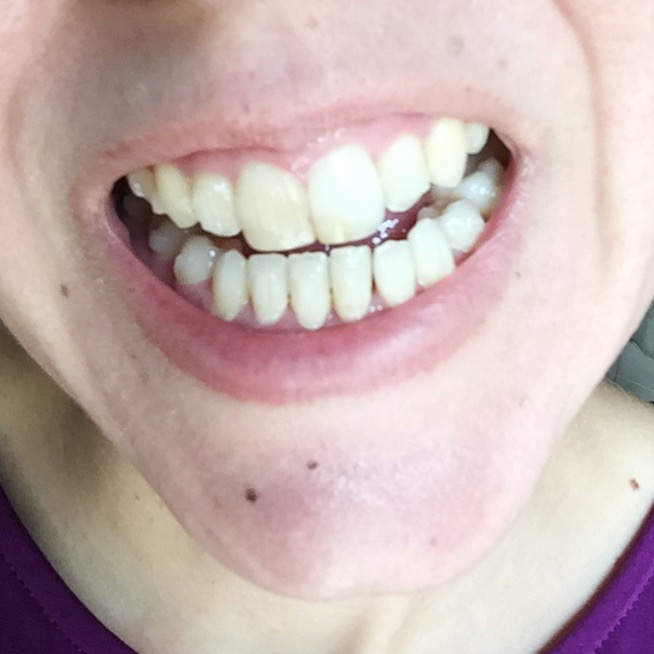
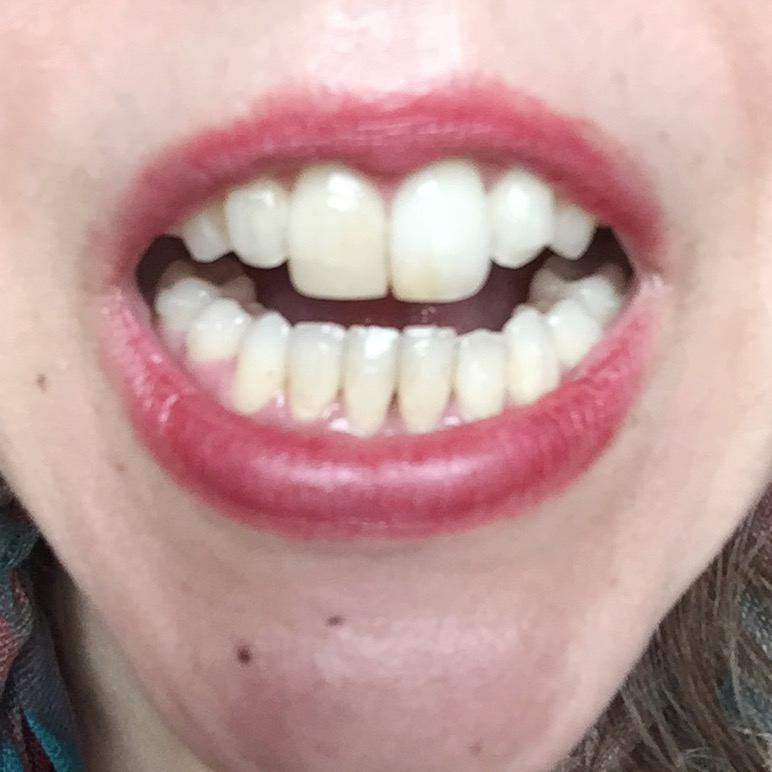
Invisalign Revision Tray 12 (Currently)

Now, I'll show you the progression that I've made week by week. This is the first time I've missed some weeks, oops! BUT, he's been having me change out trays WEEKLY instead of biweekly, so there probably isn't AS much change.
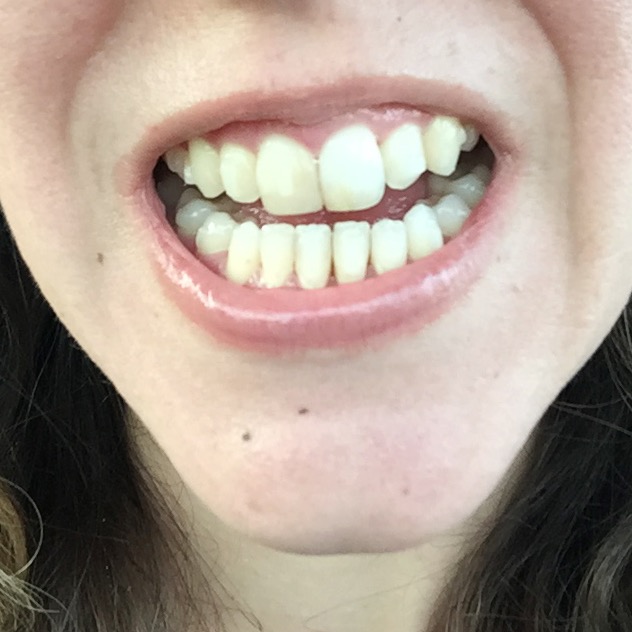
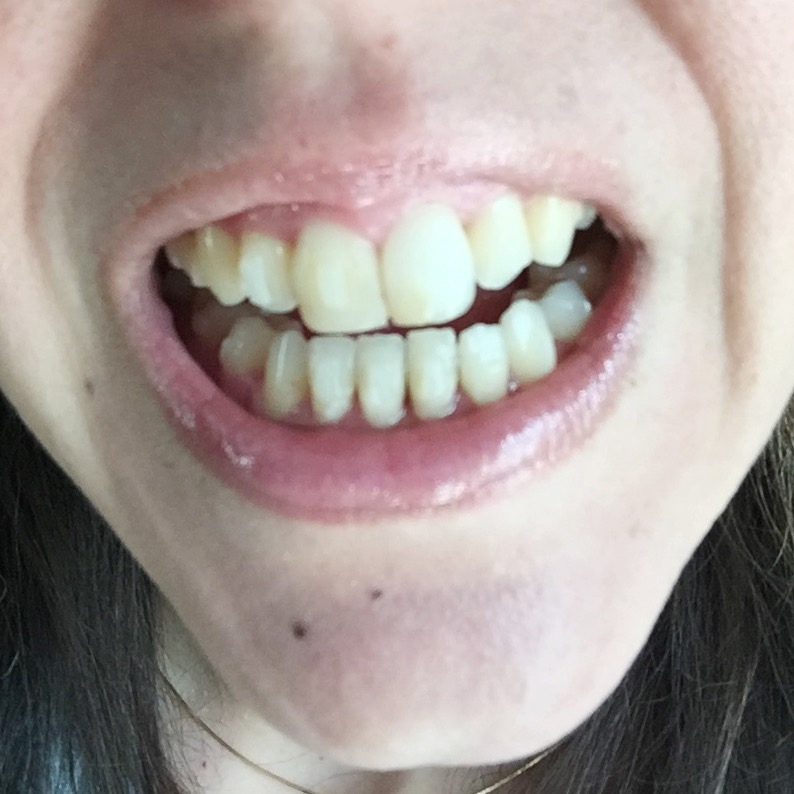
Invisalign Revision Tray 1

Now, let's do the Progression Photos!
Before Invisalign
Invisalign Revision Tray 12 (Currently)
Now, I'll show you the progression that I've made week by week. This is the first time I've missed some weeks, oops! BUT, he's been having me change out trays WEEKLY instead of biweekly, so there probably isn't AS much change.
Invisalign Revision Tray 1
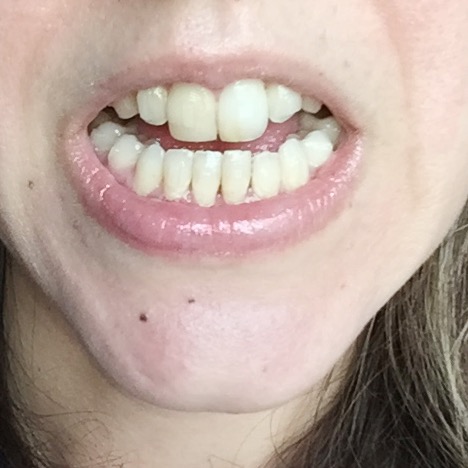
Invisalign Revision Tray 2
No photos :(
Invisalign Revision Tray 3

Invisalign Revision Tray 4

Invisalign Revision Tray 5
No photos :(
Invisalign Revision Tray 6

Invisalign Revision Tray 7

Invisalign Revision Tray 8

Invisalign Revision Tray 9

Invisalign Revision Tray 10
No photos :(

Invisalign Revision Tray 12
That is all I have for today, in the next post I hope to share the remaining trays (13-18), whitening and veneers... basically the FINISHED result. Let me know if you have any questions in the comments!
Comments
Post a Comment