Hey everyone! I am here today to share a Braided Bun Hair Tutorial using SoCozy's new hair products called HUSH. These products are dermatologist tested to treat sensitive hair. I also have a giveaway for ALL four products, so be sure to enter below!
SoCozy HUSH Collection
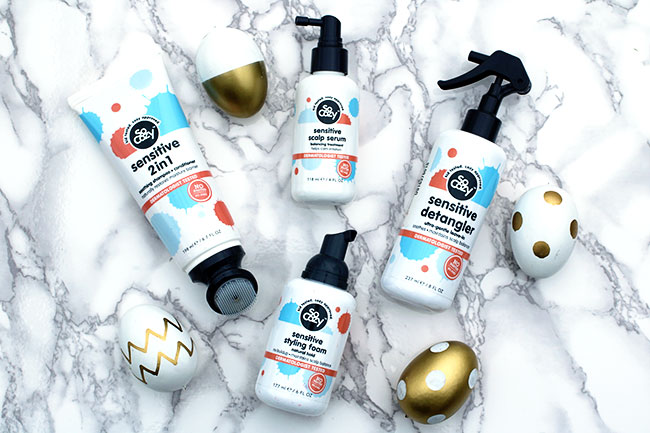
I went to Target to pick up all 4 products in the HUSH collection. You will find these products in the baby aisle, not in the regular hair product section. My daughter is 8, but she has dry and sensitive skin... so, these products were a dream for her!
Target is also offering a Cartwheel deal through 3/18 for 25% off the Hush collection!
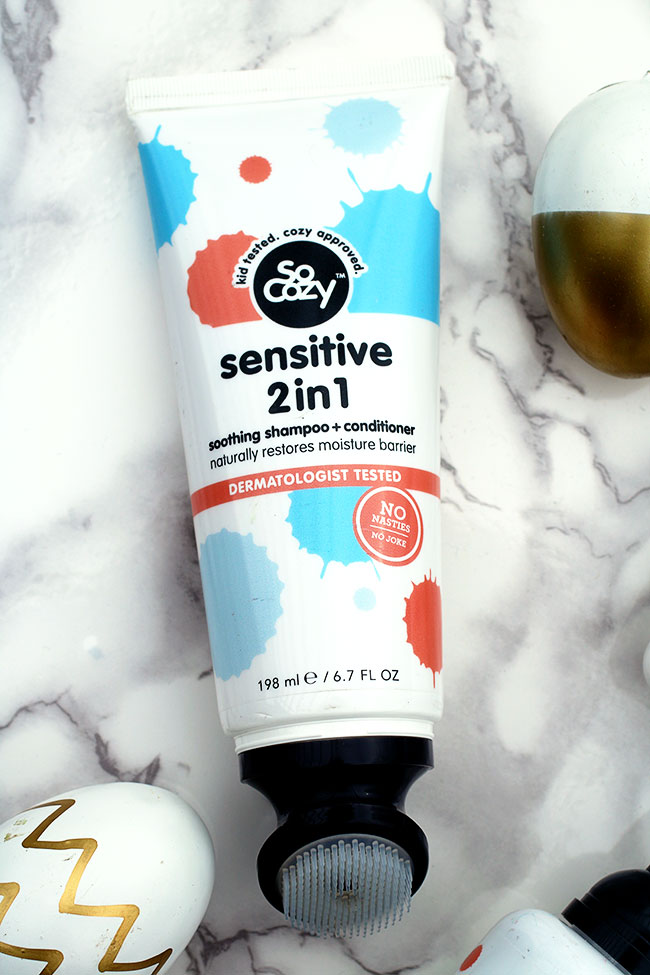
Hush SoCozy Sensitive 2 in 1 Soothing Shampoo + Conditioner - This has a 'brush' on it and the Shampoo and Conditioner comes out and you scrub the scalp. I wasn't sure if my daughter would like this, but she loved how it felt on her scalp!
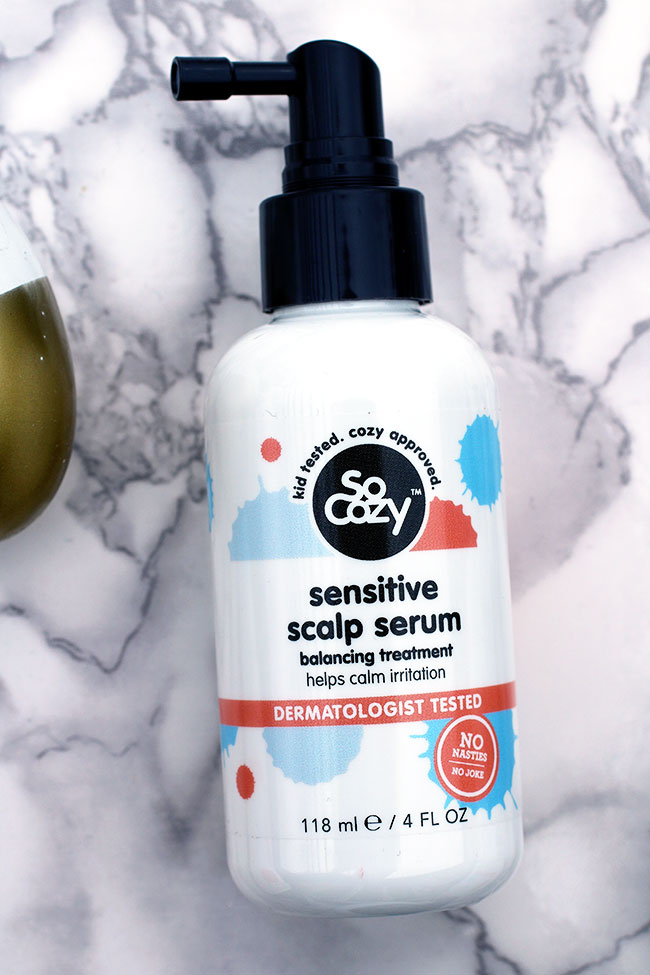
Hush SoCozy Sensitive Scalp Serum - I think this scalp serum would be great for babies, especially if they have cradle cap and you have to remove the build up and it leaves their head feeling sensitive. I did use it on my daughters scalp to try it out and she didn't mind it.
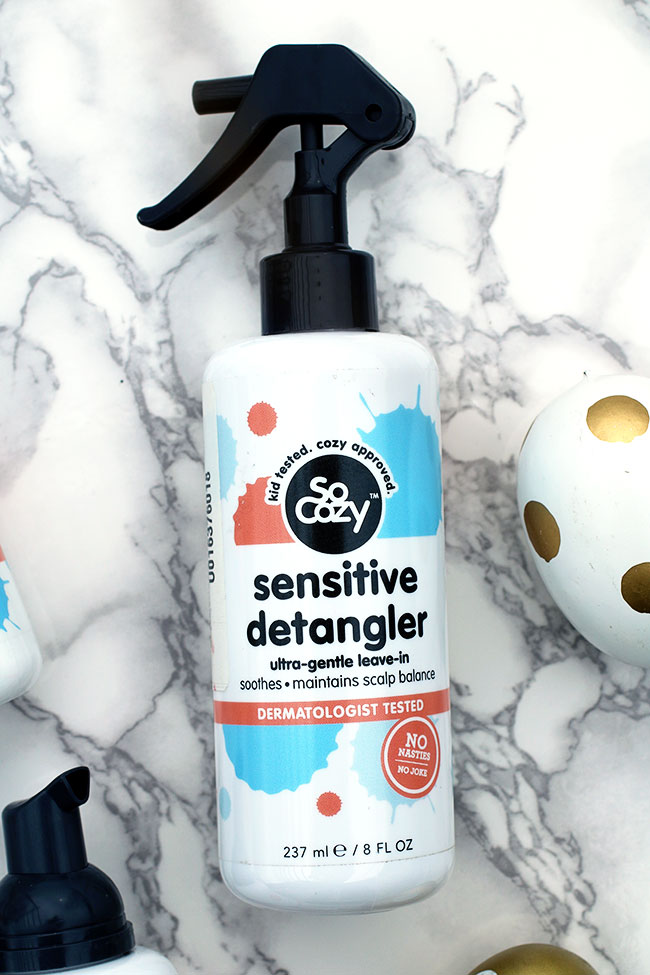
Hush Sensitive Detangler - This detangler worked amazingly well, which you'll see in the tutorial photos below! We always use detangler in my daughters naturally curly hair before combing out all of the tangles.
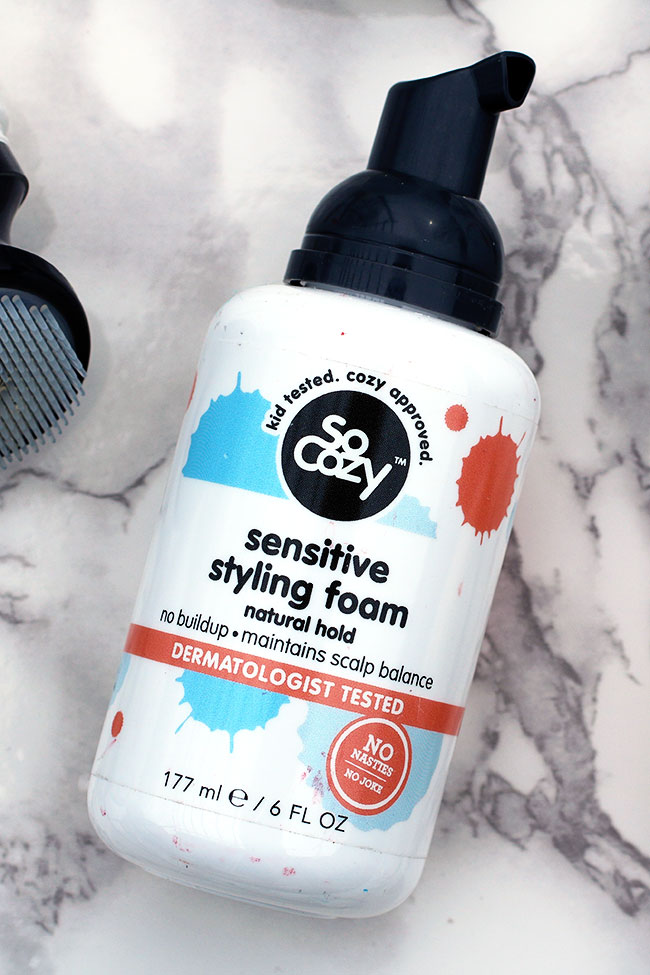
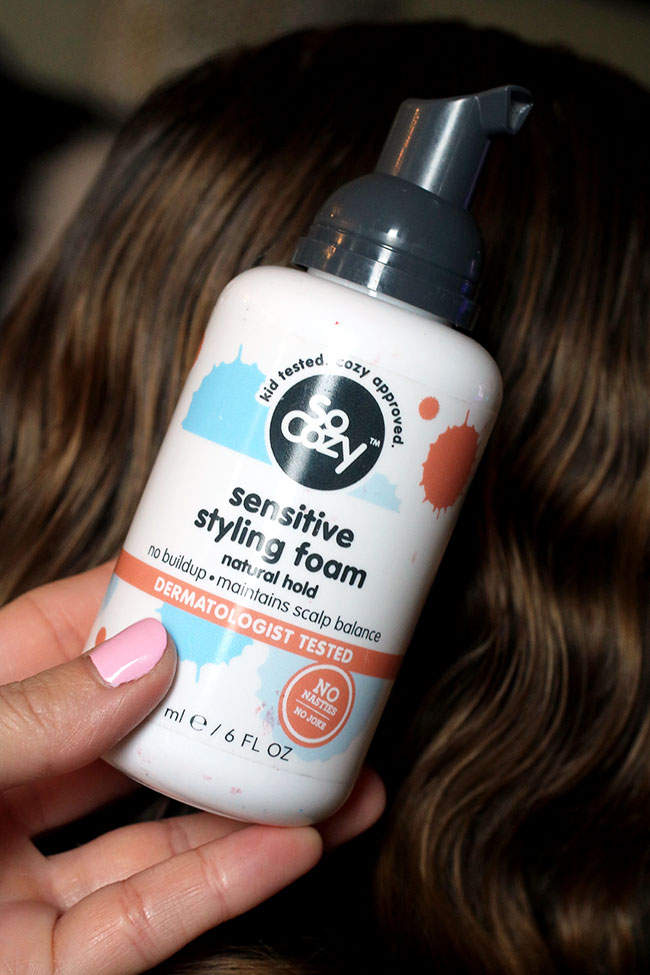
Hush Sensitive Styling Foam - This also worked really well in my daughters hair to calm down the puff and frizz.
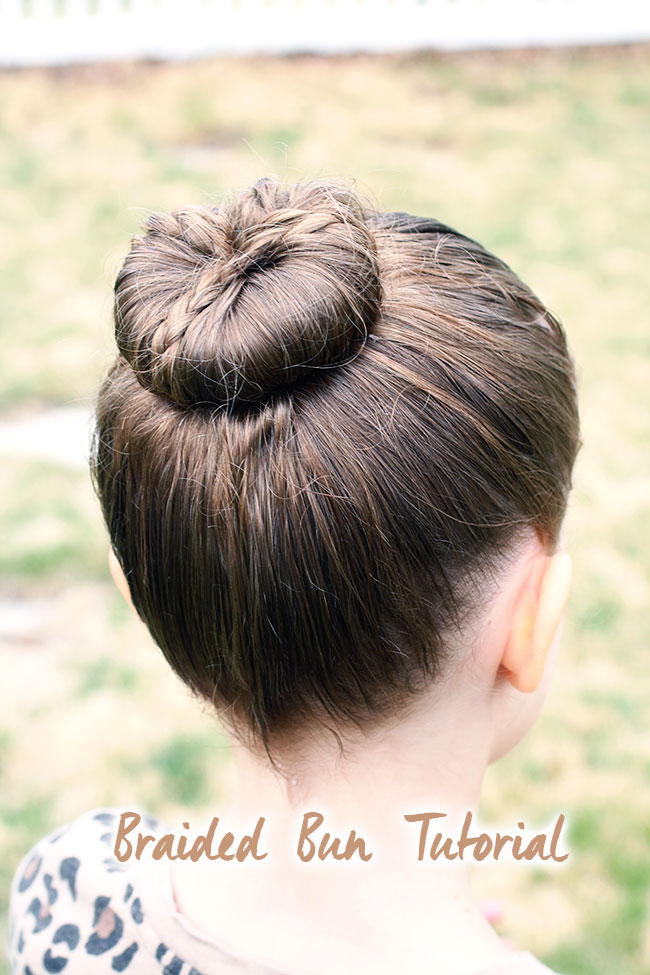
Braided Bun Tutorial
Now I wanted to share an adorable up do for the Spring that your little girl can wear with a beautiful flowing dress or when you know she has a busy day and needs her hair out of her face.

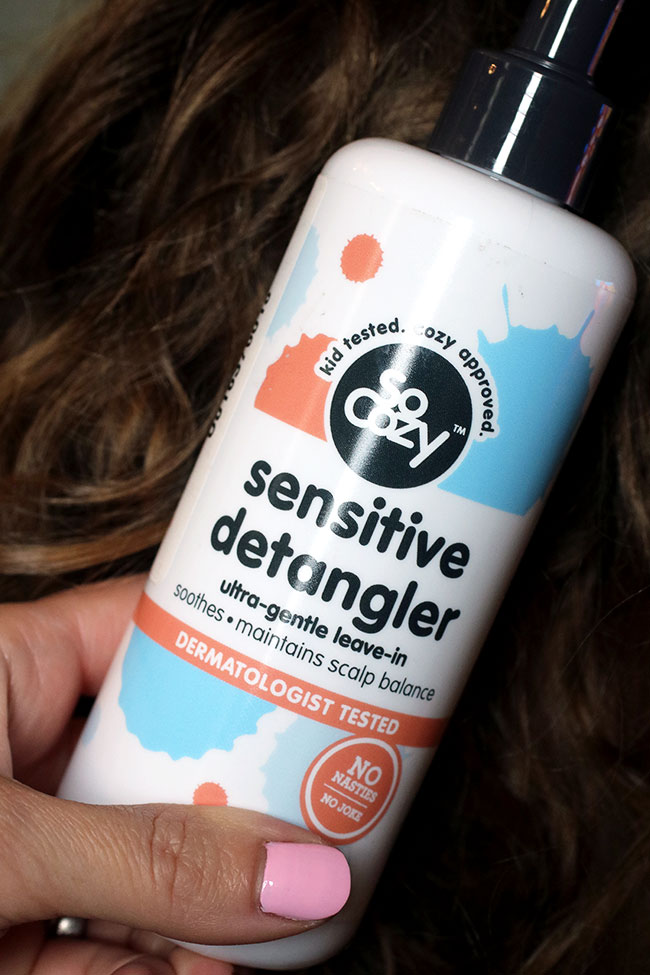
As you'll see here, my daughters hair is a curly mess when she gets up in the morning! I used the sensitive detangler on her hair and was able to brush through her hair without any problems.
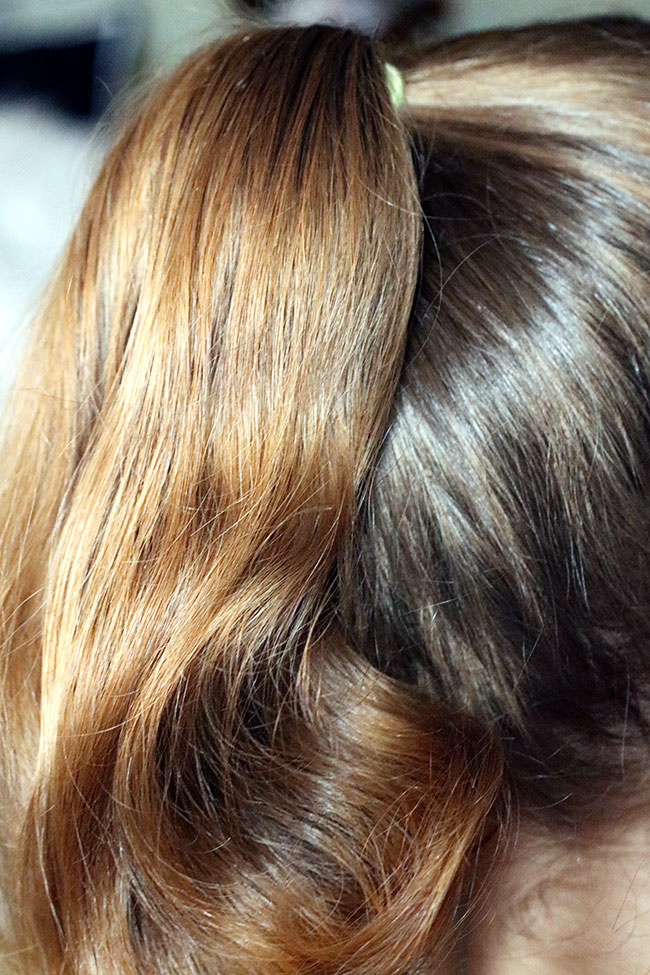
Then I applied a little styling foam to smooth her hair out more and put it up in a pony tail. See how smooth and silky her hair is? Love these products! Also, no irritation from these sensitive products.
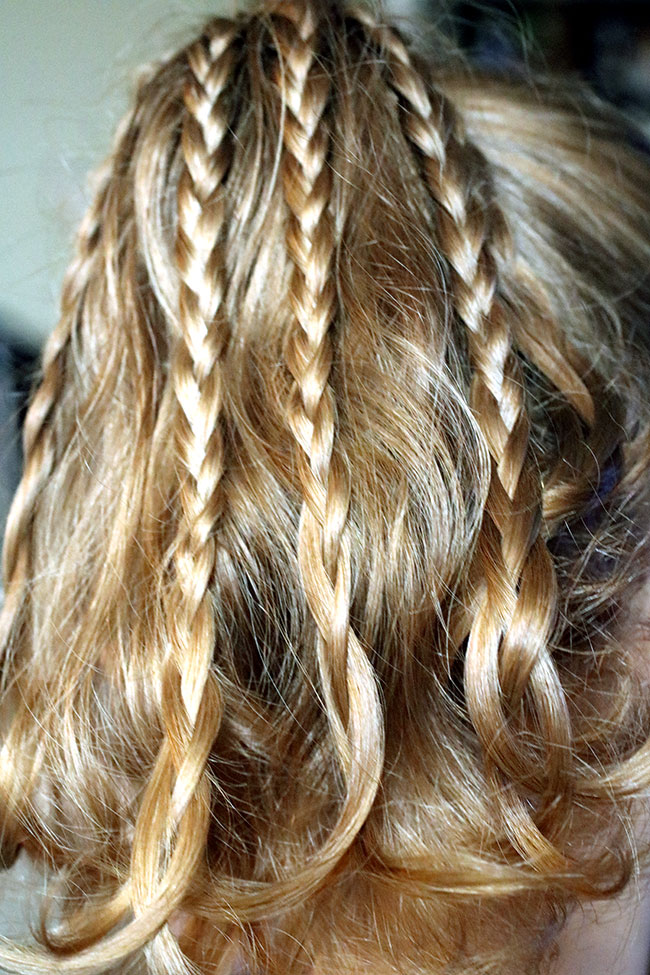
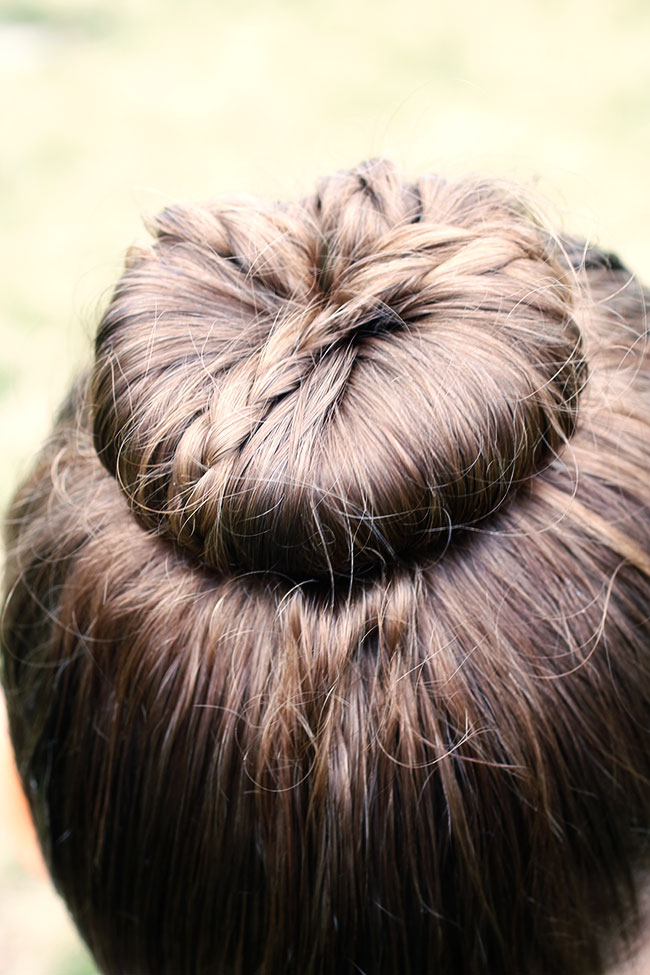
Braid five little sections of the pony tail. Then, you'll want to take a bun maker (they sell these are dance stores, online, etc. or you could try one of the donuts they sell at H&M) and roll the pony tail hair up into it (starting at the bottom).
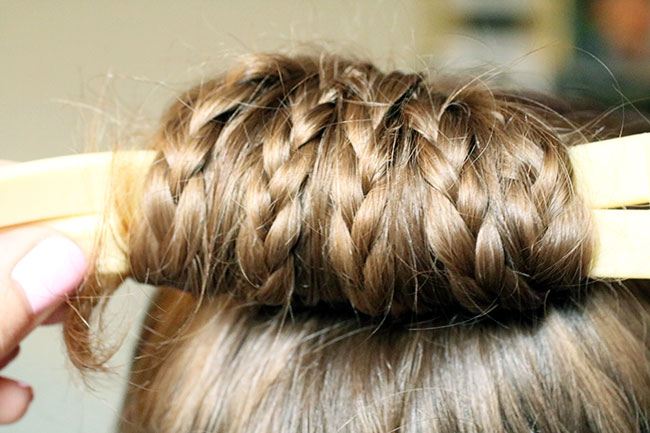
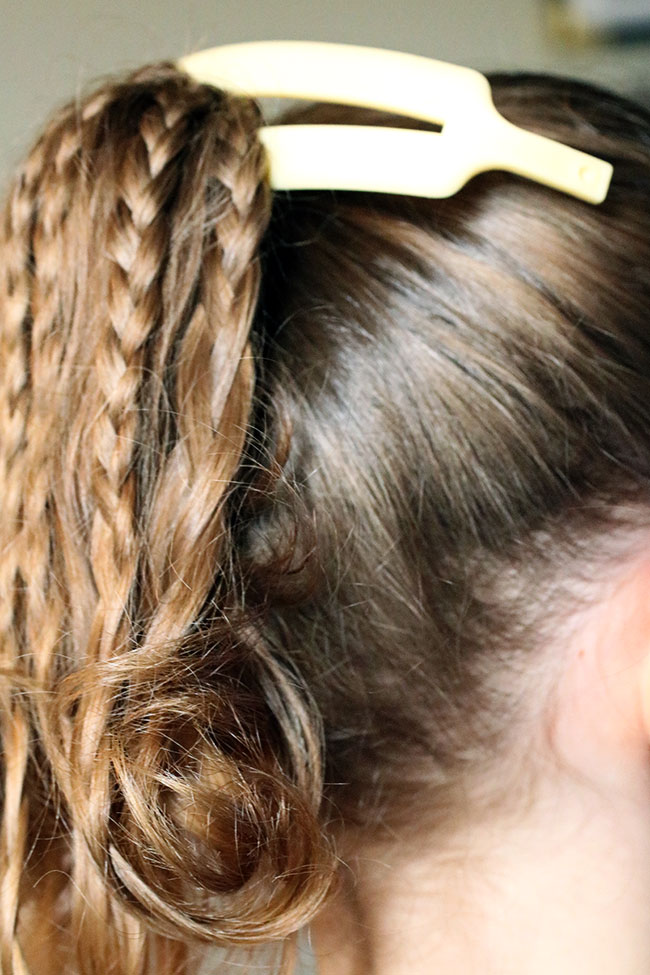
Here I am rolling the hair up into the bun maker.
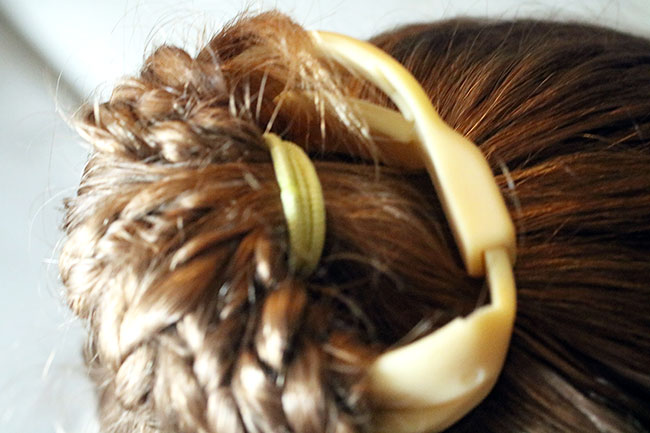
Once it is rolled up into the bun maker, snap it shut and then spread the hair out around the bun shape so that you can't see the frame of it.
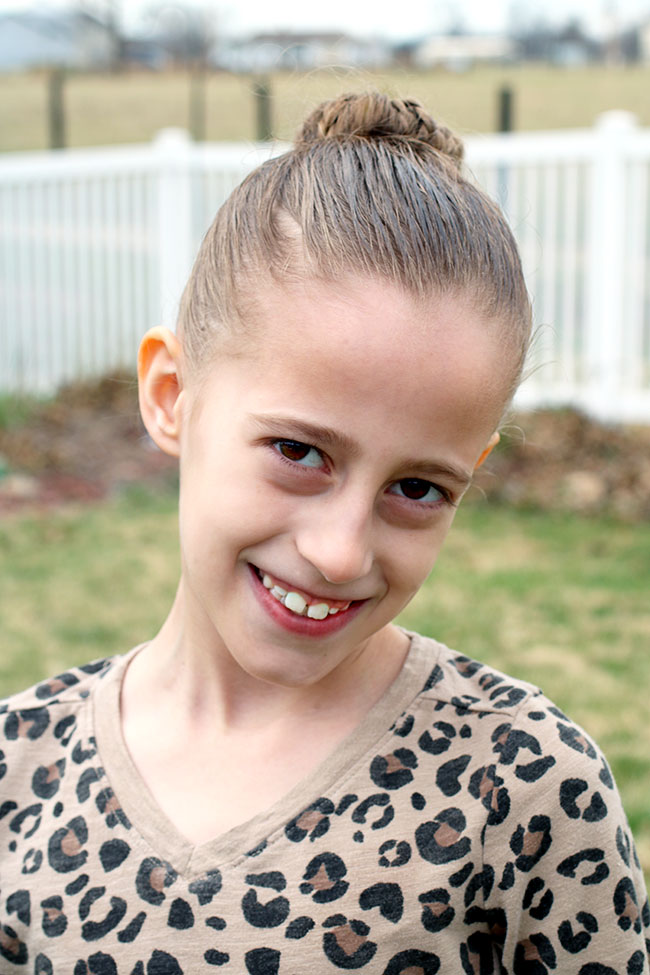
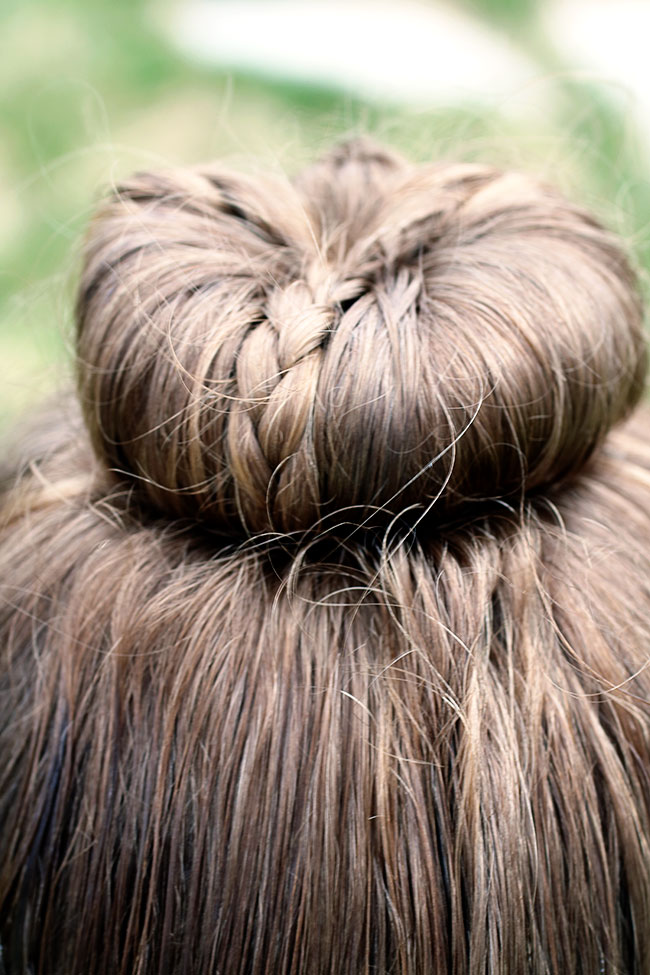
And, ta-da! All done! My daughter has naturally curly hair and this up do does great with her hair. It stays in place all day and looks a lot more complicated than it really is! Definitely try this look out this Spring!
Don't forget that Target is offering a Cartwheel deal through 3/18 for 25% off the Hush collection, so you can try them out for a discount!
SoCozy sent me these products to review in return for my honest opinion.
Enter to Win ALL Four Hush Products:
(US Only)
a Rafflecopter giveaway
Comments
Post a Comment