This shop has been compensated by Collective Bias, Inc. and its advertiser, Mars, Incorporated. All opinions are mine alone. #BOOItForward #PawfectBOO #CollectiveBias
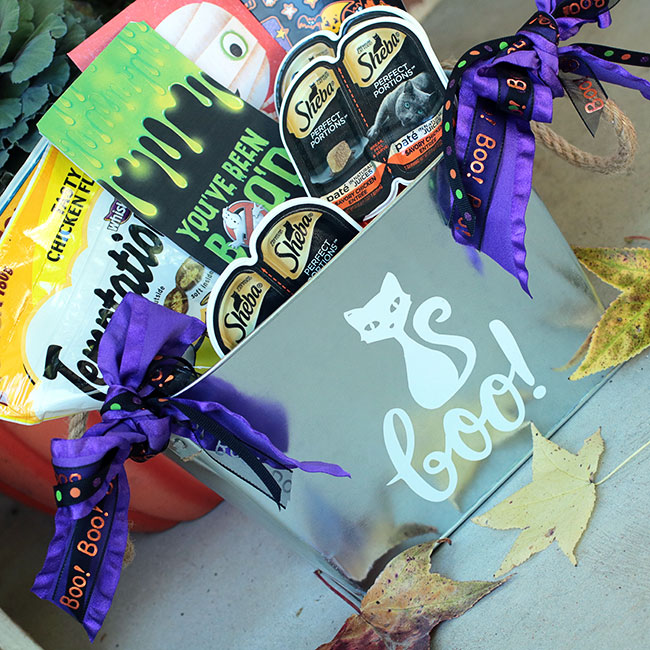
Can you believe it is October already and Halloween will be here before we know it? One of my favorite activities in October is BOO'ing others and being BOO'ed myself! This year I thought it'd be fun to create a BOO kit for a cat lover! We have two cats of our own, so this was a lot of fun to create! Thankfully, there is a Walmart close to my home and I found all of the pet BOO kit essentials at the store. Thanks to American Greetings® and MARS Pet, I was able to create the perfect BOO kit for a very lucky cat!
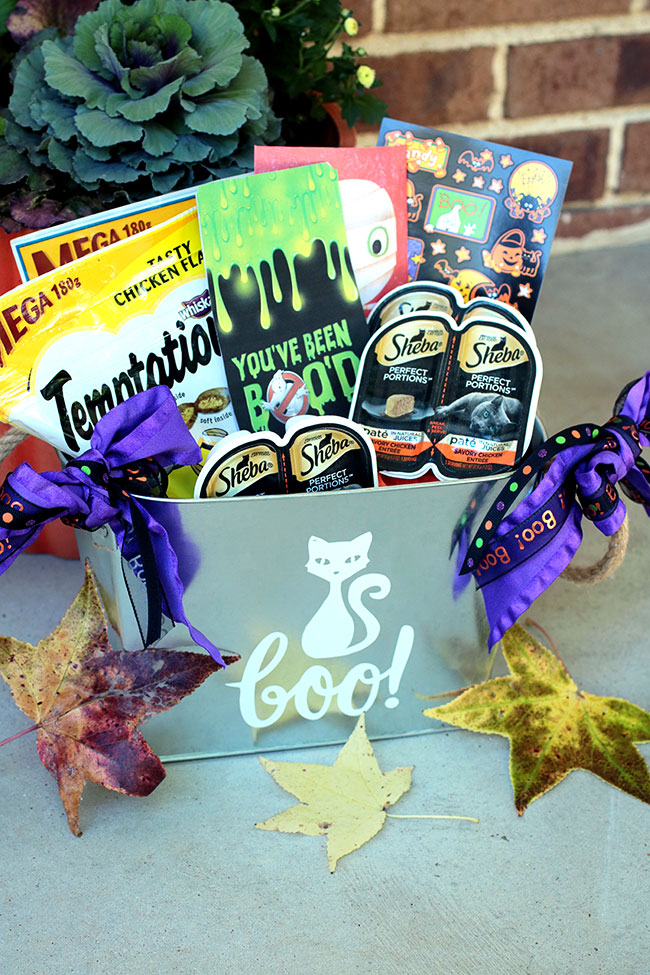
For this particular BOO kit, I purchased a galvanized bucket with handles and added a BOO and cat decal to it with vinyl. I then filled it with cat goodies from Walmart.
How to Create your Own Boo Bucket
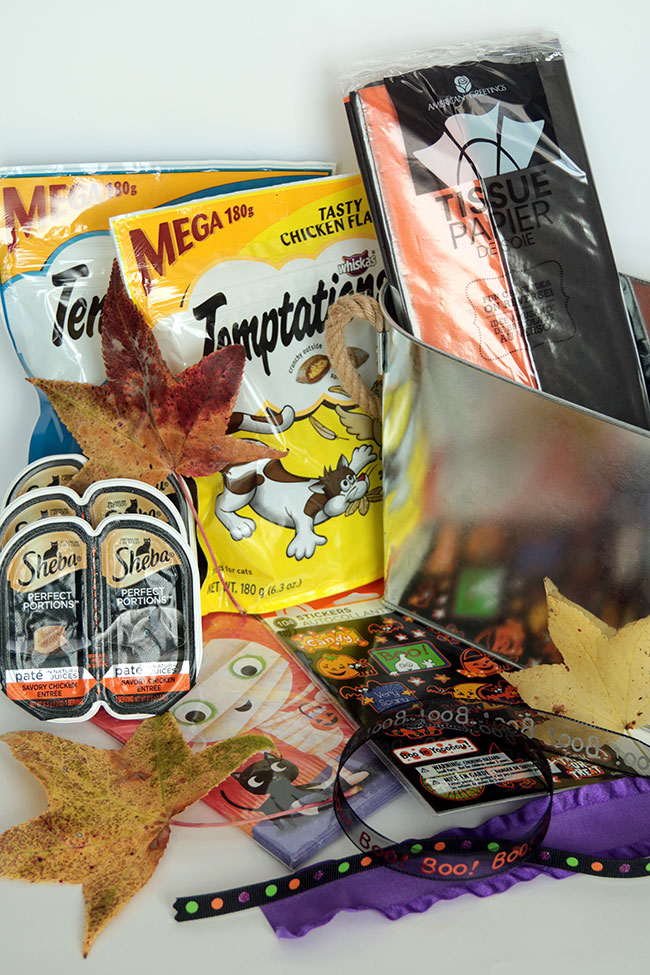
In the photo above, you'll see all of the items that I included in the bucket. We'll go over this more below when I go over step by step on how I created the BOO kit.
Shopping at Walmart for BOO Kit Essentials
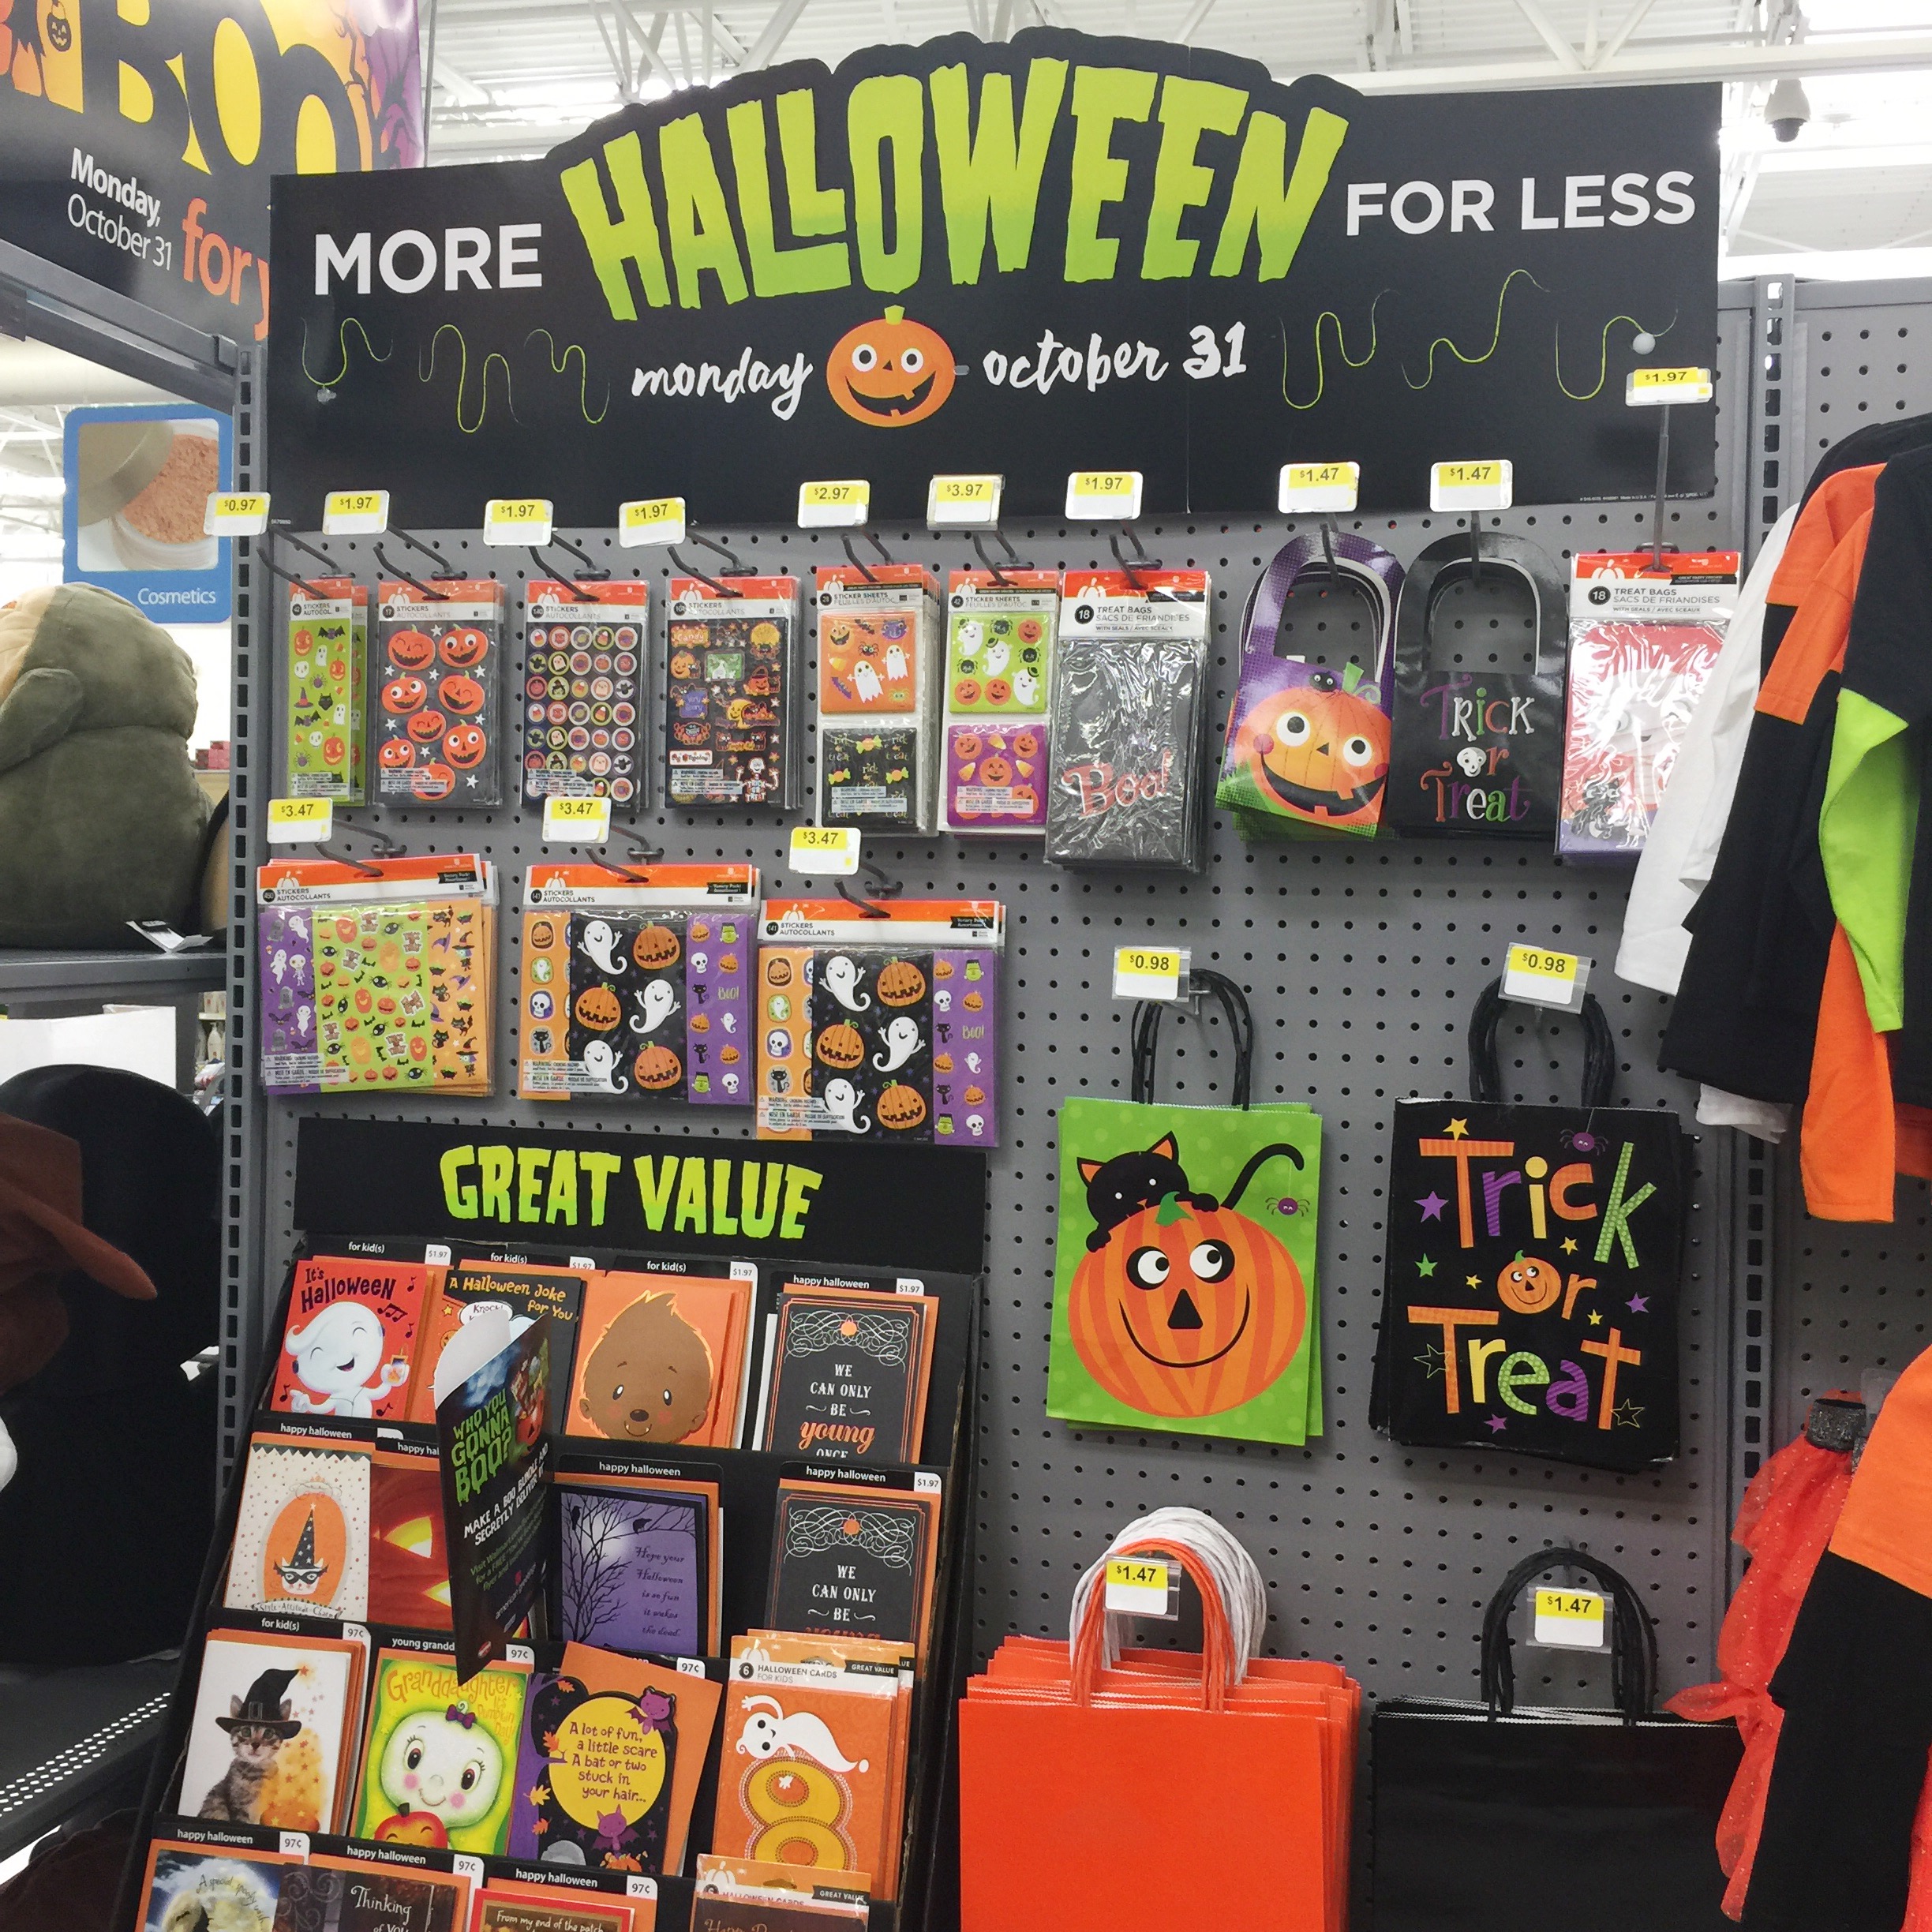
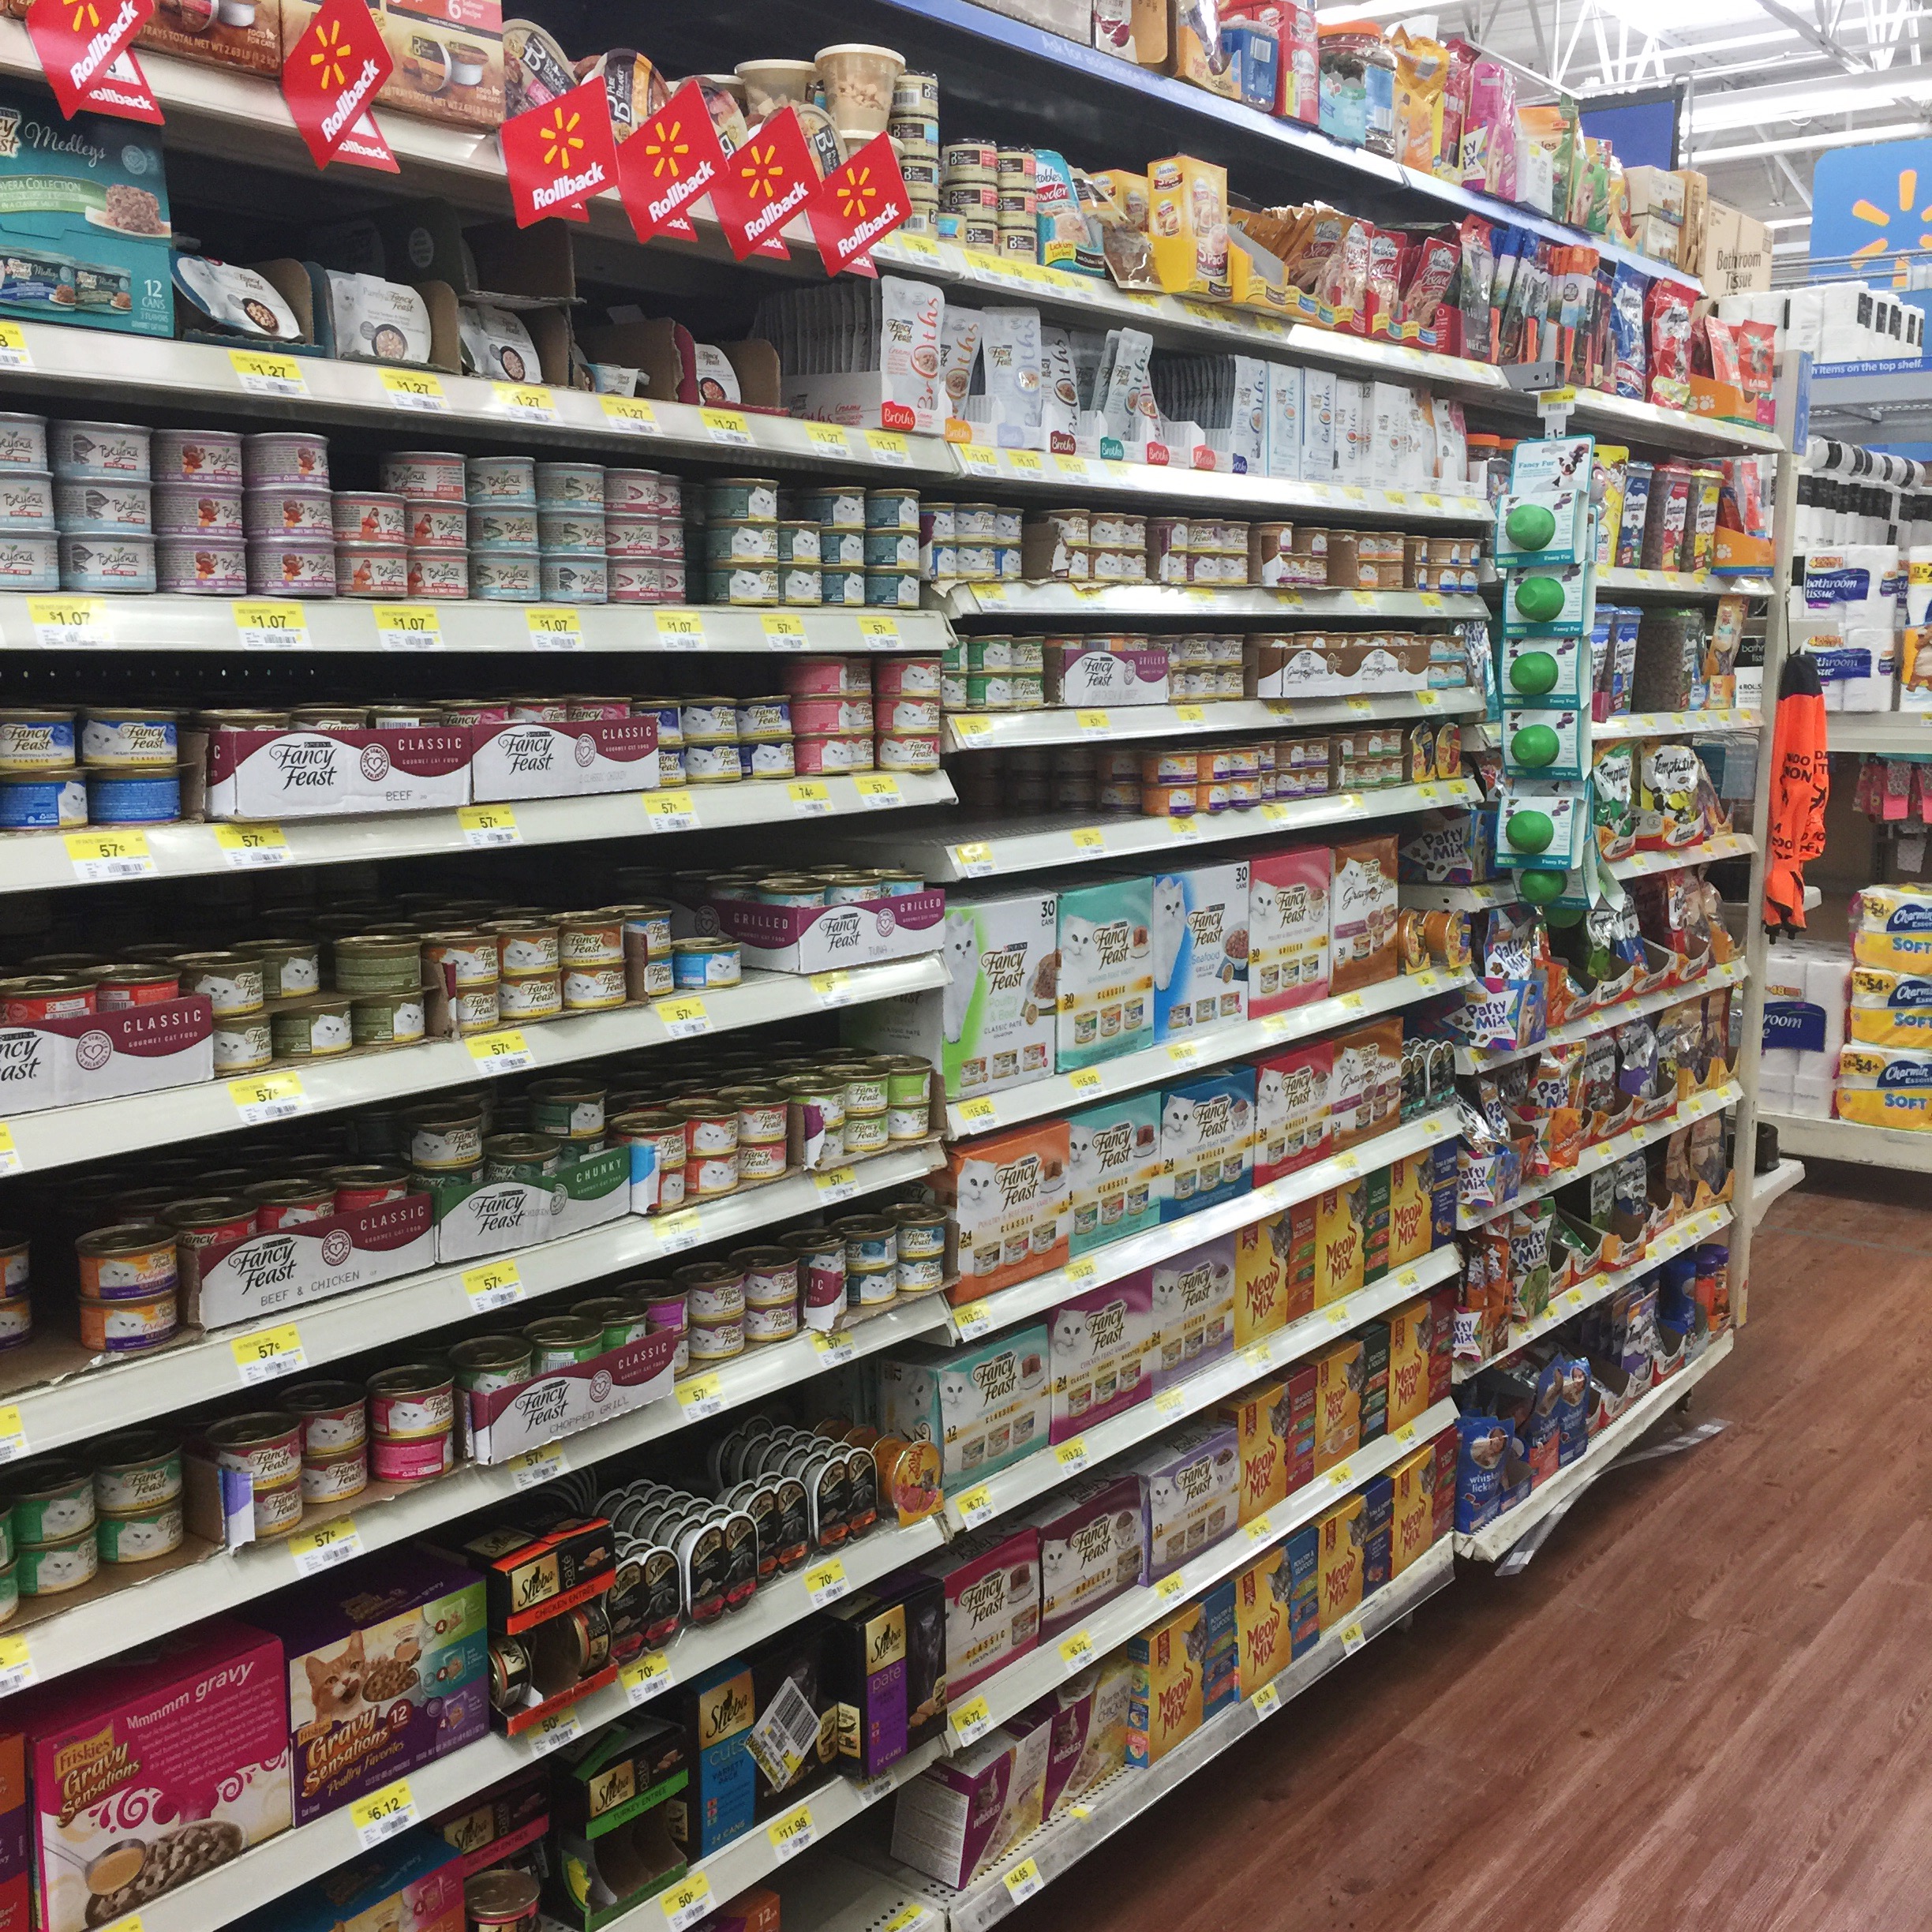
Walmart had everything I needed for the BOO kit. I started in the Halloween aisle and found the American Greetings® treat bags, tissue paper and Halloween stickers.
Then I went in the aisle with MARS Pet products.
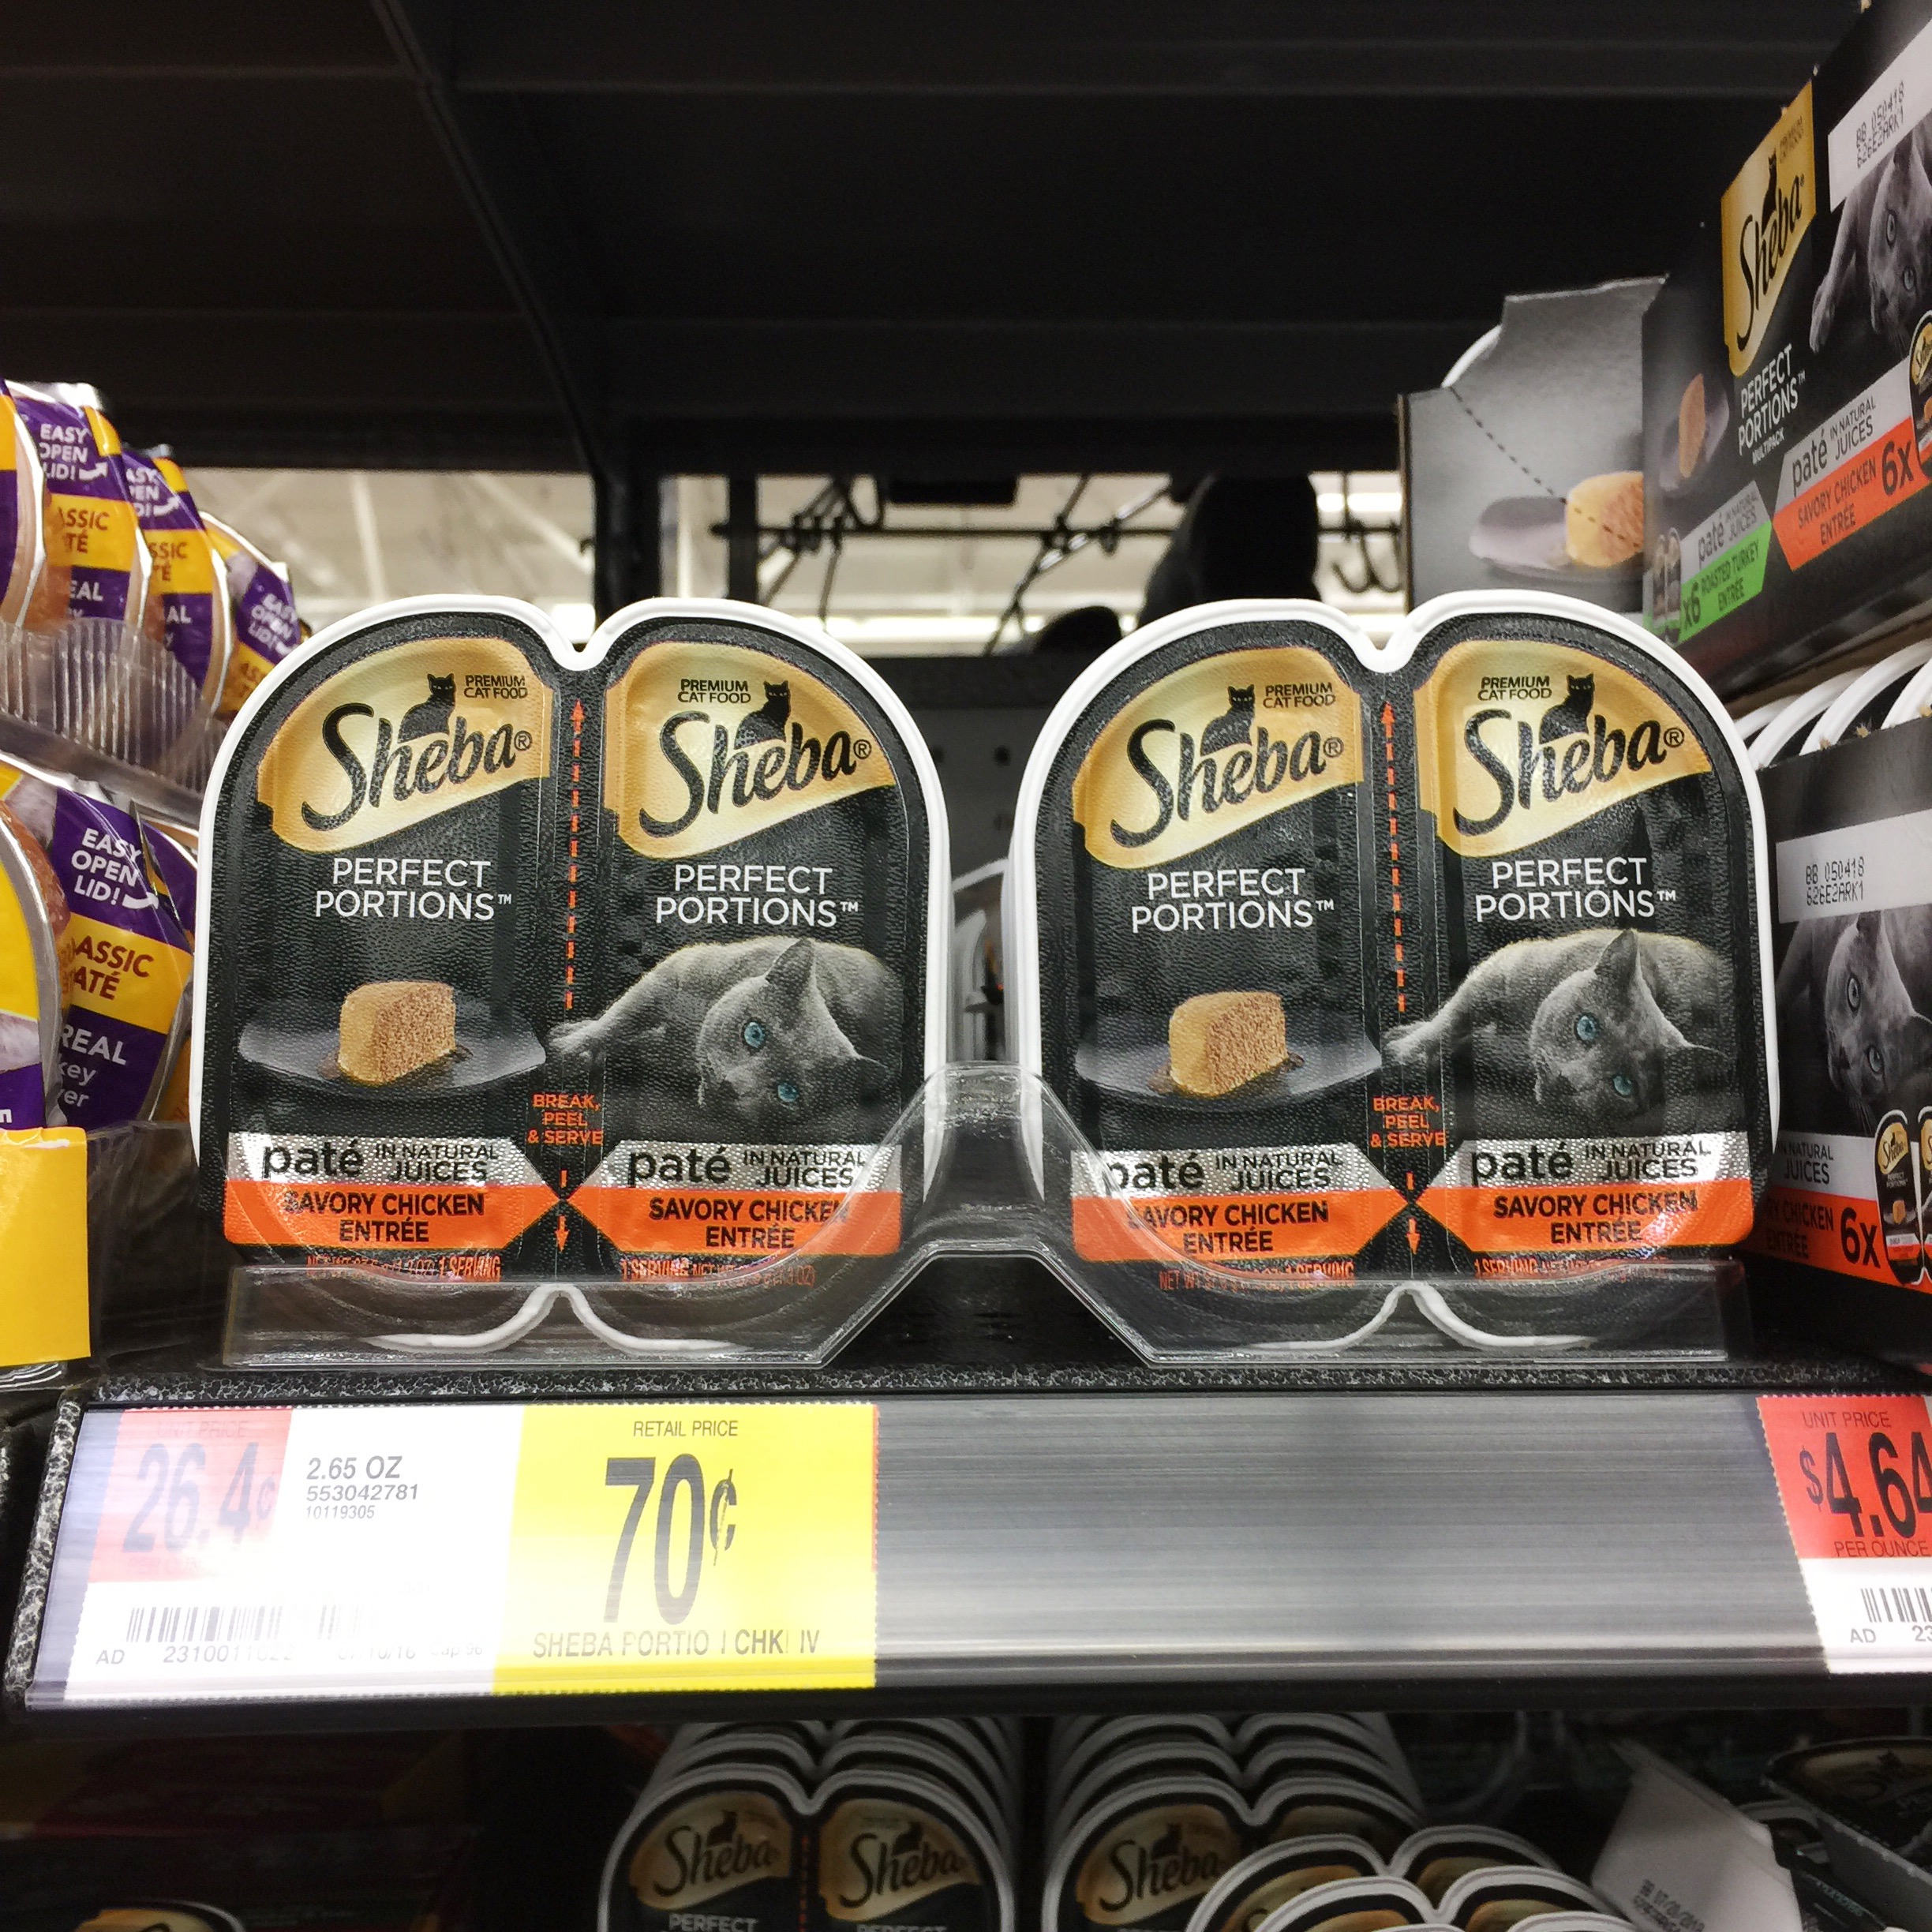
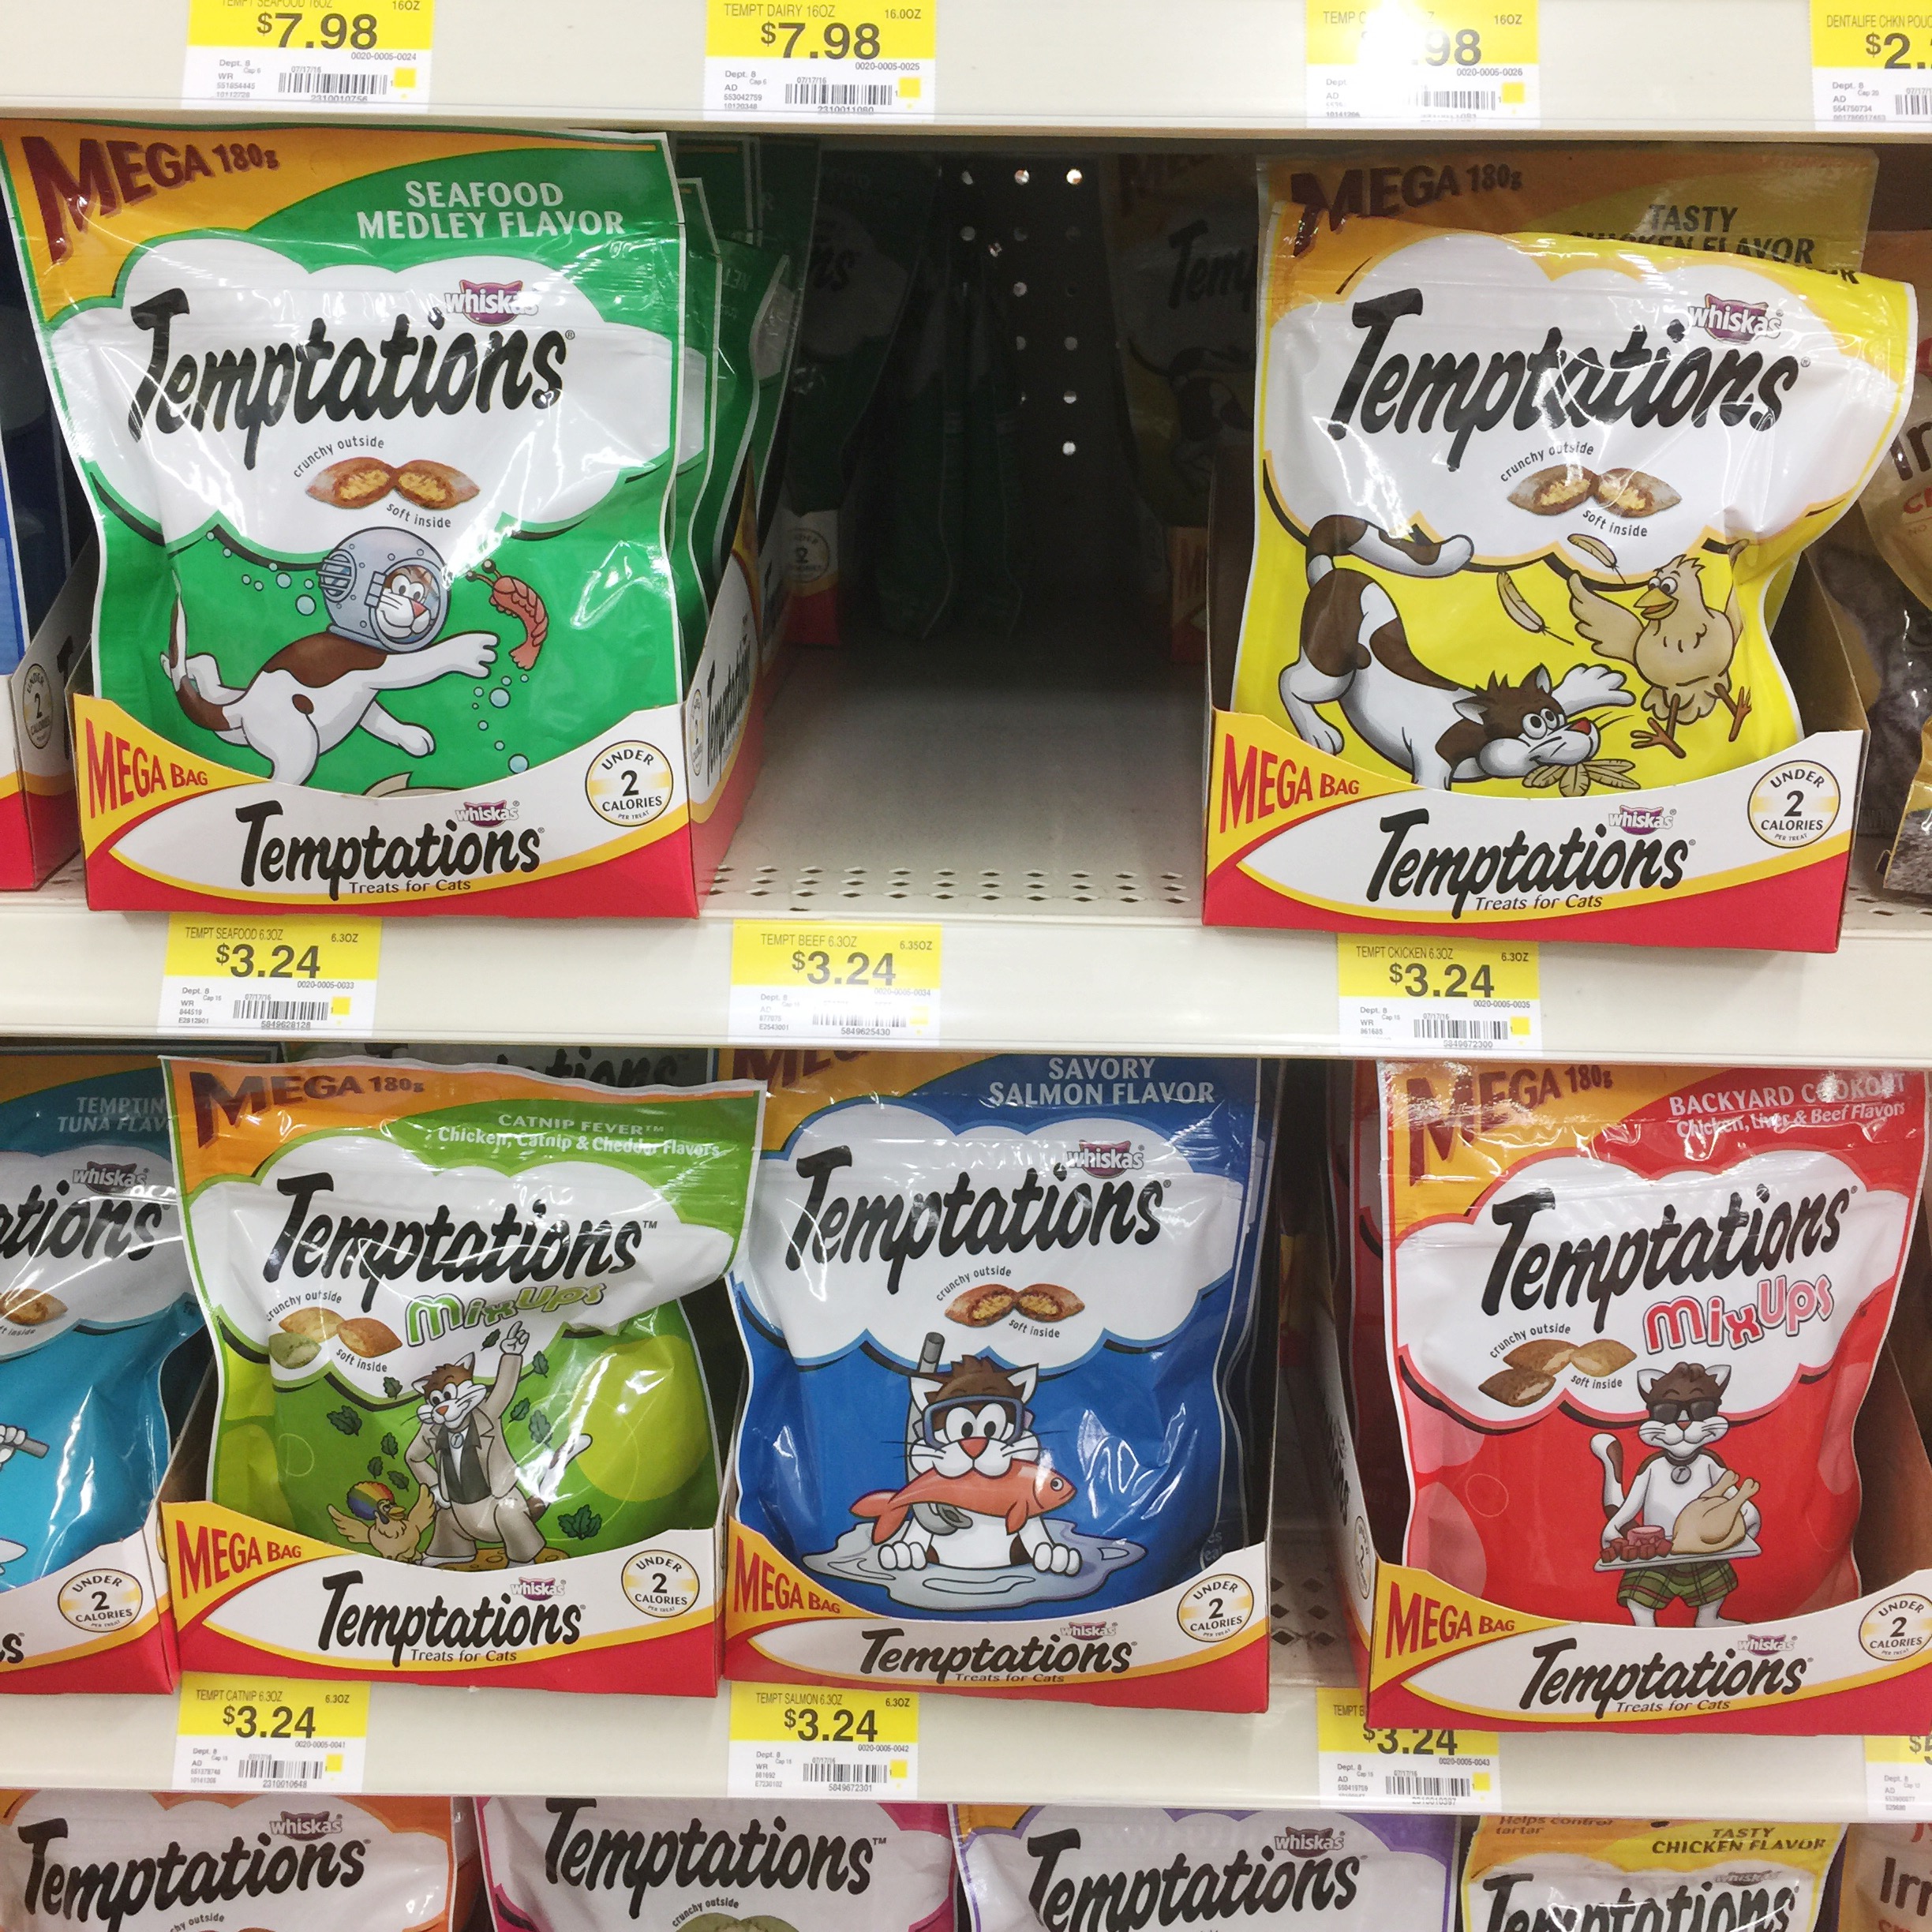
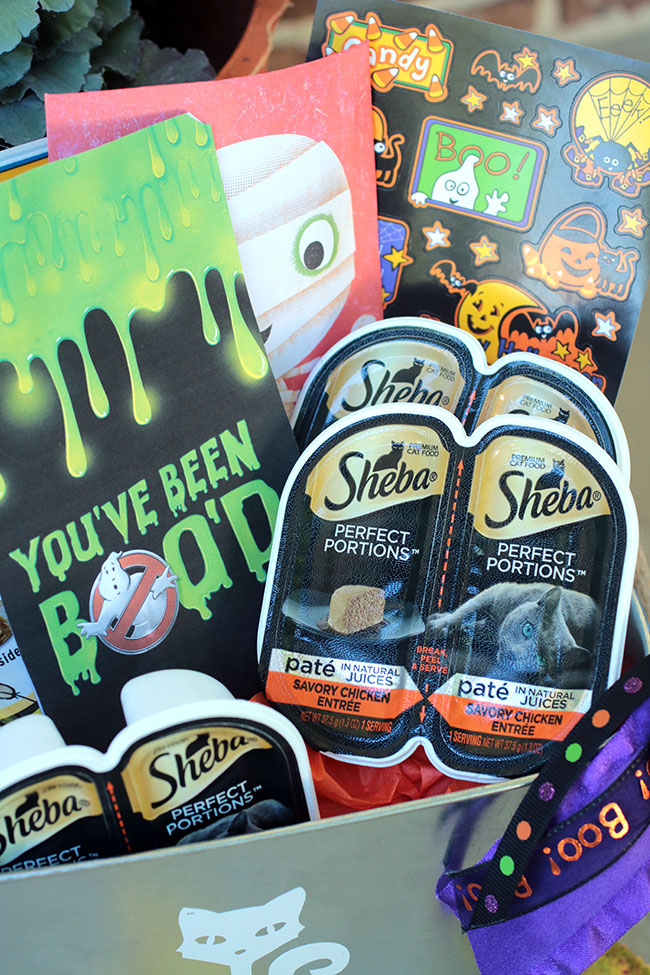
I purchased three SHEBA® PERFECT PORTIONS™ Chicken Paté and two of the Temptations® classic treats for cats in tasty chicken flavor and savory salmon flavor.
Creating a Vinyl Decal for your BOO Kit
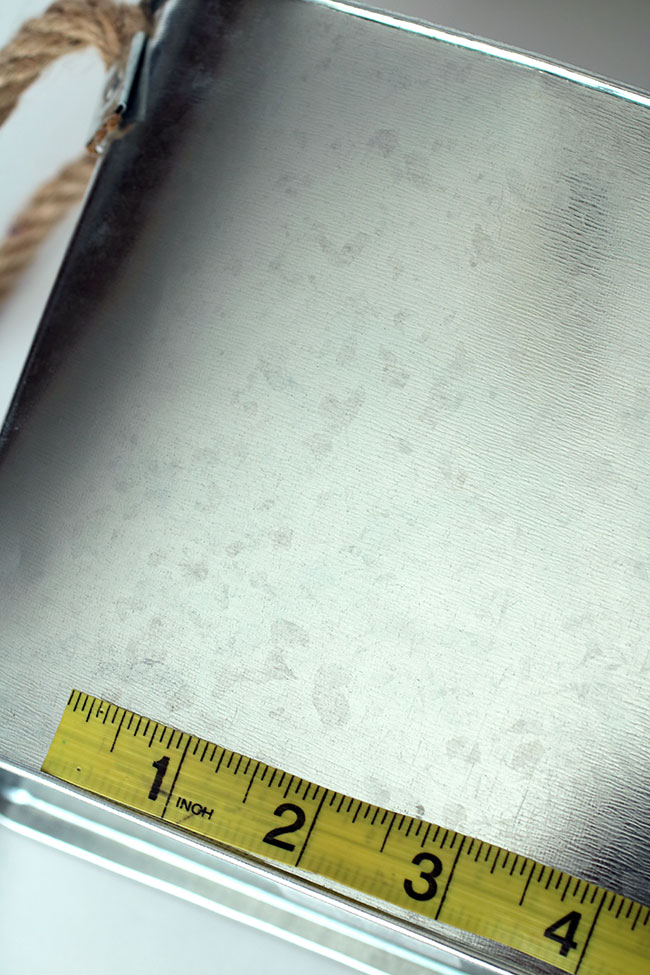
To create the vinyl decal for your boo kit, first you'll need a bucket that you can place the decal on. I found a galvanized bucket with rope handles. I measured the space on the front of it to see how large I could make the decal.
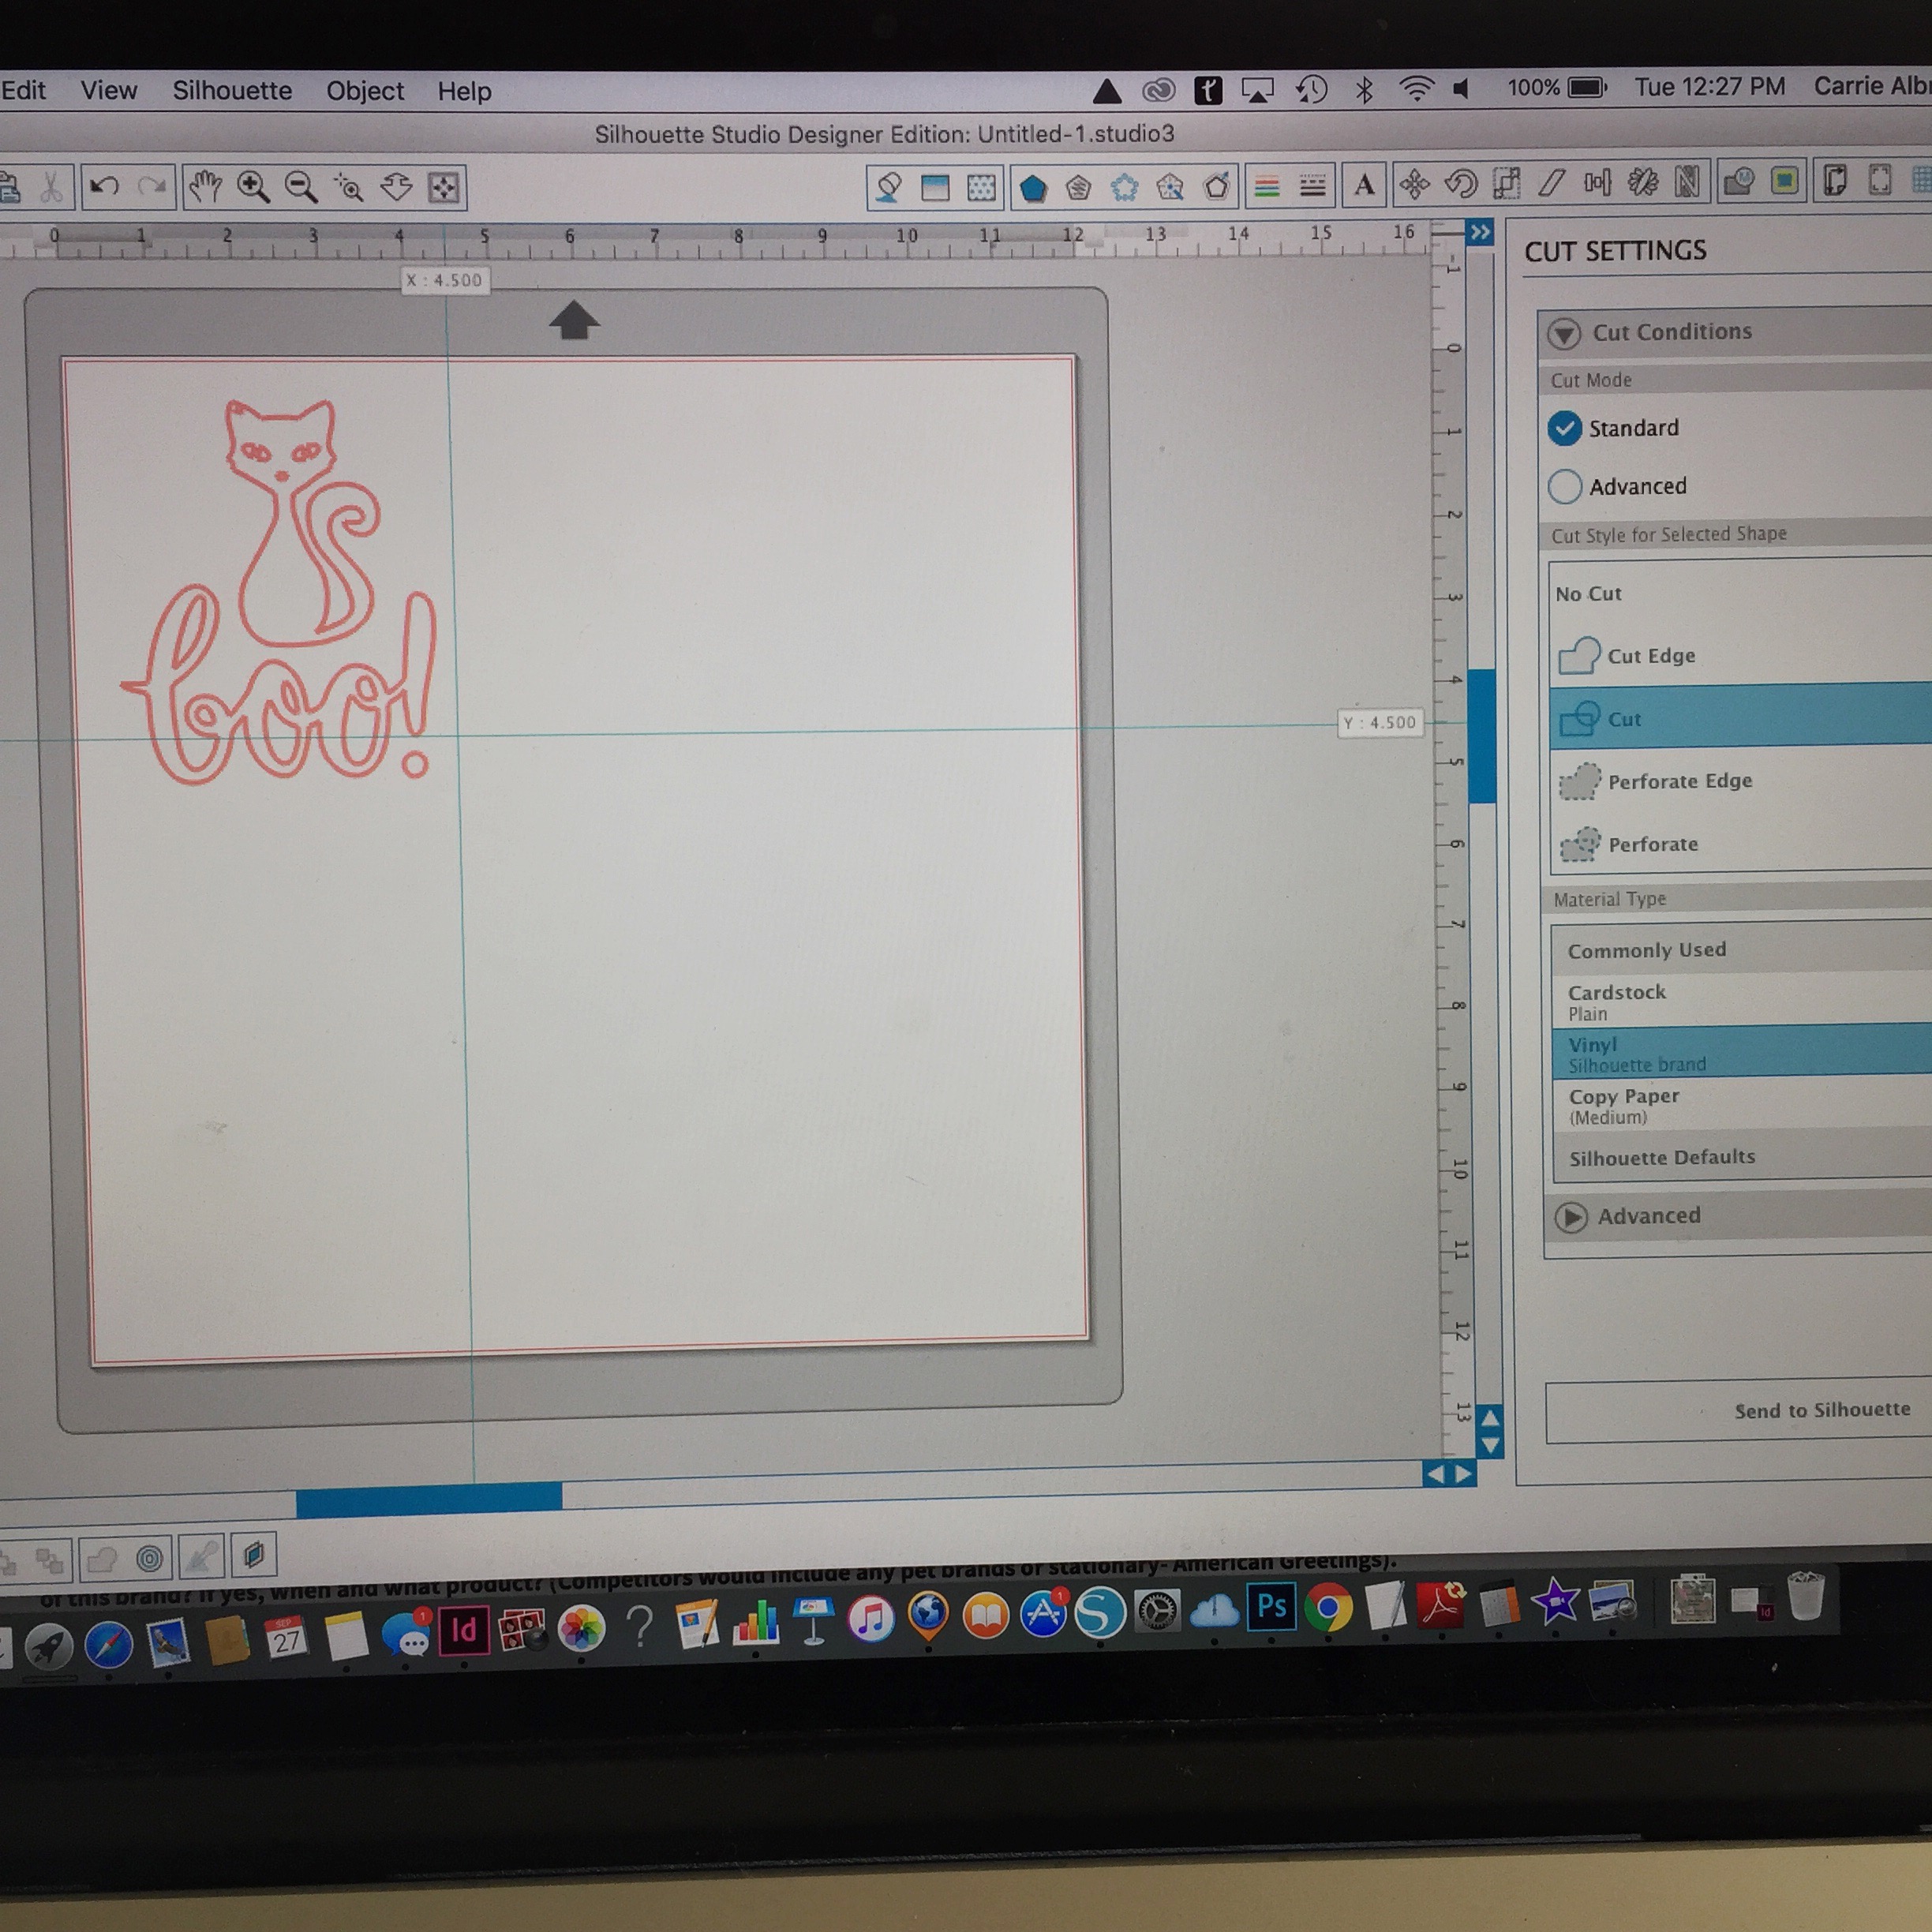
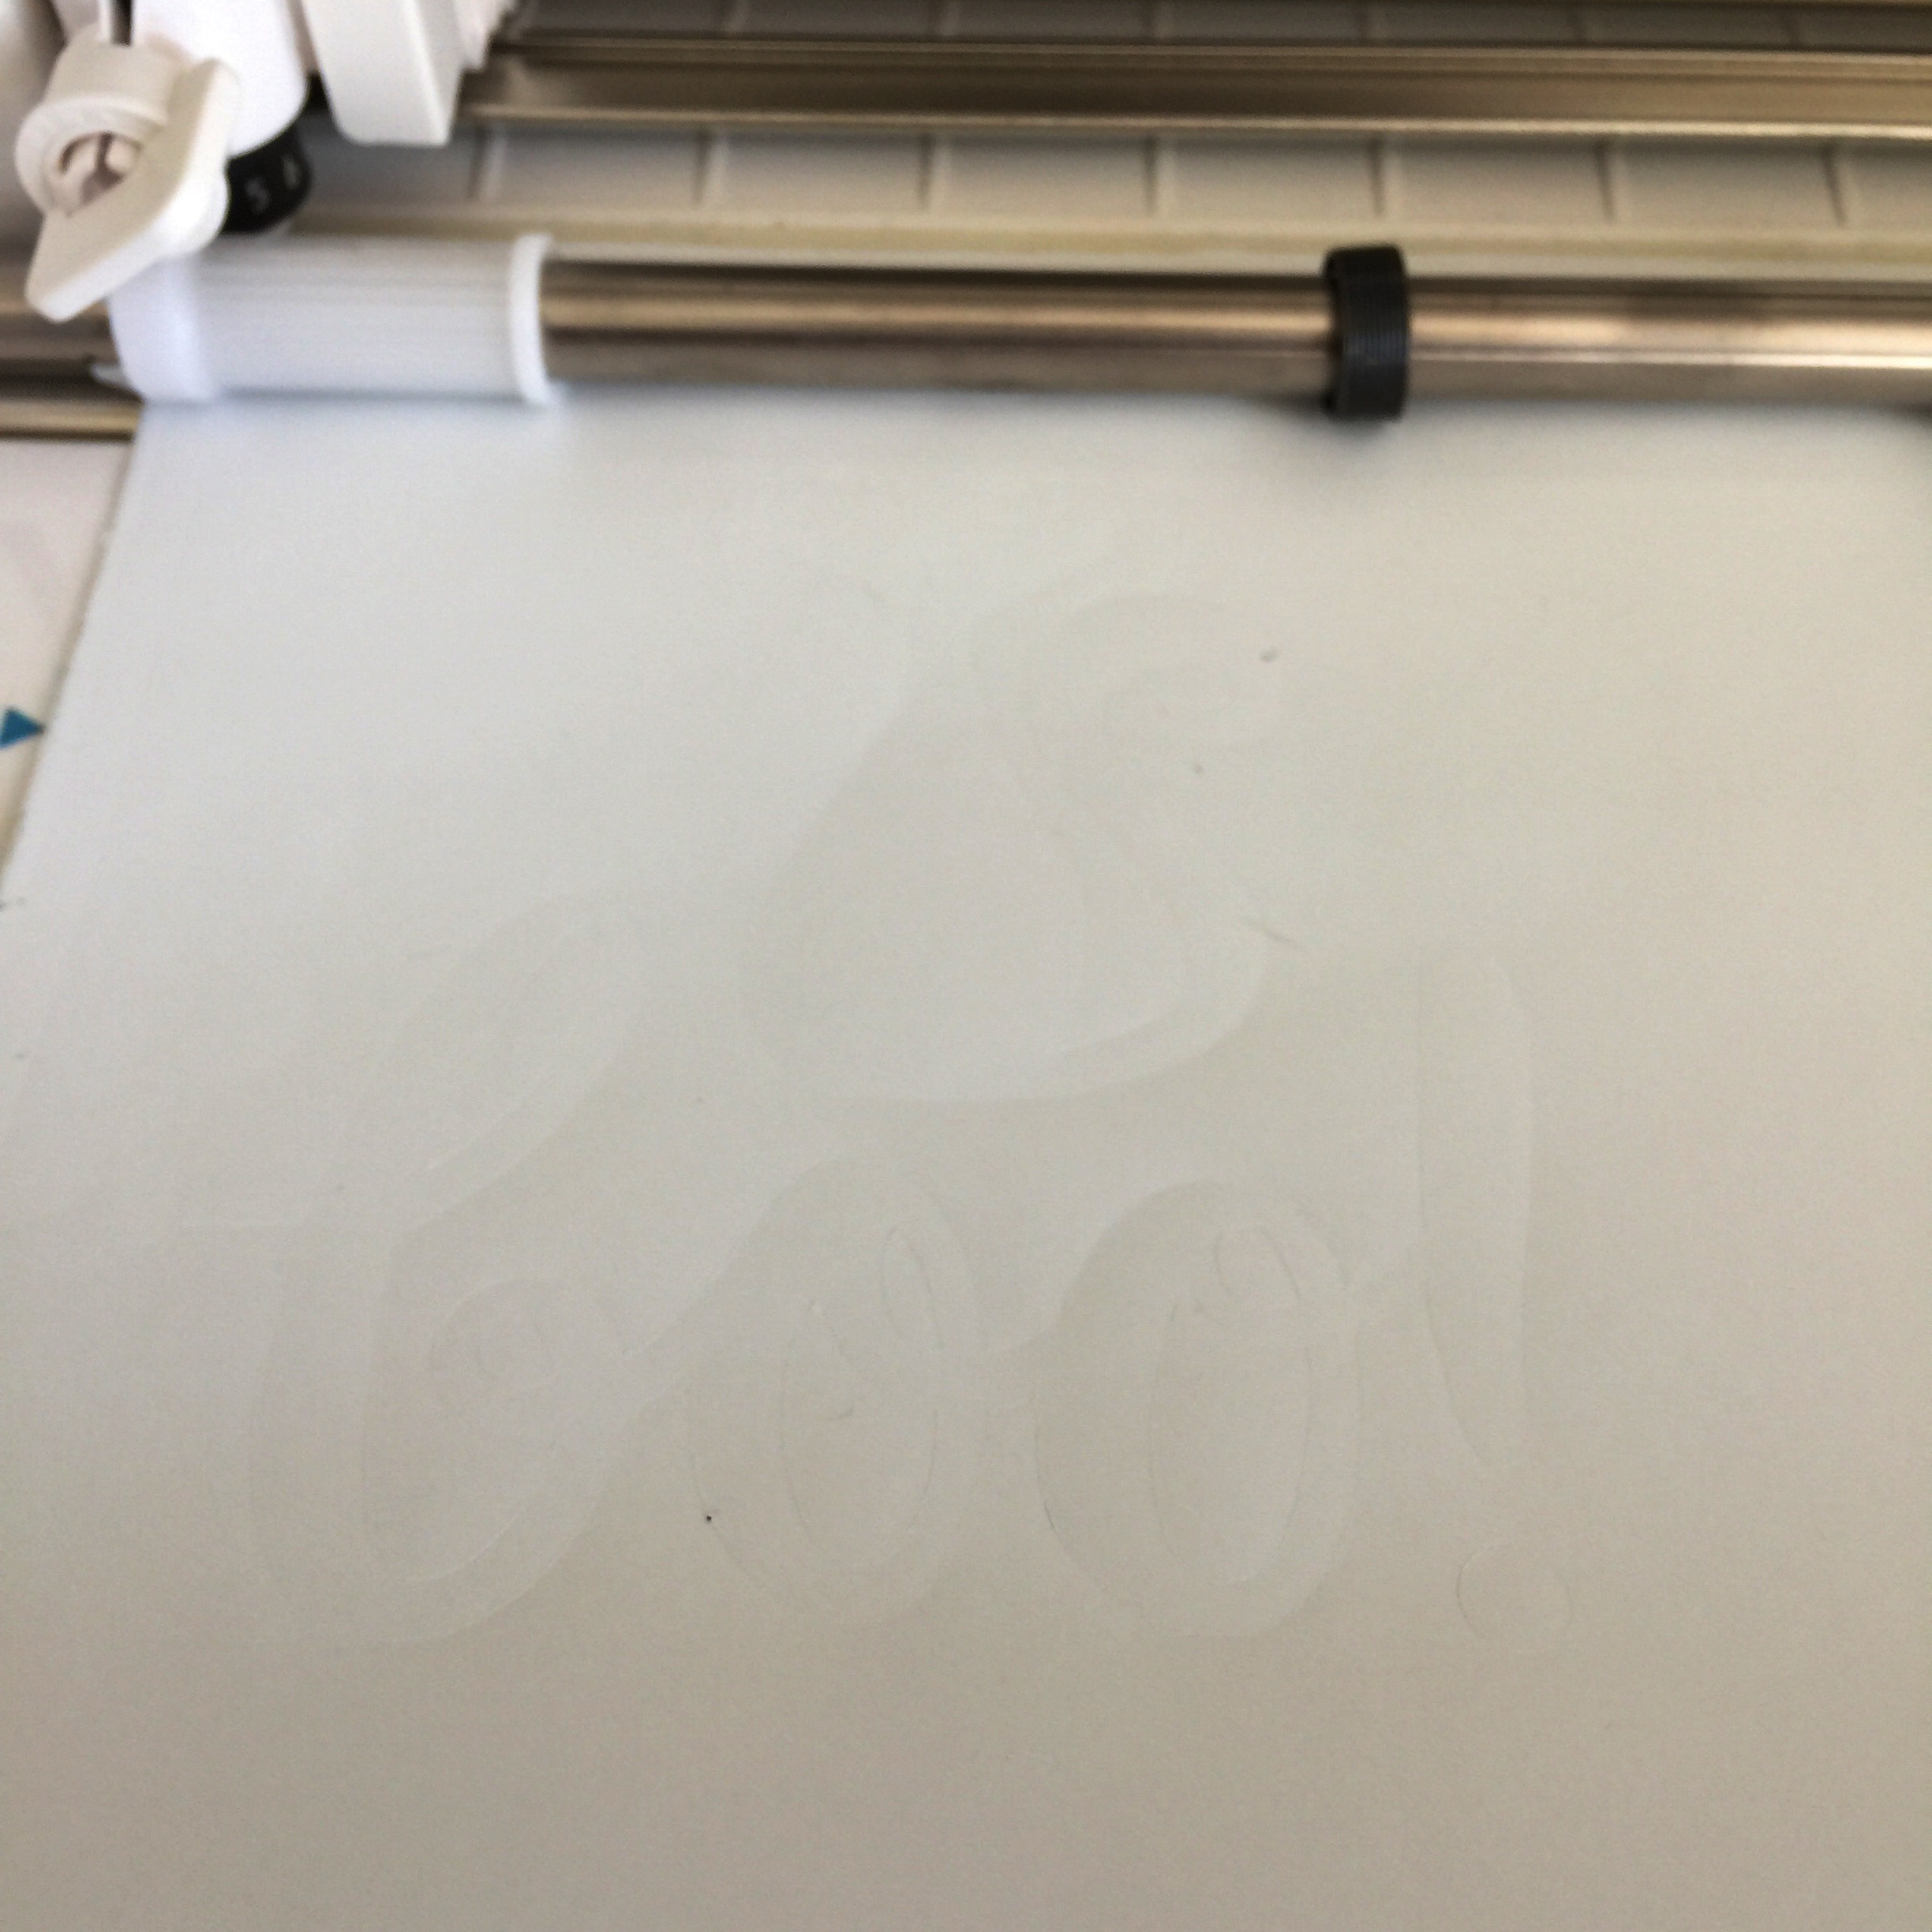
In Silhouette Studio, I purchased a couple designs (the boo! and the Halloween cat) and combined them. I sized them to be the correct size that would fit on the front of the galvanized bucket. I then set up the Silhouette Cameo to print the design.
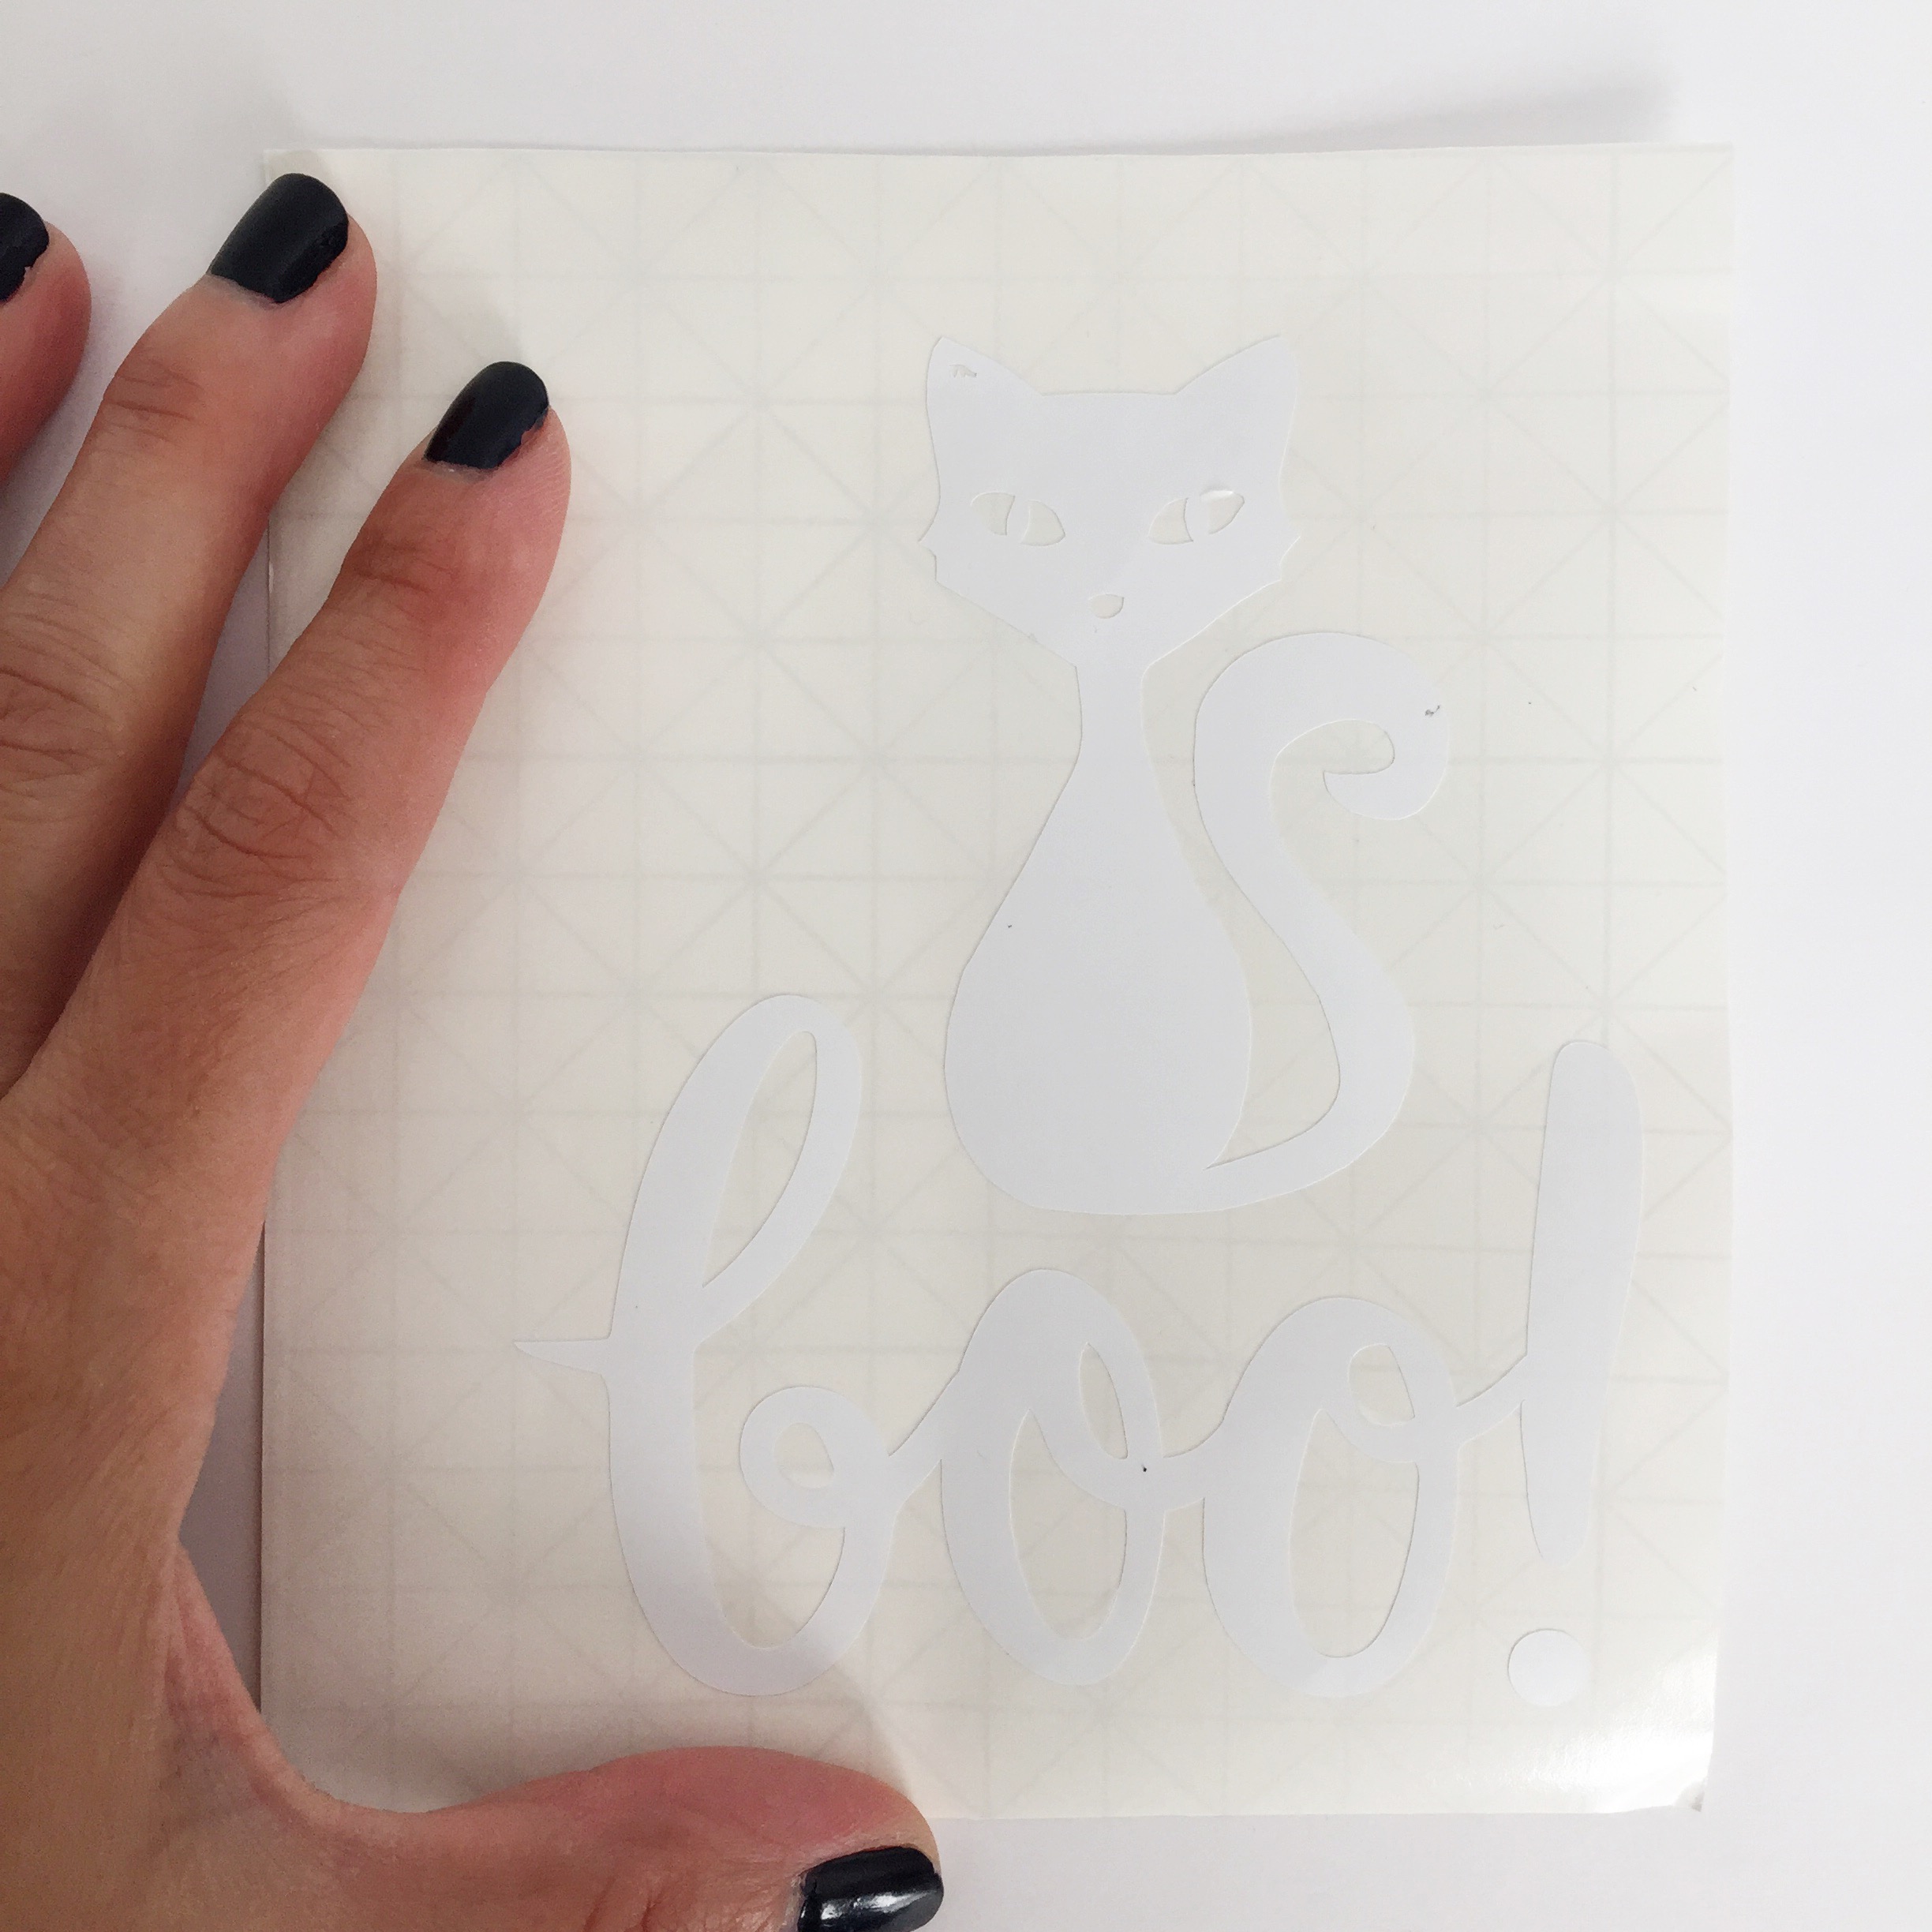
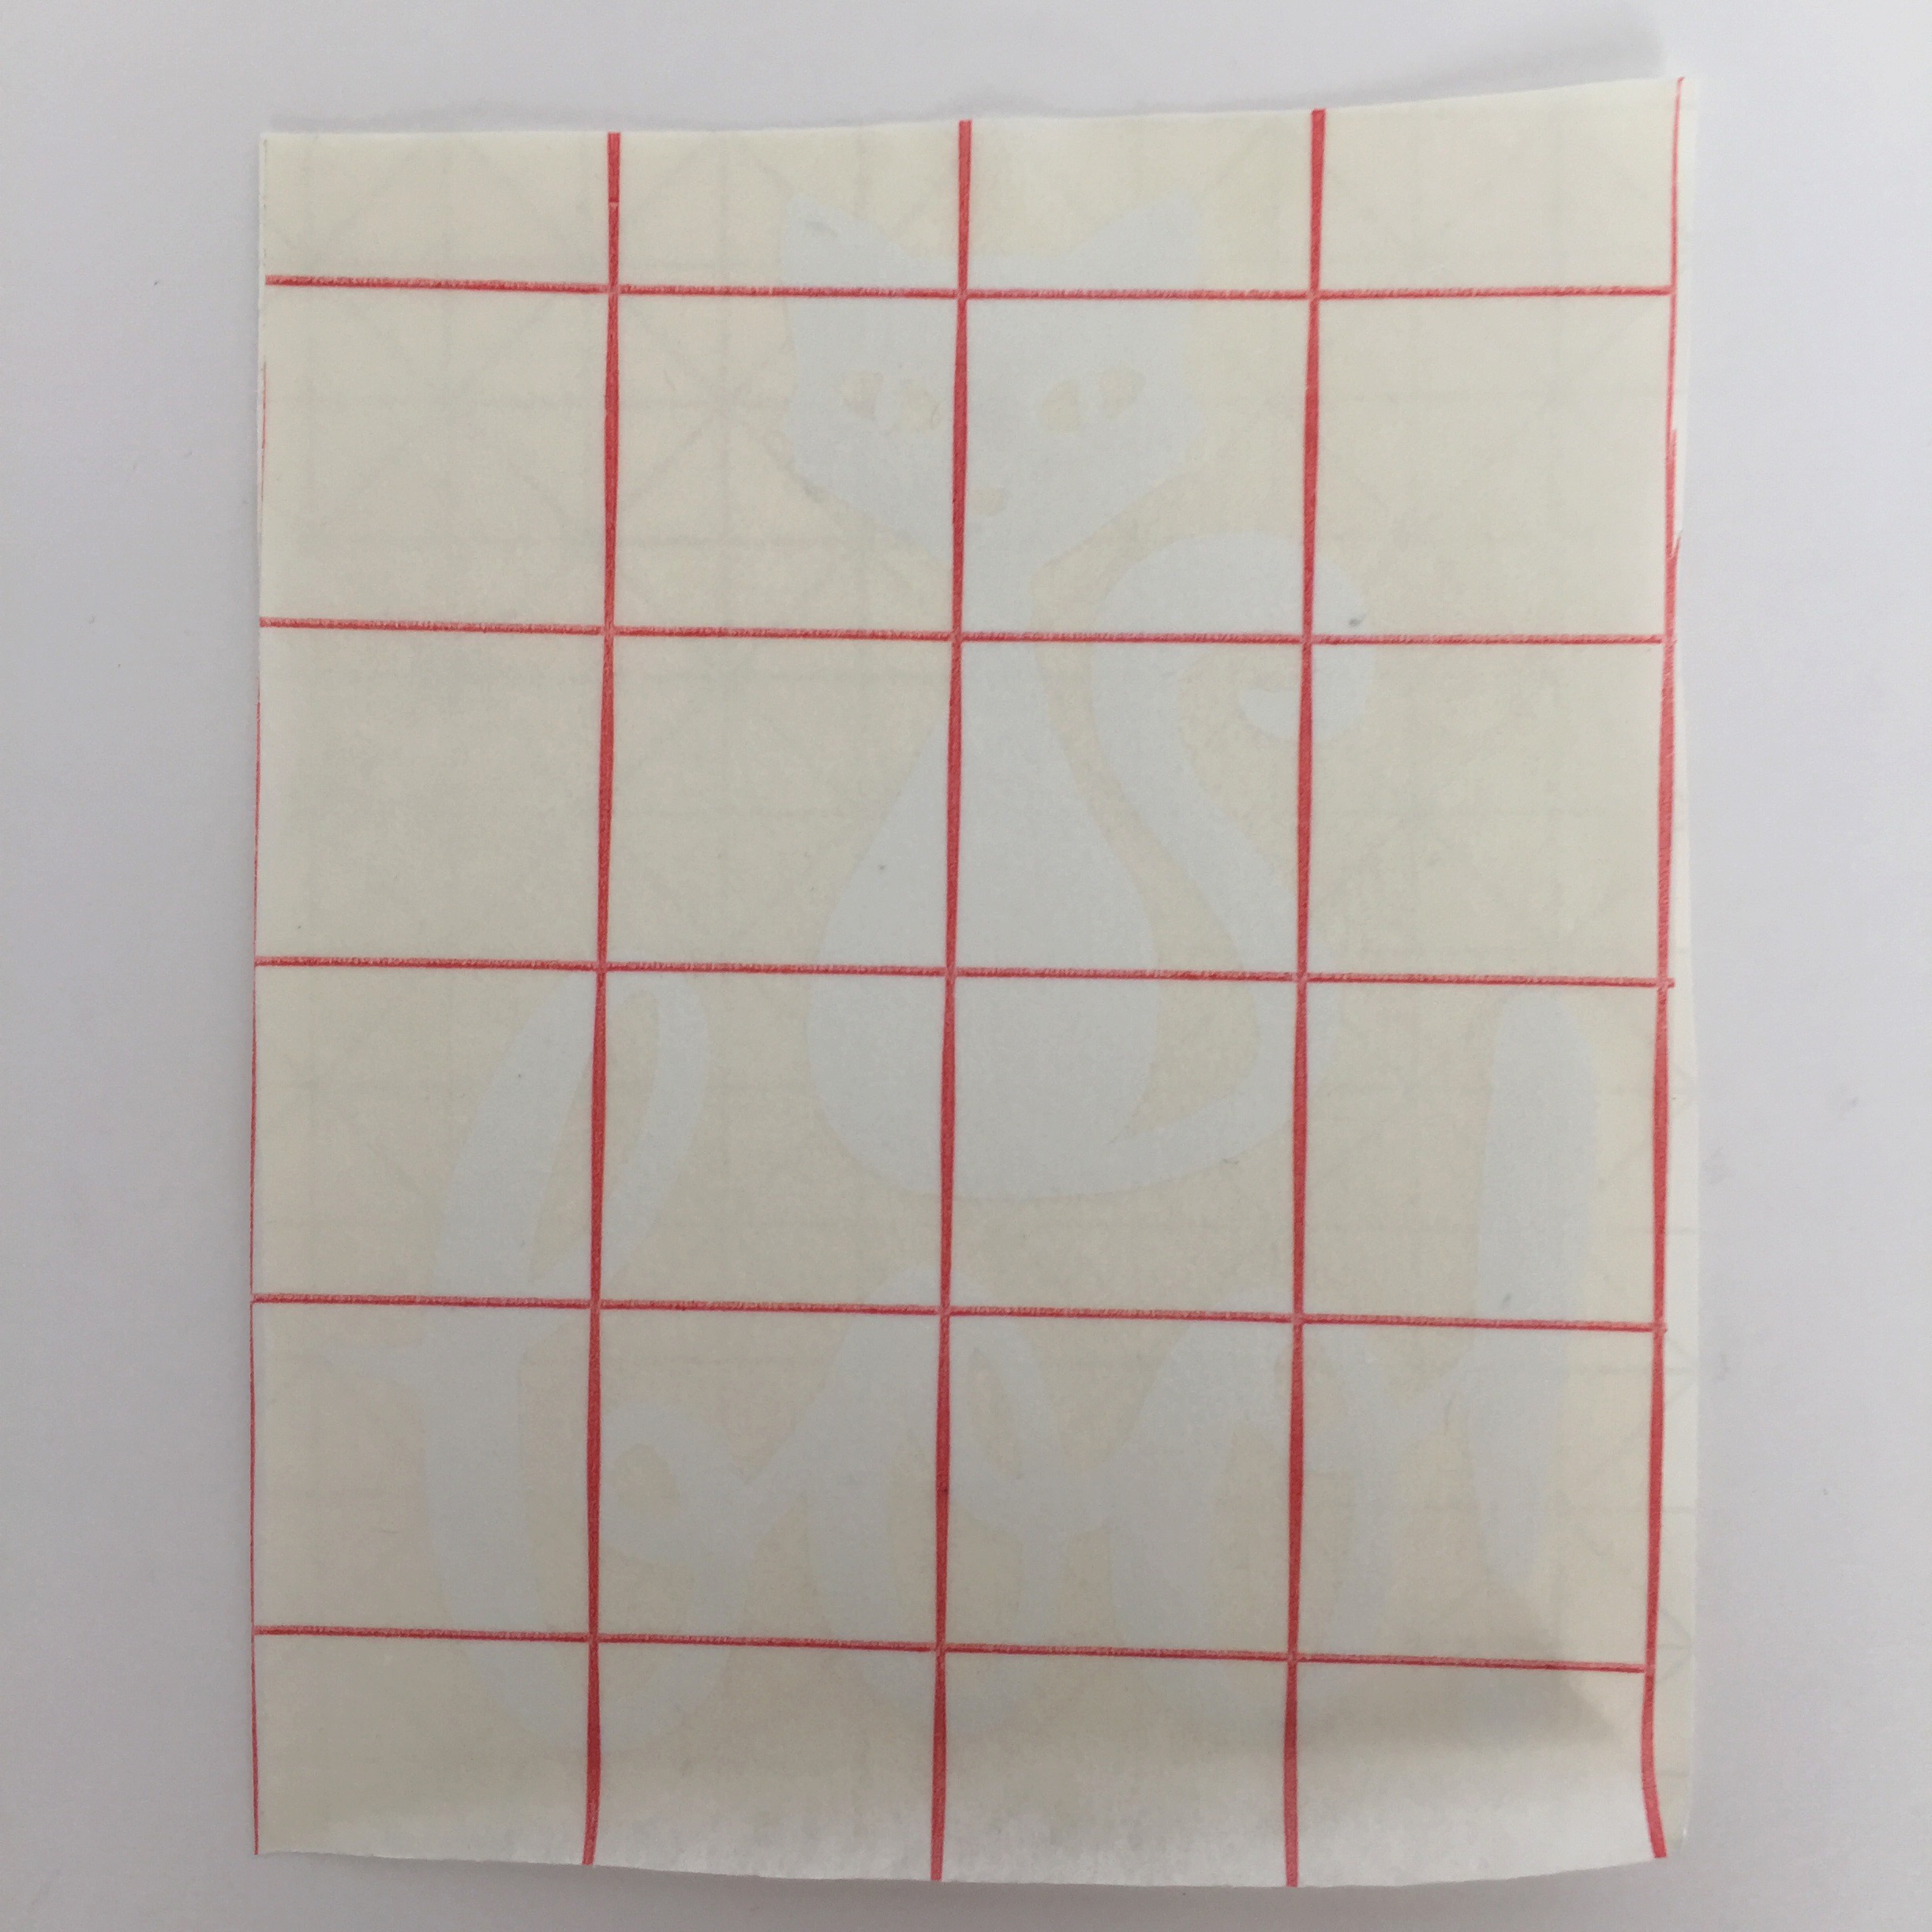
After printing the design, peel away the vinyl around your design. Then, place your contact paper on top of the design and smooth it down, so that it adheres to your entire design.
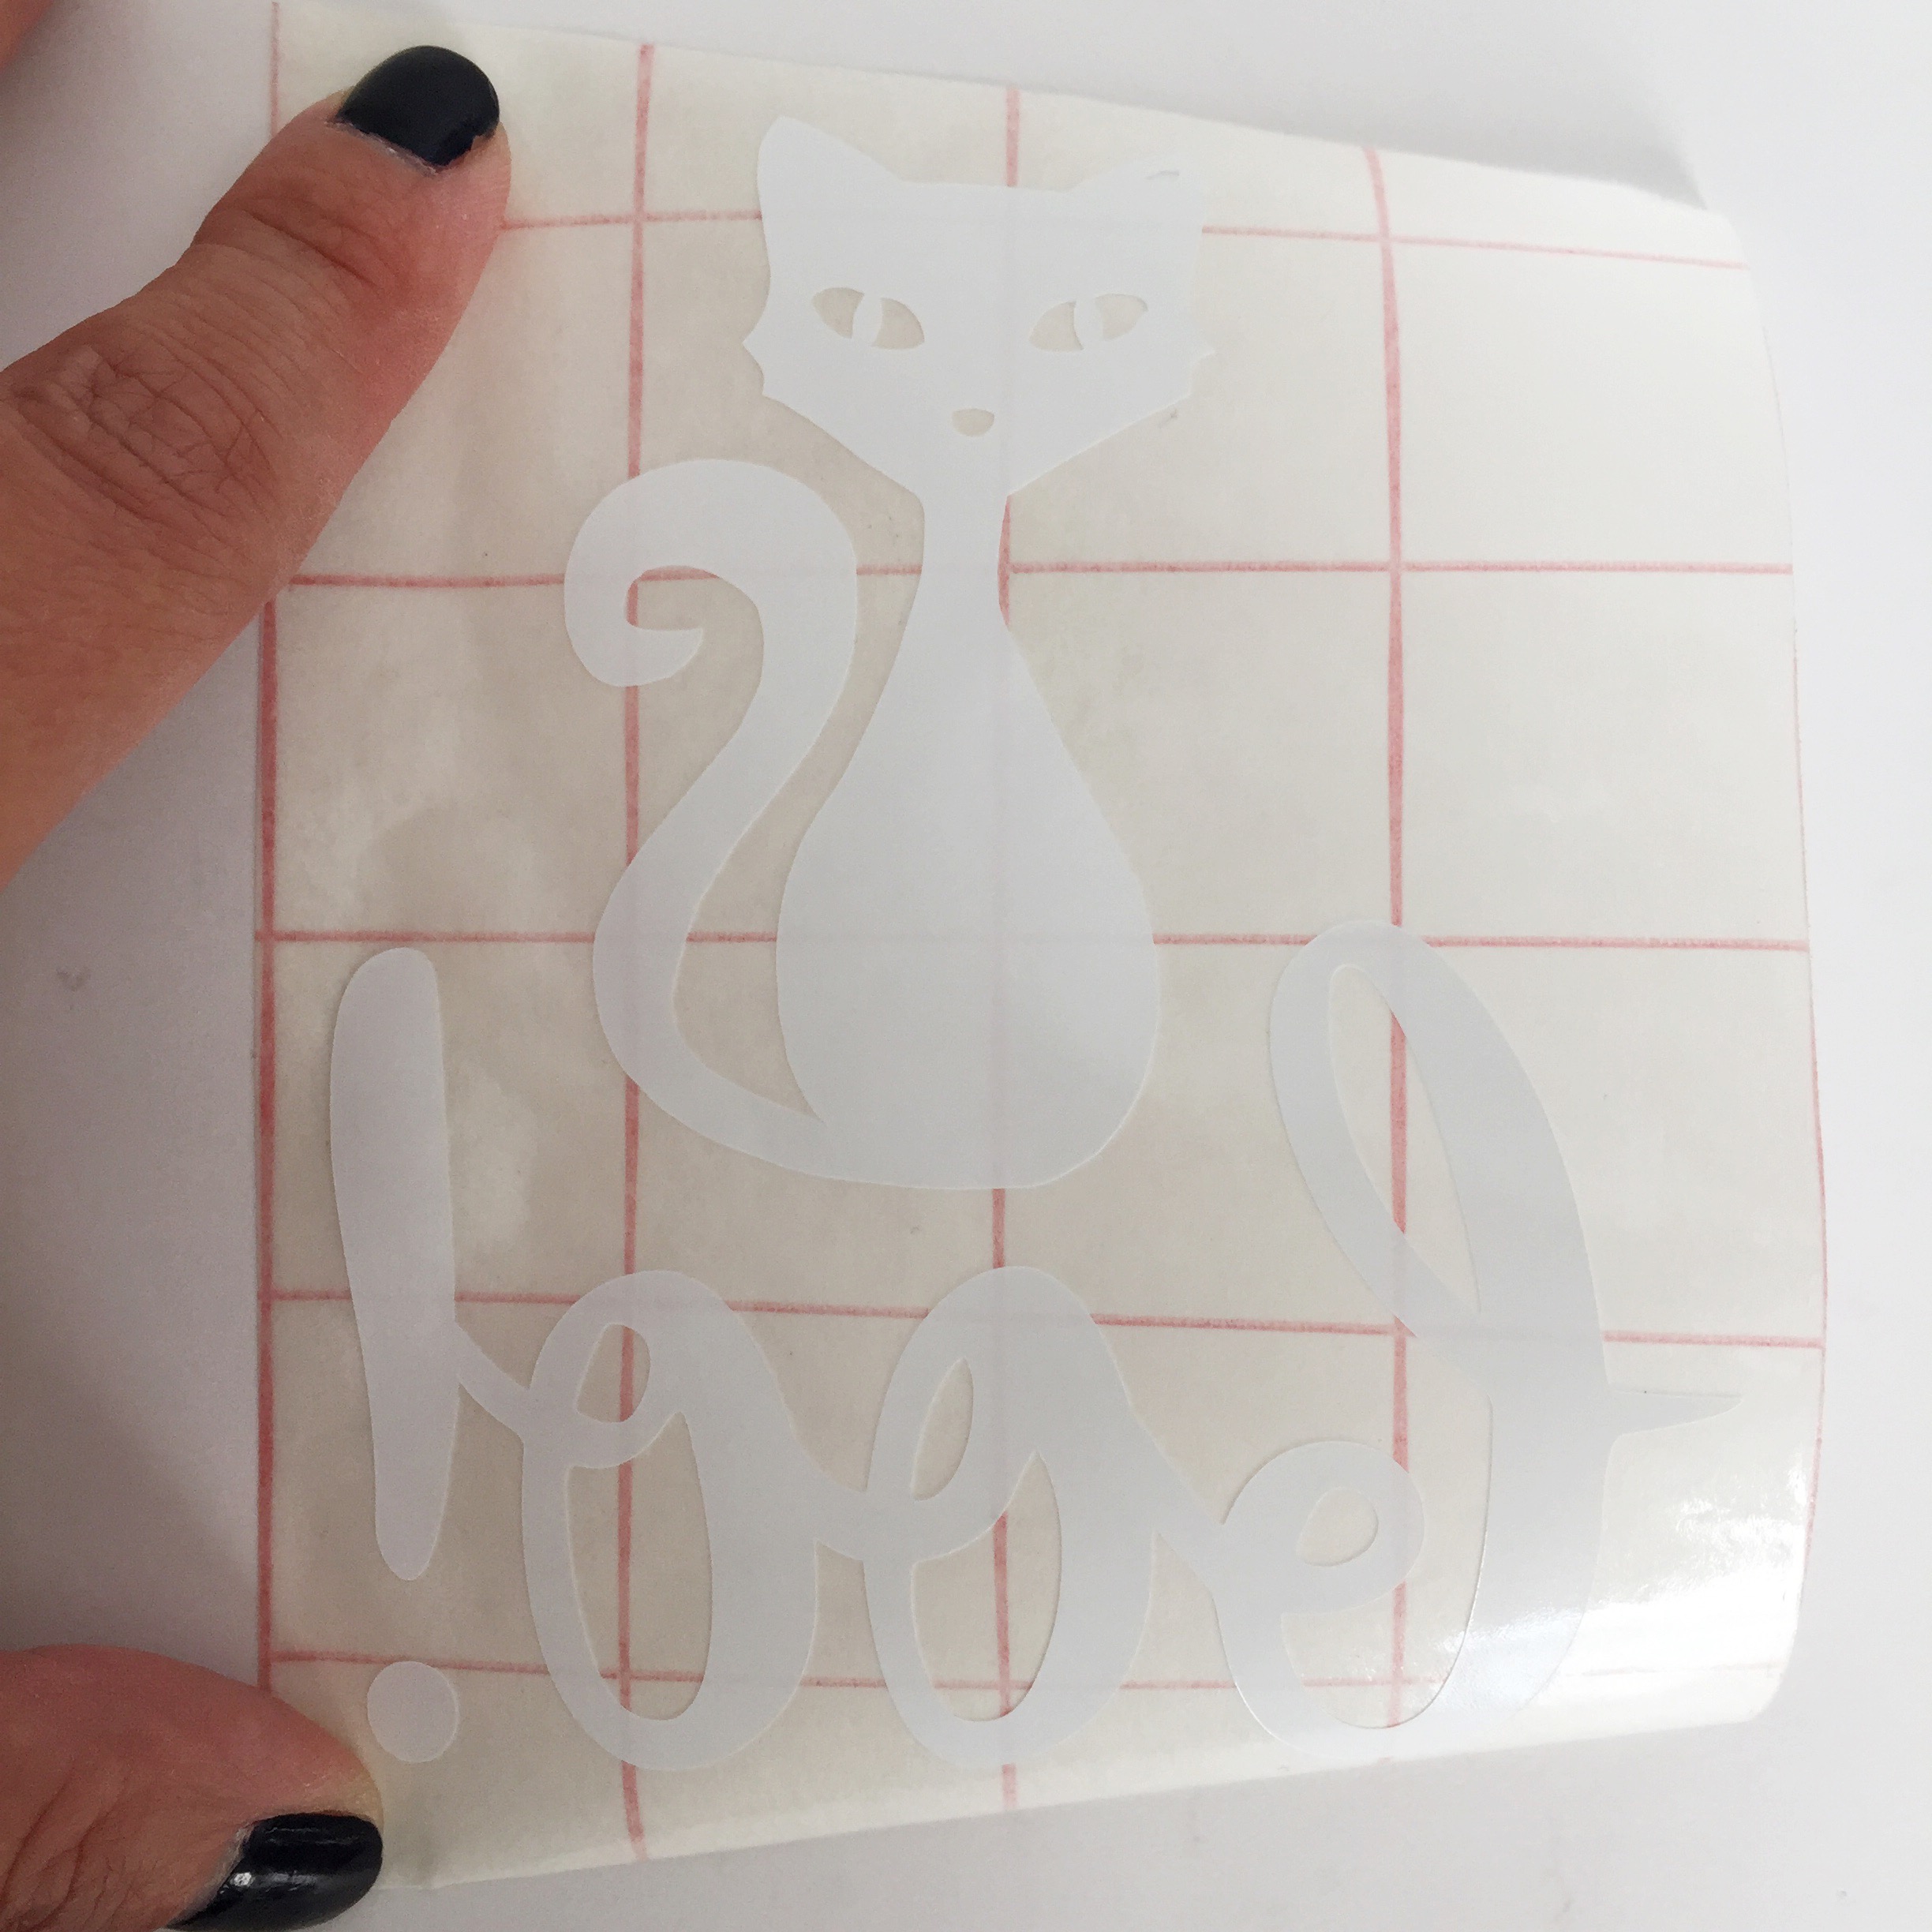
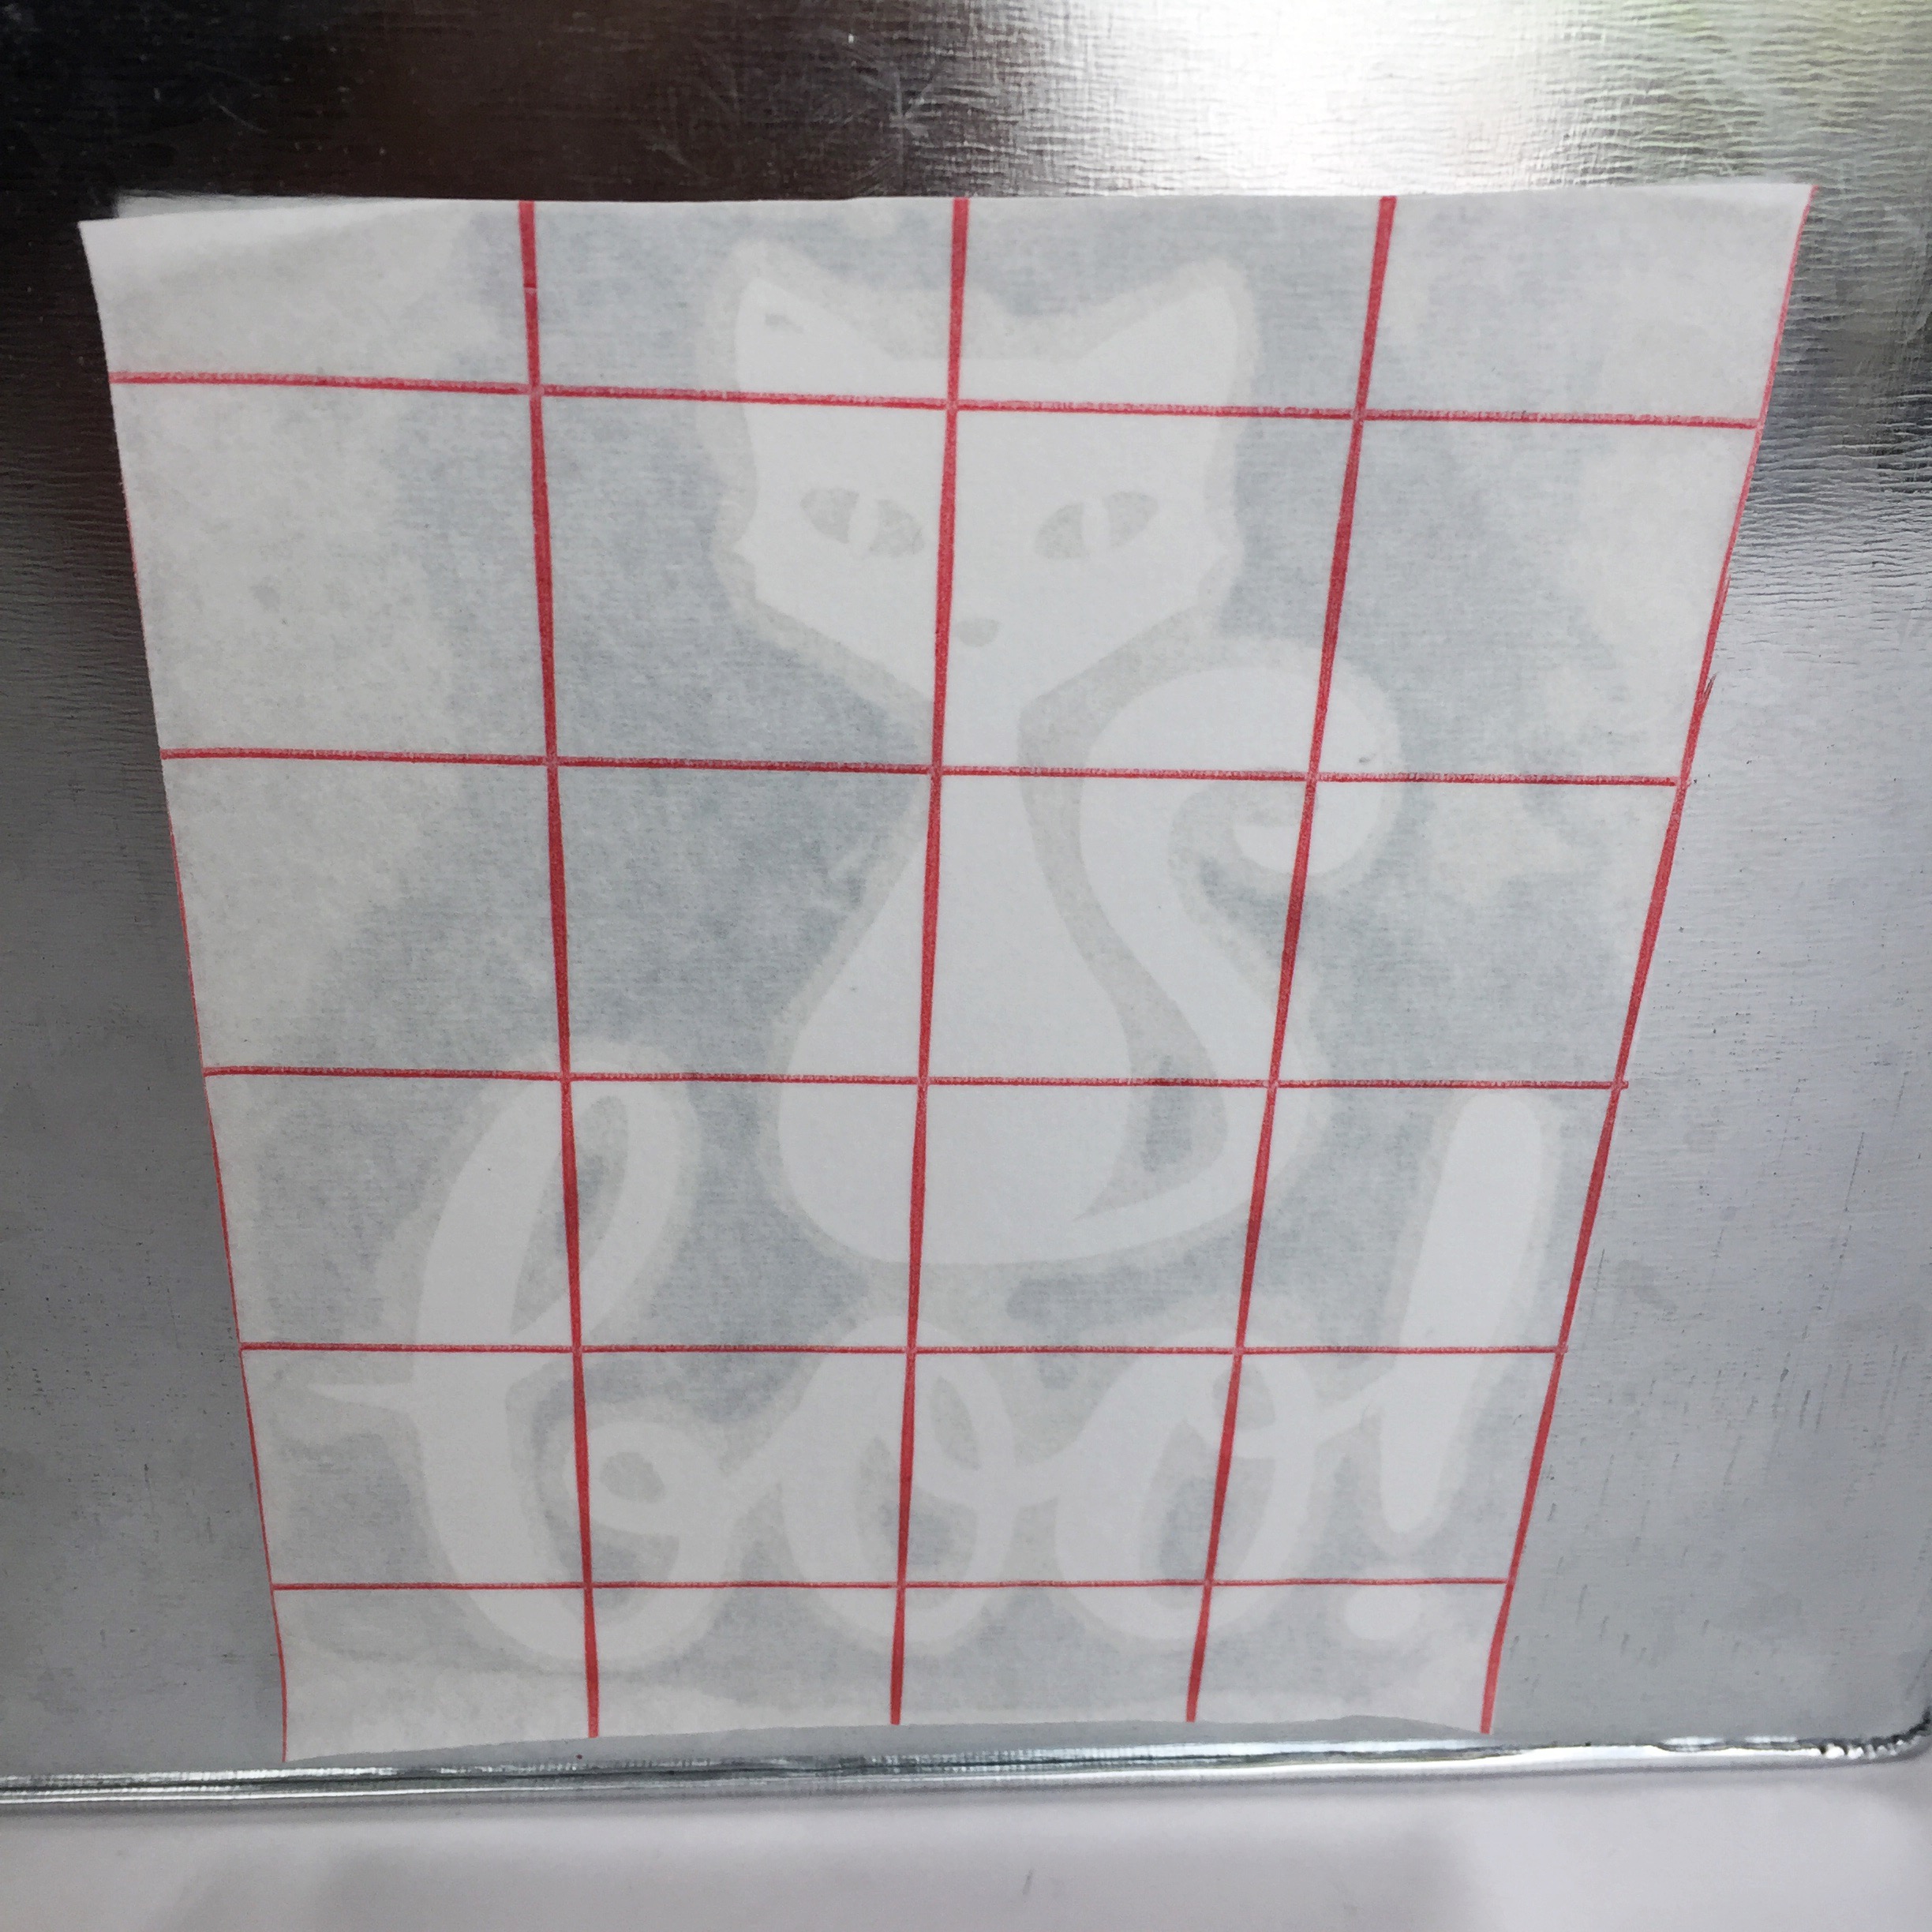
Peel away the top layer of the backing and your design will now be on the sticky side of the backing paper. Place the design on your bucket and smooth down. Gently pull away the backing to adhere your design to the bucket.
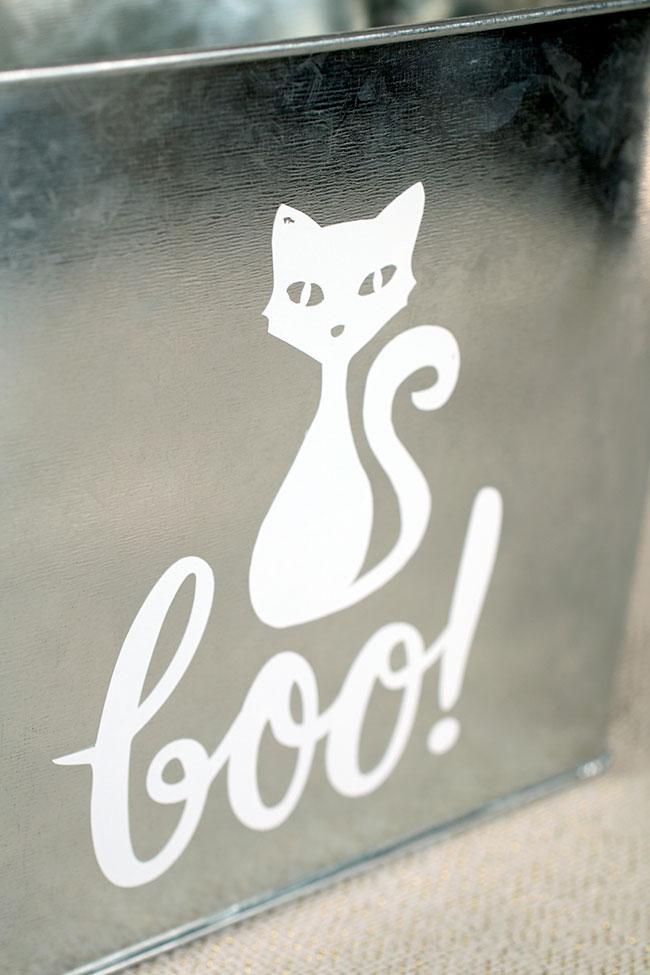
The design is now on the bucket. I loved how it turned out!
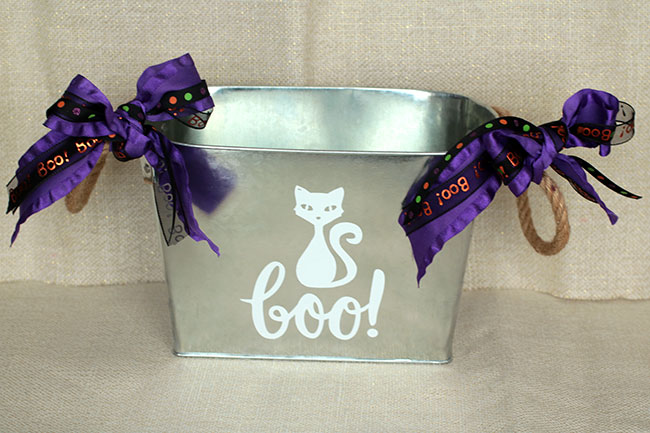
I took three different sized ribbons and made a bow on each side of the bucket.
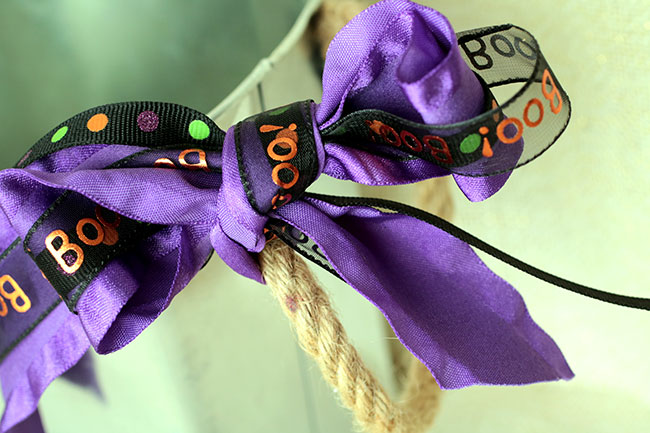
Here is a close up of the bow. I went with a purple, orange, green and black color scheme with the ribbons.
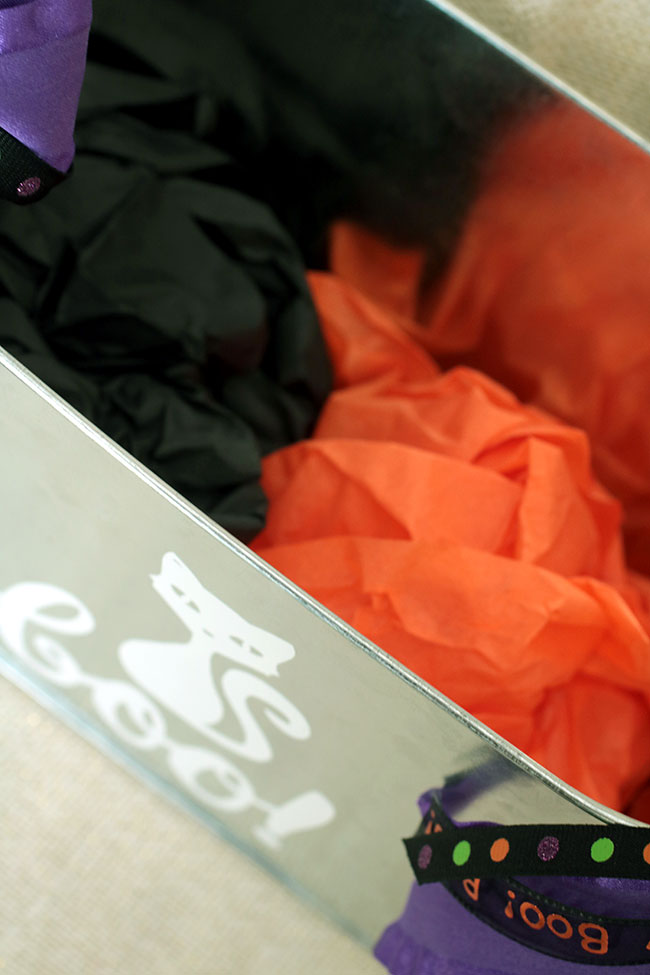
Stuff the bottom of the bucket with some of the American Greetings® tissue paper.
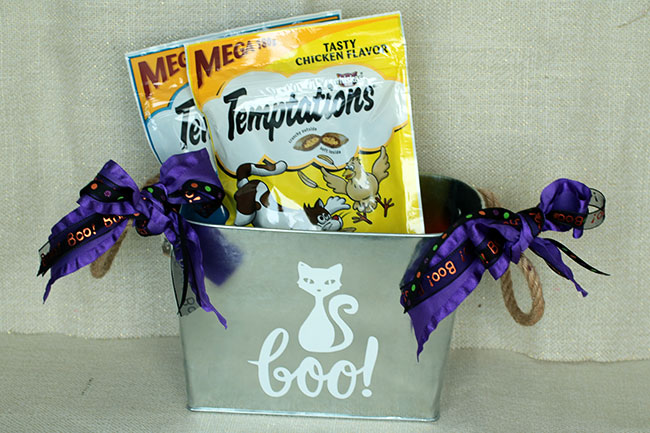
Add the two bags of Temptations® classic treats.
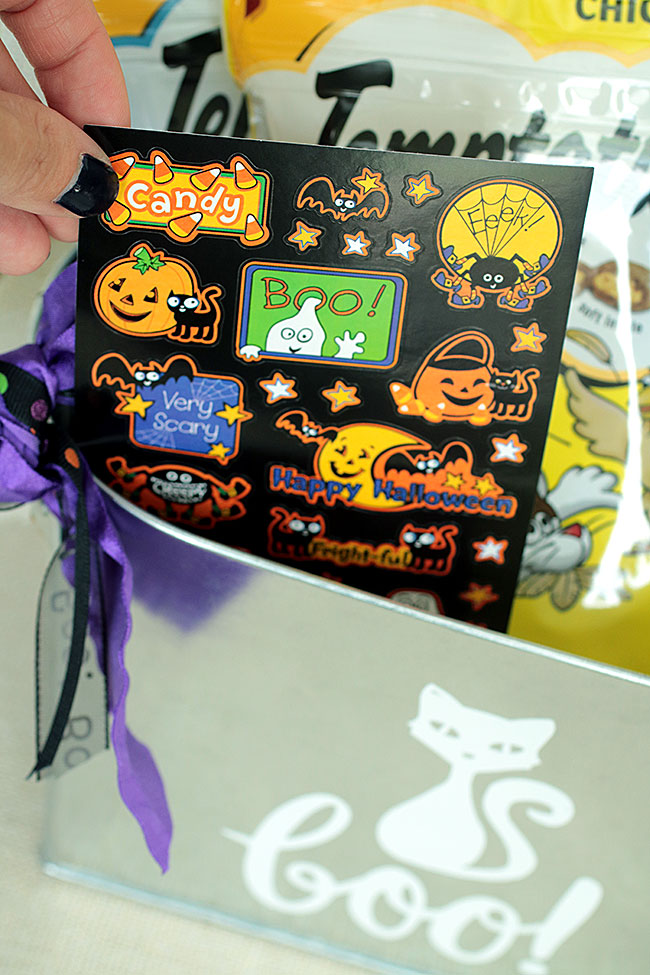
Add an American Greetings® Halloween sticker sheet.
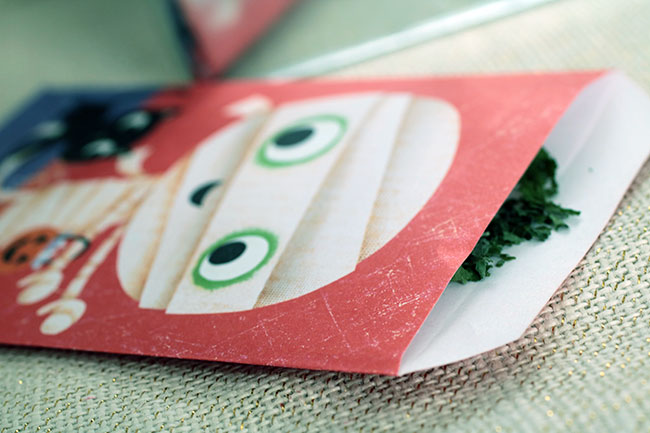
I also added an American Greetings® treat bag filled with homemade catnip from our garden last summer.
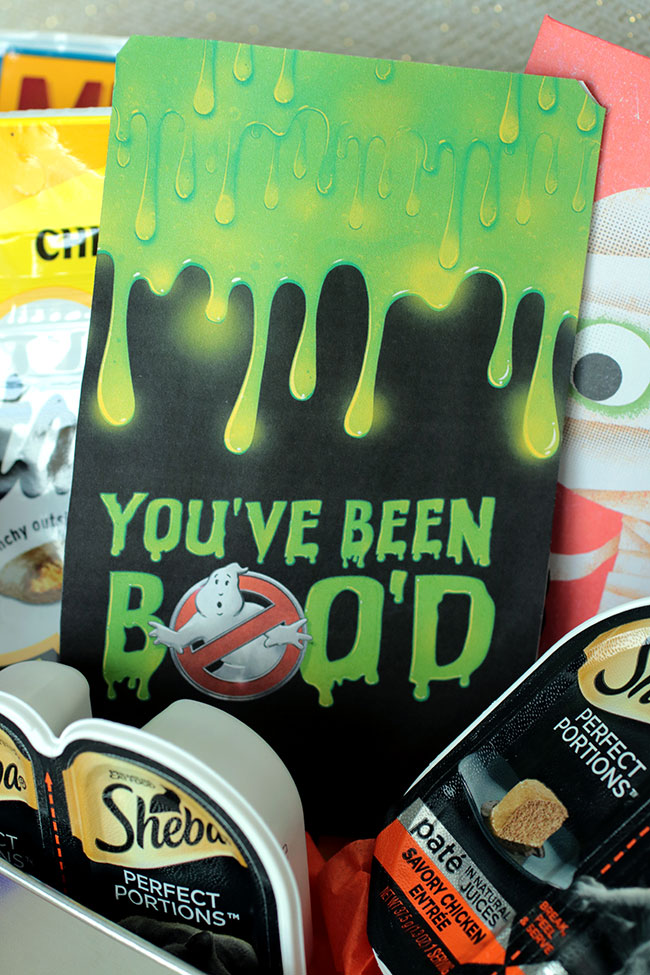
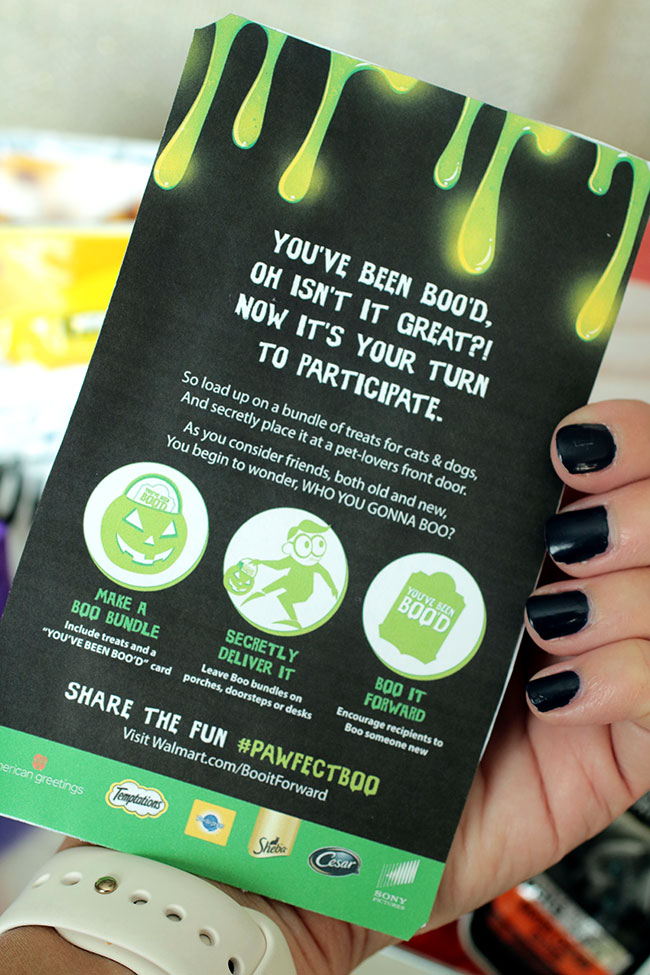
You can even add this already created BOO card, download it HERE.
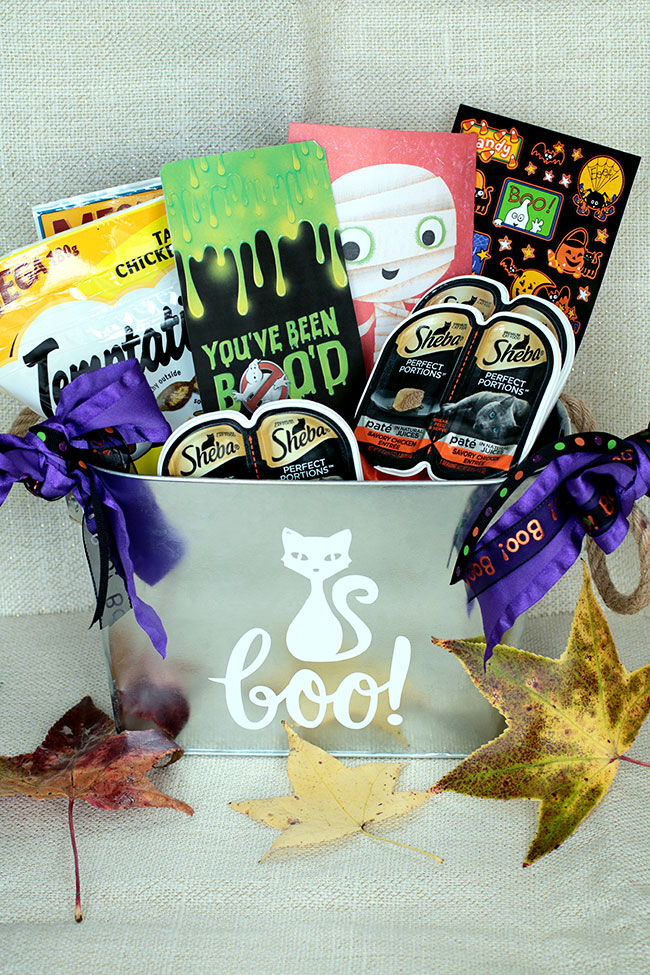
Don't forget to add the SHEBA® PERFECT PORTIONS™ Chicken Paté and you have yourself a BOO kit for some lucky cat(s)!
Instructions for BOO'ing a Neighbor, Friend or Co-Worker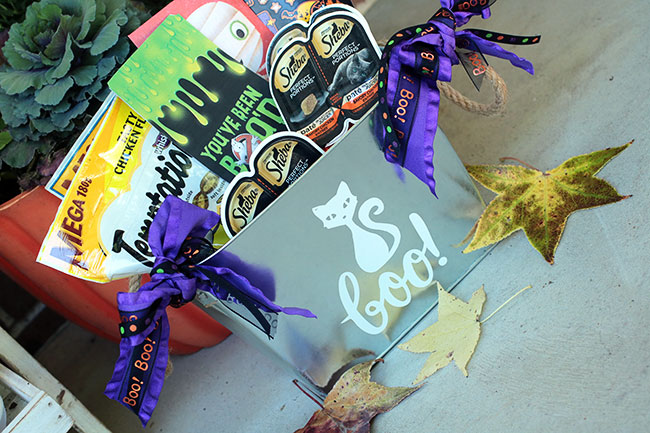
Here is how you BOO someone:
Make a BOO Bundle.
Secretly Deliver it.
BOO it Forward.
Don't forget that Walmart is the one-stop shop for building a creative BOO'ing Kit this Halloween. Shop Walmart.com and grab all the essentials to assemble a BOO’ing bundle at home.
What do you plan to pick up at Walmart for your BOO'ing Kit this October?
Can you believe it is October already and Halloween will be here before we know it? One of my favorite activities in October is BOO'ing others and being BOO'ed myself! This year I thought it'd be fun to create a BOO kit for a cat lover! We have two cats of our own, so this was a lot of fun to create! Thankfully, there is a Walmart close to my home and I found all of the pet BOO kit essentials at the store. Thanks to American Greetings® and MARS Pet, I was able to create the perfect BOO kit for a very lucky cat!
For this particular BOO kit, I purchased a galvanized bucket with handles and added a BOO and cat decal to it with vinyl. I then filled it with cat goodies from Walmart.
How to Create your Own Boo Bucket
In the photo above, you'll see all of the items that I included in the bucket. We'll go over this more below when I go over step by step on how I created the BOO kit.
Shopping at Walmart for BOO Kit Essentials
Walmart had everything I needed for the BOO kit. I started in the Halloween aisle and found the American Greetings® treat bags, tissue paper and Halloween stickers.
Then I went in the aisle with MARS Pet products.
I purchased three SHEBA® PERFECT PORTIONS™ Chicken Paté and two of the Temptations® classic treats for cats in tasty chicken flavor and savory salmon flavor.
Creating a Vinyl Decal for your BOO Kit
To create the vinyl decal for your boo kit, first you'll need a bucket that you can place the decal on. I found a galvanized bucket with rope handles. I measured the space on the front of it to see how large I could make the decal.
In Silhouette Studio, I purchased a couple designs (the boo! and the Halloween cat) and combined them. I sized them to be the correct size that would fit on the front of the galvanized bucket. I then set up the Silhouette Cameo to print the design.
After printing the design, peel away the vinyl around your design. Then, place your contact paper on top of the design and smooth it down, so that it adheres to your entire design.
Peel away the top layer of the backing and your design will now be on the sticky side of the backing paper. Place the design on your bucket and smooth down. Gently pull away the backing to adhere your design to the bucket.
The design is now on the bucket. I loved how it turned out!
I took three different sized ribbons and made a bow on each side of the bucket.
Here is a close up of the bow. I went with a purple, orange, green and black color scheme with the ribbons.
Stuff the bottom of the bucket with some of the American Greetings® tissue paper.
Add the two bags of Temptations® classic treats.
Add an American Greetings® Halloween sticker sheet.
I also added an American Greetings® treat bag filled with homemade catnip from our garden last summer.
You can even add this already created BOO card, download it HERE.
Don't forget to add the SHEBA® PERFECT PORTIONS™ Chicken Paté and you have yourself a BOO kit for some lucky cat(s)!
Instructions for BOO'ing a Neighbor, Friend or Co-Worker
Here is how you BOO someone:
Make a BOO Bundle.
Secretly Deliver it.
BOO it Forward.
Don't forget that Walmart is the one-stop shop for building a creative BOO'ing Kit this Halloween. Shop Walmart.com and grab all the essentials to assemble a BOO’ing bundle at home.
What do you plan to pick up at Walmart for your BOO'ing Kit this October?
Comments
Post a Comment