This shop has been compensated by Collective Bias, Inc. and The Coca-Cola Company. All opinions are mine alone. #LayerOnLove #CollectiveBias
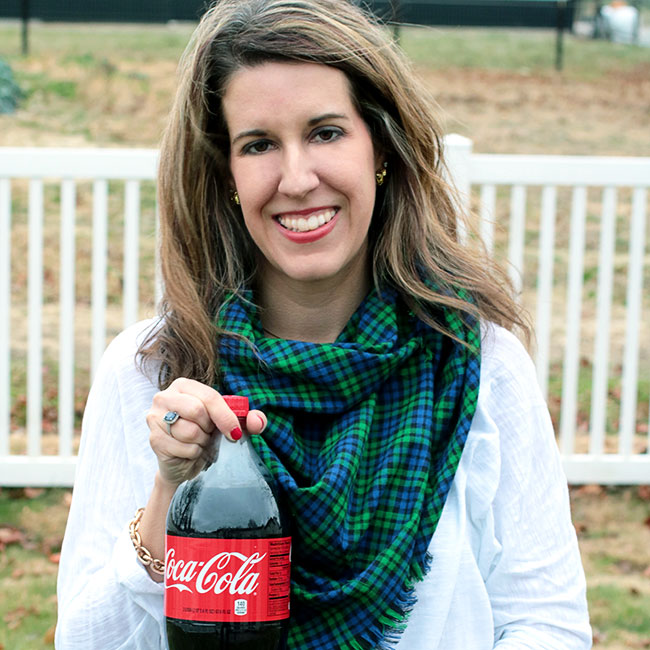
What I love about Coca-Cola® (besides the great taste) is that they are supporting the non-profit organization One Warm Coat® this holiday season. It is their mission to pair together with One Warm Coat to donate half a million free coats. They want to encourage you to give back to your community too! You can do so by donating to One Warm Coat, or by paying it forward in other ways. No matter what you do be sure to share the love on social media by using the hashtag #LayerOnLove.
When I think of Layer on Love, I think about providing warmth and love to those that need it most. I wanted to share my DIY Flannel Scarf tutorial today, because when I gift my friends with these scarves during the holiday season, I always think of it as 'Layering on Love'.
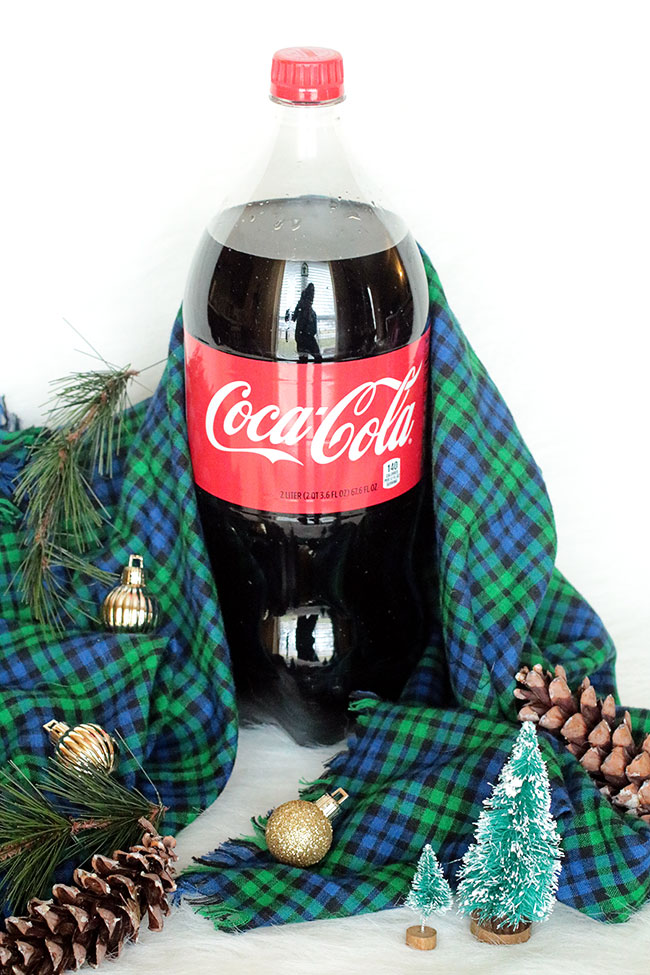
I feel that during the holidays, giving back is more important than ever. Half a million people... that is A LOT of people that can be helped with the Coca-Cola initiative to bring them warmth through One Warm Coat. The holidays always bring people together, such as family, friends, coworkers, teachers and more. Sometimes you may see someone who needs a helping hand or a little extra love. I always encourage my kids to help others and they do a lot through their boy scout and girl scout programs... You can make care packages, help serve a meal to someone who is going through a rough time or even do something as simple as paying for the coffee of someone behind you. All of these create memories for both ourselves and those that we helped that will last a lifetime.
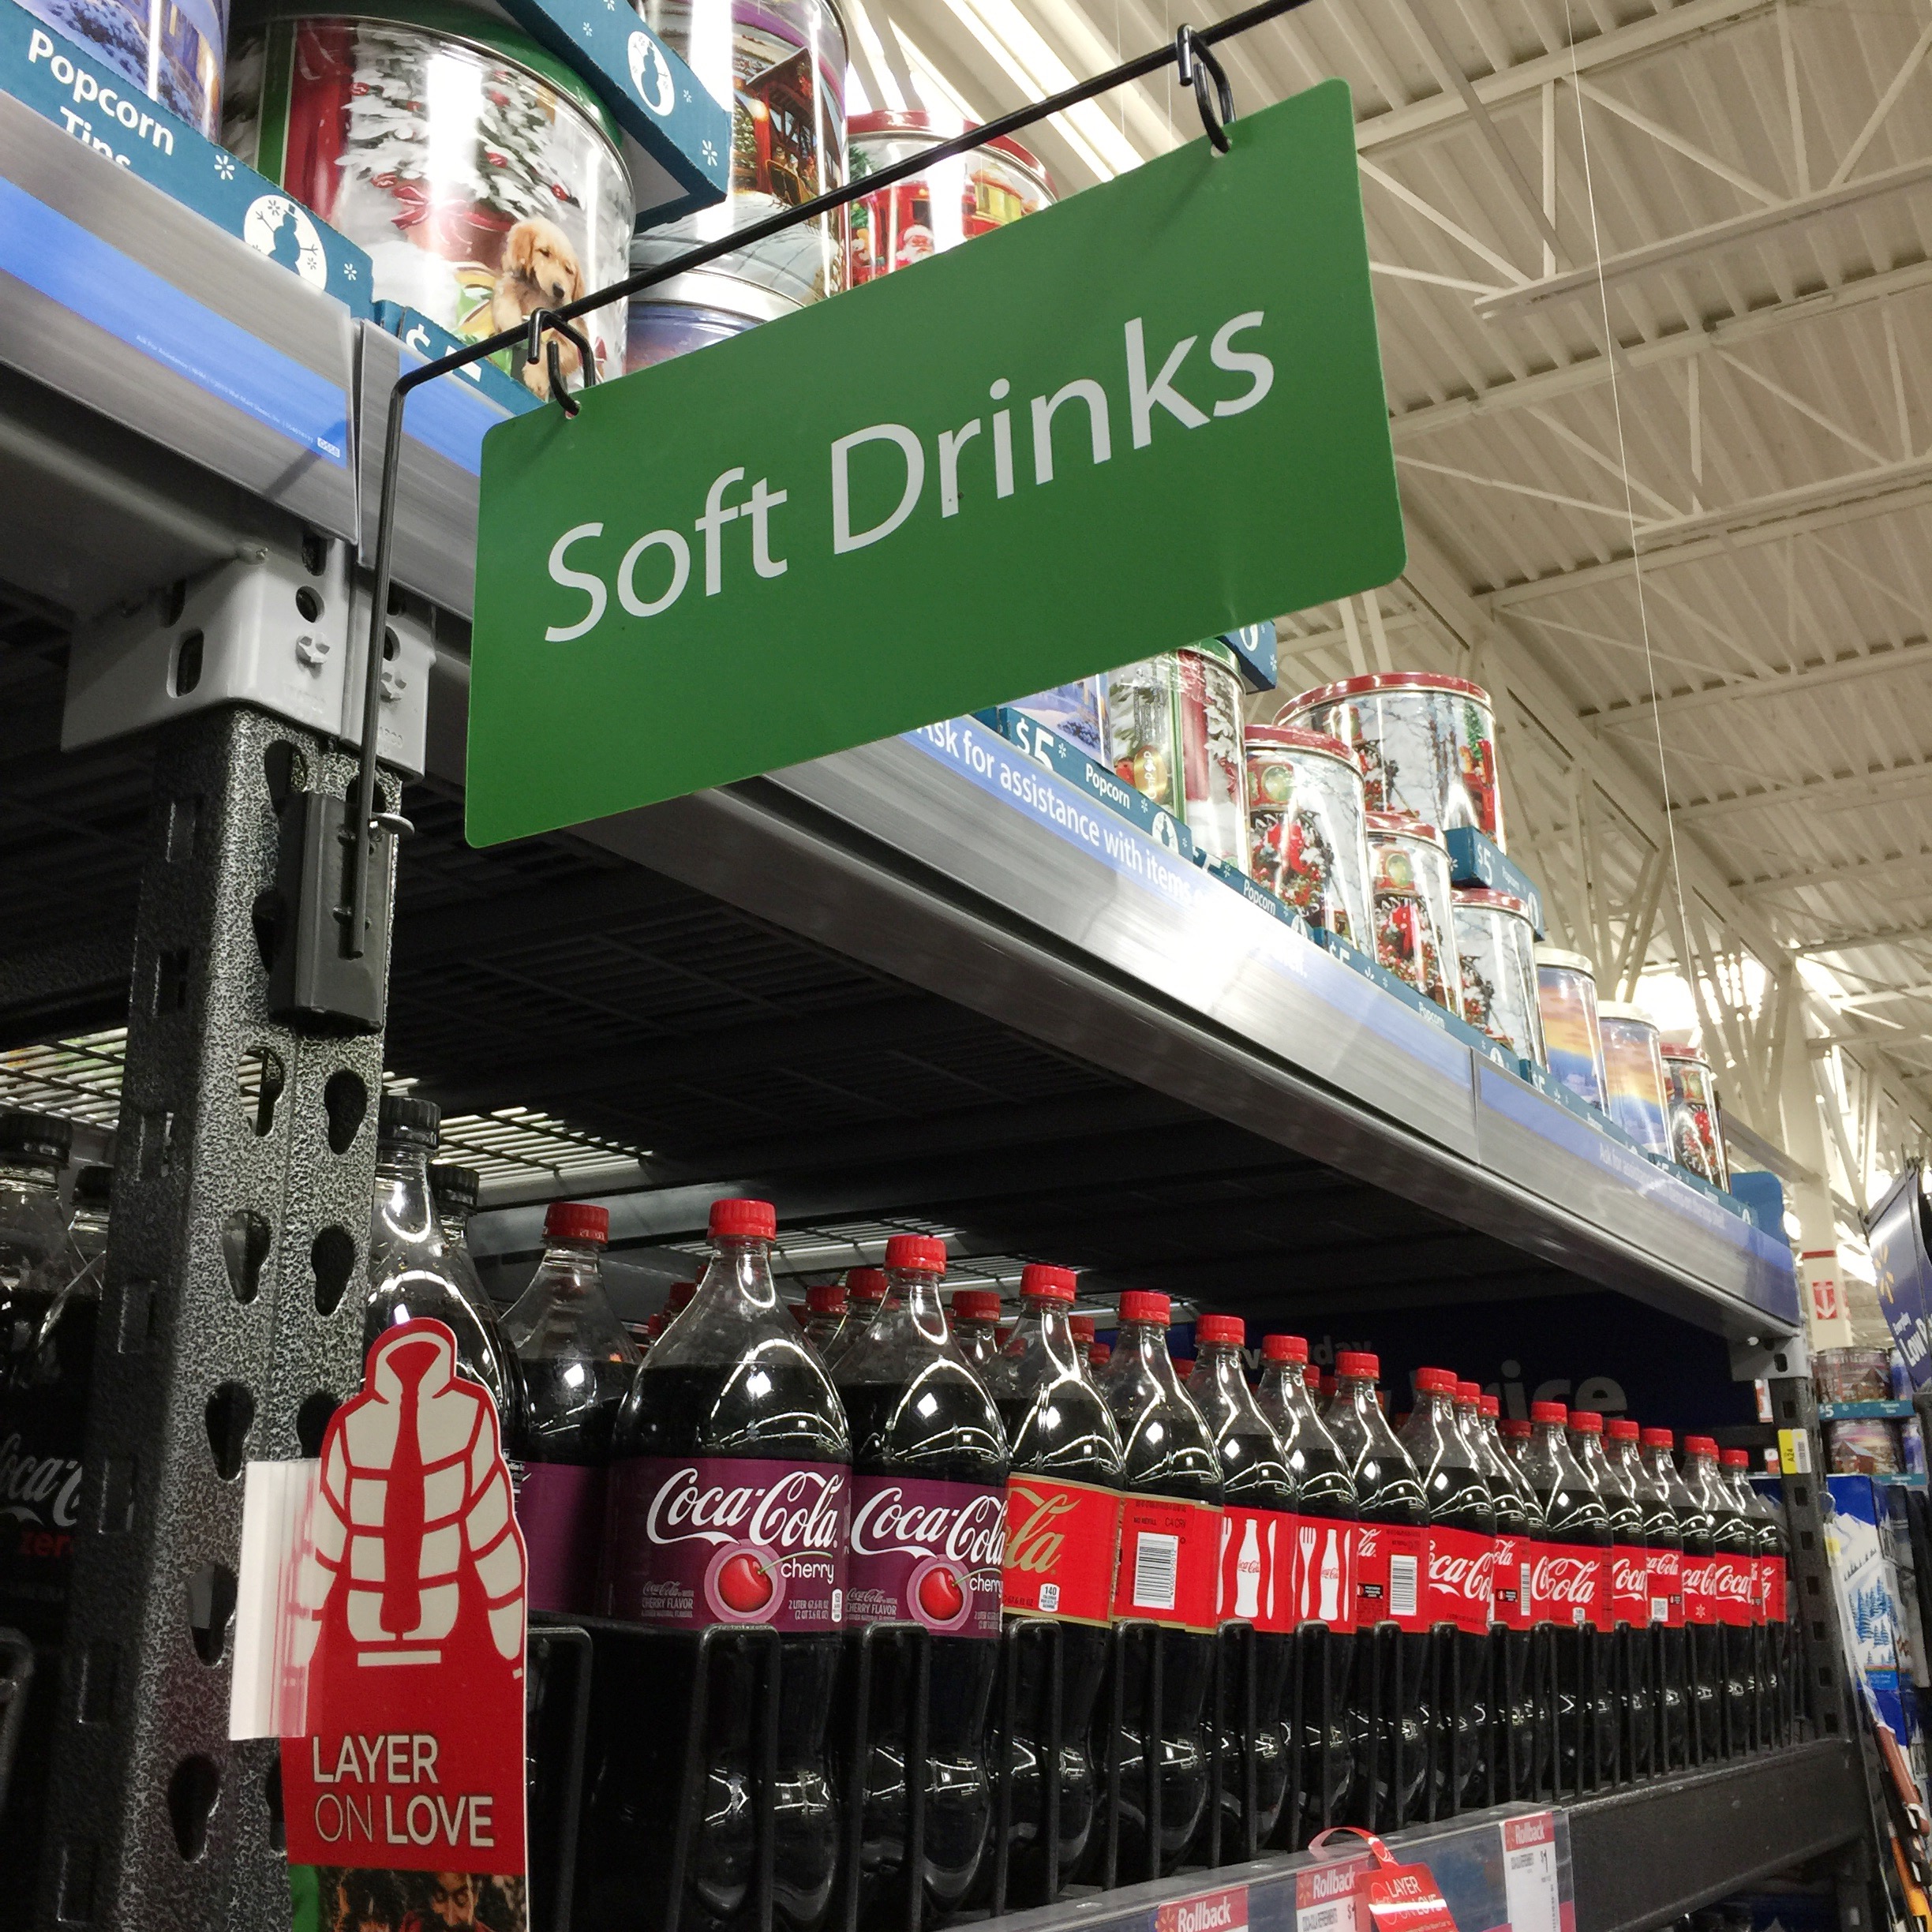

Coca-Cola offers a lot of varieties and sizes at your local Walmart. I picked up a bottle of Coca-Cola in a 2 Liter, but they also offer Coke Zero, Coca-Cola Life, Diet Coke, Fanta in 6-packs and more. You can find Coca-Cola in the Soft Drinks aisle and pick up whatever you need for your holiday gathering.
How to Create Your Own DIY Flannel Scarf
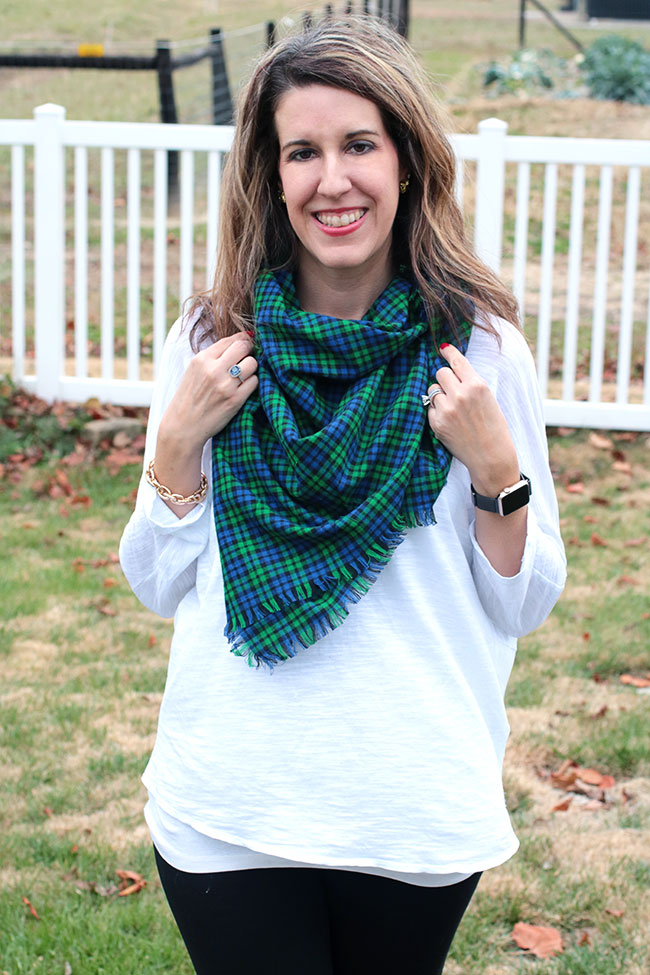
Creating a flannel scarf is REALLY easy and can be done while watching TV, waiting in the carpool line, listening to music, etc.
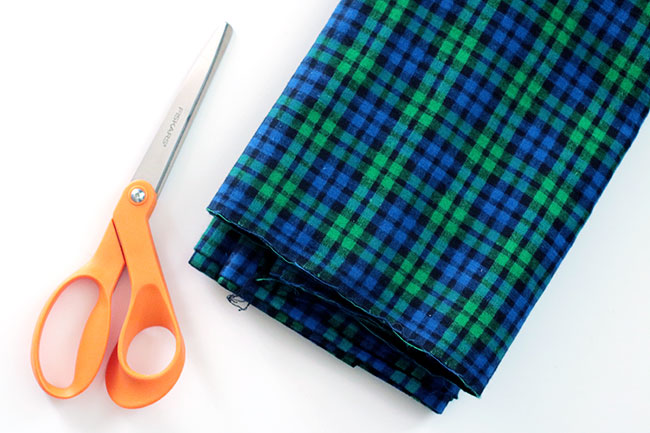
Materials Needed:
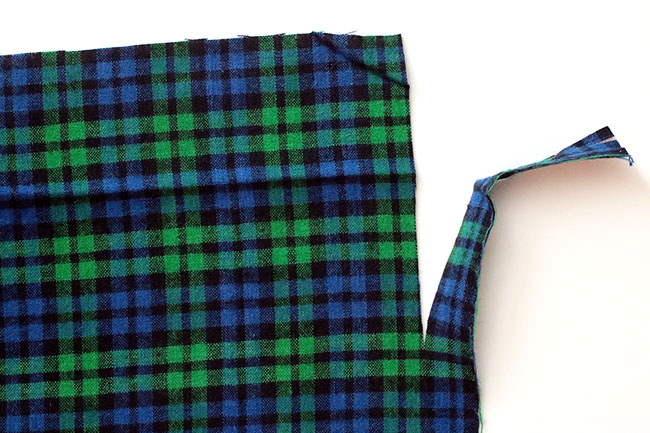
You are going to want to find a line to follow and you'll cut the selvedge edge off. The selvedge edge will have a lot less stray threads than the cut edge. Now, do the same for the cut edges.
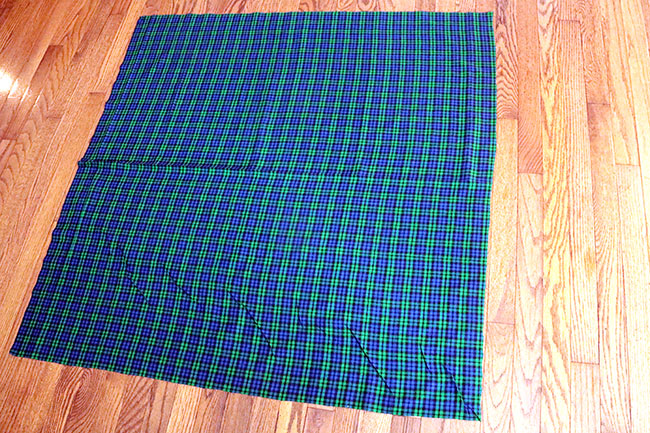
After you have trimmed each side of the scarf, lay it flat on your floor. Our goal is to have a square scarf. Take a fabric tape measure and measure each side and then cut again along a plaid line to even it out so that it is a perfect square shape on each size. My scarf was 43" on each side after I was done.
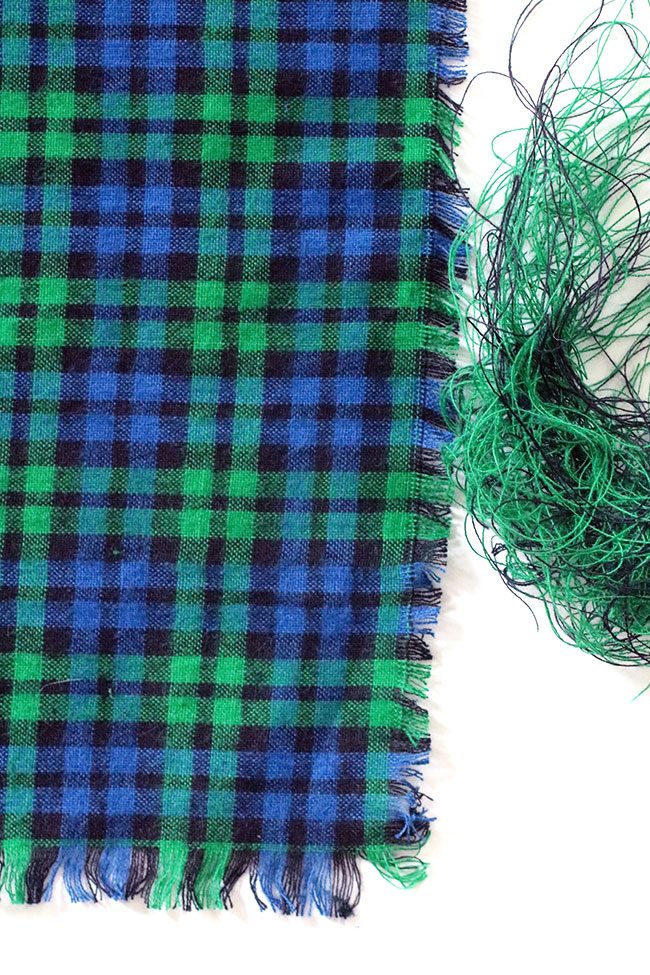
Now you will make the fringe! This part takes the longest, so go ahead and turn on the TV. You will start on one of the four sides and pull out a thread ONE by one. Yes, it's tedious... However, it gets quicker as you get more comfortable doing it. I frayed each side to about a quarter inch. You can use a seam ripper to get ahold of the threads easier, or you can just use your fingers... I've done both.
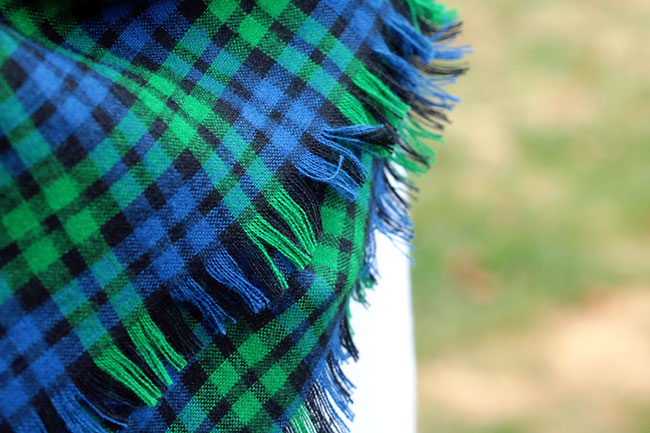
Don't worry, a quarter inch fringe is perfect, as you can see here in this photo.
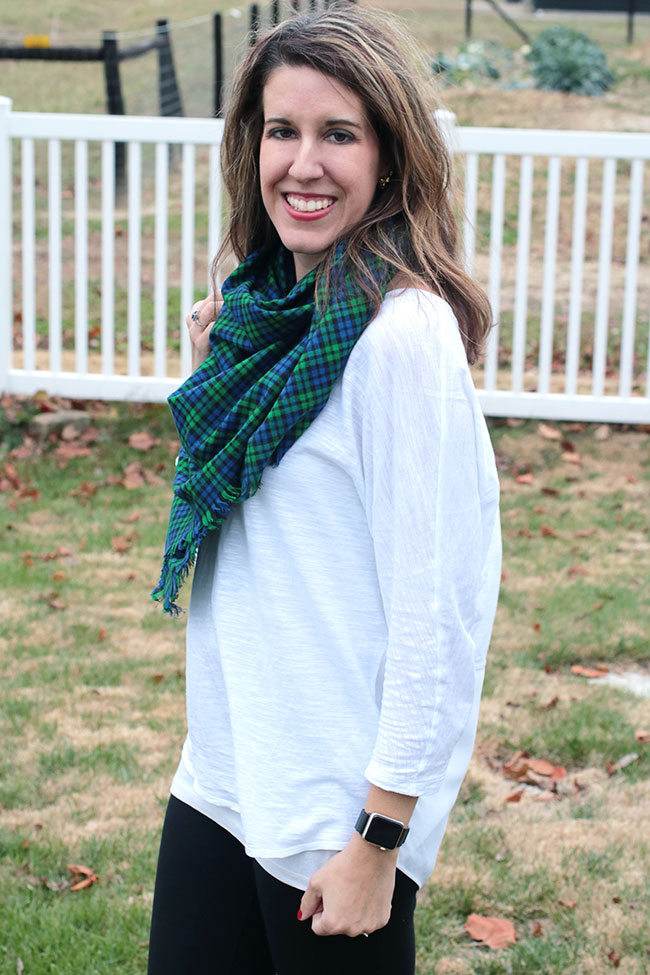
And, ta-da! You have this warm and cozy fringe scarf to gift others this holiday season!
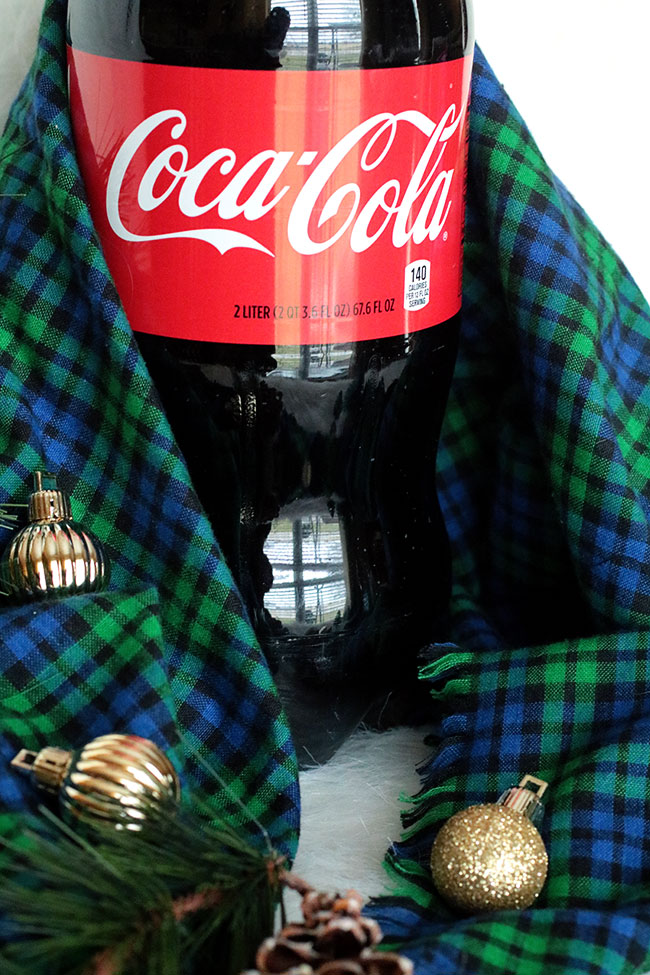
By coming together and inspiring your followers to donate to One Warm Coat® on Coke.com/LayerOnLove, we could collectively help to put a coat on one million people in need this winter.
What I love about Coca-Cola® (besides the great taste) is that they are supporting the non-profit organization One Warm Coat® this holiday season. It is their mission to pair together with One Warm Coat to donate half a million free coats. They want to encourage you to give back to your community too! You can do so by donating to One Warm Coat, or by paying it forward in other ways. No matter what you do be sure to share the love on social media by using the hashtag #LayerOnLove.
When I think of Layer on Love, I think about providing warmth and love to those that need it most. I wanted to share my DIY Flannel Scarf tutorial today, because when I gift my friends with these scarves during the holiday season, I always think of it as 'Layering on Love'.
I feel that during the holidays, giving back is more important than ever. Half a million people... that is A LOT of people that can be helped with the Coca-Cola initiative to bring them warmth through One Warm Coat. The holidays always bring people together, such as family, friends, coworkers, teachers and more. Sometimes you may see someone who needs a helping hand or a little extra love. I always encourage my kids to help others and they do a lot through their boy scout and girl scout programs... You can make care packages, help serve a meal to someone who is going through a rough time or even do something as simple as paying for the coffee of someone behind you. All of these create memories for both ourselves and those that we helped that will last a lifetime.
Coca-Cola offers a lot of varieties and sizes at your local Walmart. I picked up a bottle of Coca-Cola in a 2 Liter, but they also offer Coke Zero, Coca-Cola Life, Diet Coke, Fanta in 6-packs and more. You can find Coca-Cola in the Soft Drinks aisle and pick up whatever you need for your holiday gathering.
How to Create Your Own DIY Flannel Scarf
Creating a flannel scarf is REALLY easy and can be done while watching TV, waiting in the carpool line, listening to music, etc.
Materials Needed:
1.5 yards of 44" wide plaid flannel
Fabric Scissors
Seam Ripper
Fabric Scissors
Seam Ripper
You are going to want to find a line to follow and you'll cut the selvedge edge off. The selvedge edge will have a lot less stray threads than the cut edge. Now, do the same for the cut edges.
After you have trimmed each side of the scarf, lay it flat on your floor. Our goal is to have a square scarf. Take a fabric tape measure and measure each side and then cut again along a plaid line to even it out so that it is a perfect square shape on each size. My scarf was 43" on each side after I was done.
Now you will make the fringe! This part takes the longest, so go ahead and turn on the TV. You will start on one of the four sides and pull out a thread ONE by one. Yes, it's tedious... However, it gets quicker as you get more comfortable doing it. I frayed each side to about a quarter inch. You can use a seam ripper to get ahold of the threads easier, or you can just use your fingers... I've done both.
Don't worry, a quarter inch fringe is perfect, as you can see here in this photo.
And, ta-da! You have this warm and cozy fringe scarf to gift others this holiday season!
By coming together and inspiring your followers to donate to One Warm Coat® on Coke.com/LayerOnLove, we could collectively help to put a coat on one million people in need this winter.
Comments
Post a Comment